EelCam SER1472X, Instruction Manual
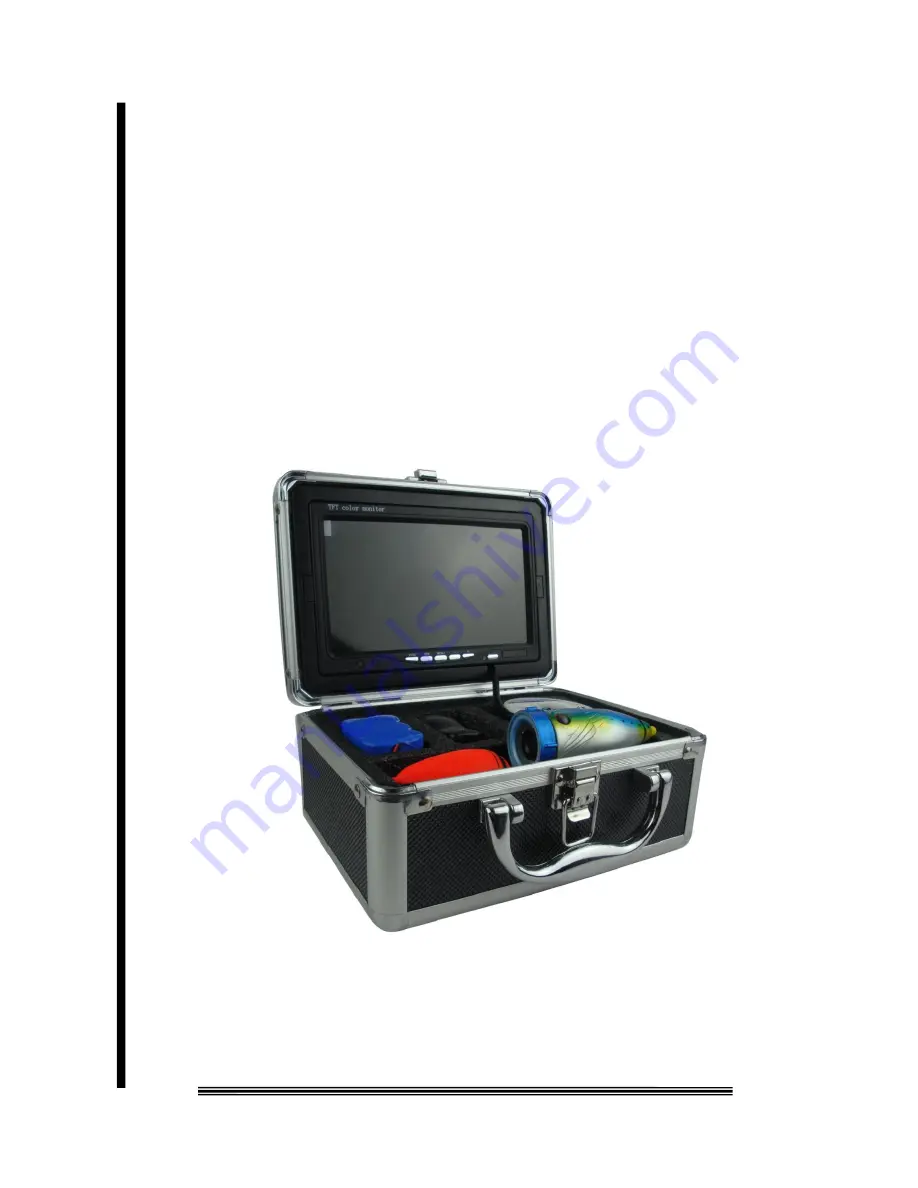
The EelCam SER1472X is an innovative and high-performance surveillance camera that ensures top-notch security. With its cutting-edge features, this state-of-the-art device is perfect for both personal and professional use. Instruction Manual available for free download on our website to assist you in setting up and using your EelCam SER1472X effectively.
Share
Download

Reviews:
No comments