background image

User Manual:    Windows I-Series AiO Interactive Signage 

UM600086 Rev A, Page 1 of 45


USER MANUAL 

Elo Touch Solutions   

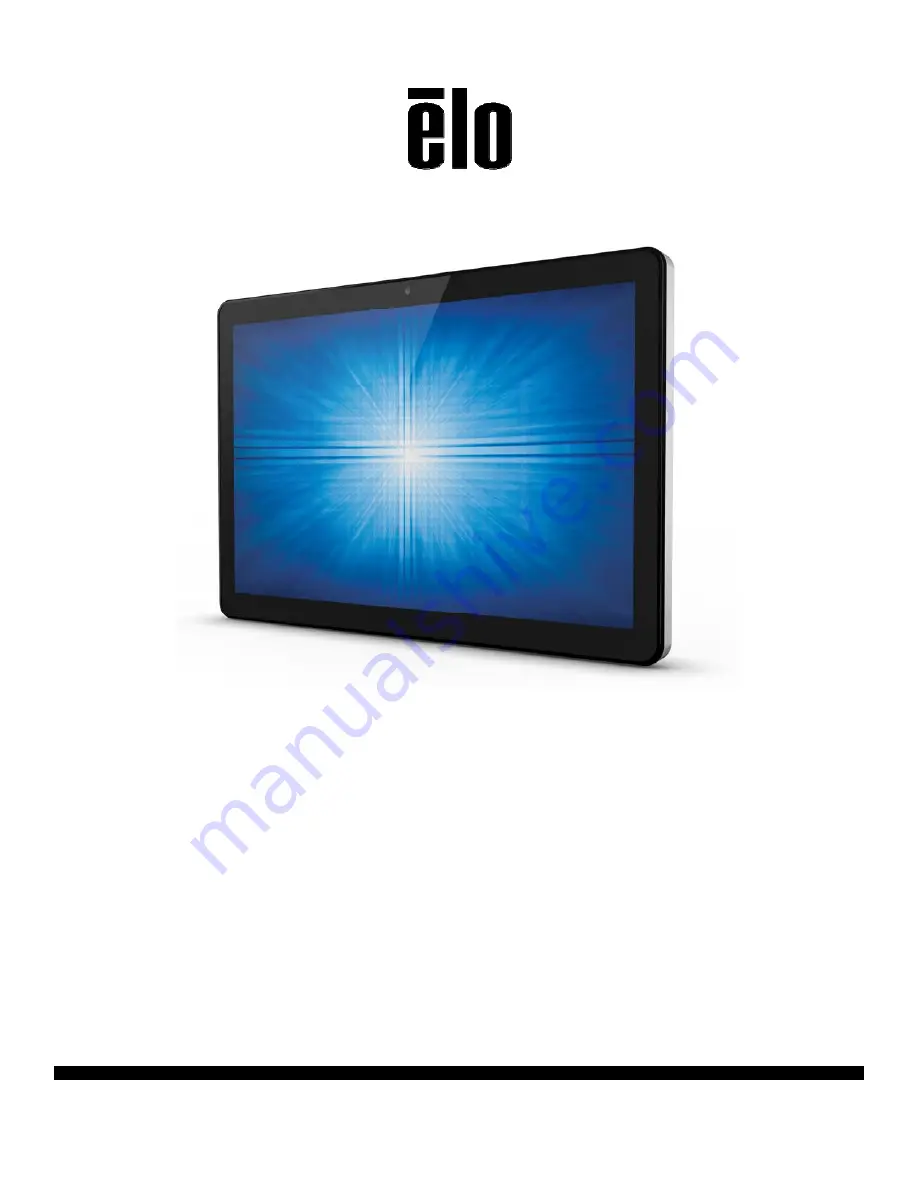
ESY15i2 15.6” Windows I-Series AiO Interactive Signage 

ESY22i2 21.5” Windows I-Series AiO Interactive Signage 

ESY15i5 15.6” Windows I-Series AiO Interactive Signage 

ESY22i5 21.5” Windows I-Series AiO Interactive Signage 

UM600086 Rev. A


Summary of Contents for ESY15i2

Page 1: ...e 1 of 45 USER MANUAL Elo Touch Solutions ESY15i2 15 6 Windows I Series AiO Interactive Signage ESY22i2 21 5 Windows I Series AiO Interactive Signage ESY15i5 15 6 Windows I Series AiO Interactive Signage ESY22i5 21 5 Windows I Series AiO Interactive Signage UM600086 Rev A ...

Page 2: ...imer The information in this document is subject to change without notice Elo Touch Solutions Inc and its Affiliates collectively Elo makes no representations or warranties with respect to the contents herein and specifically disclaims any implied warranties of merchantability or fitness for a particular purpose Elo reserves the right to revise this publication and to make changes from time to tim...

Page 3: ...nctionality Ethernet LED i2 product shown 16 Using the Input output Panel i2 product shown 16 Setting Up the Operating System 16 Creating the Recovery Flash Drive 19 Recovering the Operating System 23 Chapter 4 Options and Upgrades 26 Optional Peripherals Kits 26 Magnetic Stripe Reader Kit E001002 26 Near Field Communication Kit E001004 28 Barcode Reader Kit E093433 30 I Series 15 6 Stand Kit E044...

Page 4: ...User Manual Windows I Series Interactive Signage UM600086 Rev A Page 4 of 45 Chapter 8 Warranty Information 44 ...

Page 5: ...r computer is set to dim the display after 5 minutes of inactivity and enter the low power Sleep mode which shuts down the system after 30 minutes of inactivity We recommend that you leave this and other energy saving features active so that your touchcomputer will operate at its maximum energy efficiency You can wake the touchcomputer from Sleep mode by pressing the power button When considering ...

Page 6: ... is your responsibility to ensure that your I Series has adequate protection in the form of firewalls antivirus software and anti spyware software and keep them up to date Keep electrical appliances such as an electric fan radio high powered speakers air conditioner and microwave oven away from your I Series because the strong magnetic fields generated by these appliances can damage the screen and...

Page 7: ...th 1920x1080 LCD panel to provide superior display performance for displaying images and running applications The i2 models are fan less well suited for environments where noise may be an issue The i5 models with the 6th generation Intel CoreTM i5 processor and HD530 graphics are fan cooled and deliver superior performance when needed The I Series for Windows have a compact stylish design with a c...

Page 8: ...nage UM600086 Rev A Page 8 of 45 I Series Layout ESY I Series 15 6 21 5 Models i2 product shown I Series 15 6 21 5 front view left and clerk right side view right I Series 15 6 21 5 back view top and rear IO view bottom 1 4 6 2 5 3 7 8 9 10 11 12 ...

Page 9: ...O Connector 5 Kensington Lock 11 Audio Port Line out 6 Loops for Cable Ties 12 USB 3 0 Ports Elo Expansion Module optional for POS capability Layout Elo expansion module front side view Top rear view bottom 1 USB to Serial COM Ports 6 24V Powered USB Port Red 2 12V 24V Cash Drawer Power Switch 7 19V DC Input 3 Ethernet LAN USB Ports 8 Power LED 4 RJ11 Cash Drawer Port 9 USB Port to Host PC 5 12V P...

Page 10: ... The user can switch the input power to the cash drawer with either 12V or 24V input RJ11 Cash Drawer Port The cash drawer port is a RJ 11 connector and the default setting is set to 24V The pinouts is defined by the table below Pin Signal Name Pin Signal Name 1 GND 2 Channel1 3 DETECT 4 POWER 5 Channel 2 6 GND ...

Page 11: ... Quick Install Guide AC DC Power adapter Power cable for North America Europe and U K 3 Remove the protection bag cover from the unit and film on display desiccant packs and other packaging materials appropriately Please take extra caution to ensure they are not accessible by small children 4 Press the power button to start using the I Series The I Series for Windows system material package Window...

Page 12: ...ormation The system following the VESA pattern described in the following section The following three mounting orientations are supported Landscape portrait and table top except i2 models mode For optimal touch performance ensure that the system is supported fully and is as flat as possible Portrait ...

Page 13: ...tive Signage UM600086 Rev A Page 13 of 45 Landscape Table Top Rear VESA Mount A four hole 75x75mm and 100x100mm mounting pattern for M4 screws is provided on the rear of the system The VESA FDMI compliant counting is coded VESA MIS B 75 C ...

Page 14: ...e automatically saved User settings remain unchanged after powering off on or in the case of a power failure Front OSD Control Buttons The control buttons provide the following functions from right to left Feature Description Brightness Decrease brightness Brightness Increase brightness Volume Decrease speaker volume Volume Increase speaker volume Power Power on off the system Key Lock To Lock pre...

Page 15: ... color LED Color to Observer State Off No input power Off mode Red Input power present Off mode or hibernation Orange Input power present Standby Green Input power present Power On L E D Functionality Wireless LAN LED The I Series has a Wireless LAN LED indicating the wireless connection of the touchcomputer The table below shows Wireless LAN LED state and corresponding color Wireless State Wirele...

Page 16: ...the input output I O ports remove the cable cover at the bottom of the unit Two security screws need to be removed before accessing the I O ports Note As a safety precaution always leave the cable cover door attached when the system is powered on Setting Up the Operating System If configured with an operating system the initial setup of the operating system takes approximately 5 10 minutes Additio...

Page 17: ...ge at one time So you have to use the Elo language injection feature to modify your language preference English is set as the default language but you can change the language to suit your preferences 1 Power off your system completely 2 Power on your system 3 After the Elo splash screen shown below press or repeatedly to pause on Windows Boot Manager 4 Select either Restore OS 32bit or Restore OS ...

Page 18: ...User Manual Windows I Series Interactive Signage UM600086 Rev A Page 18 of 45 5 The following User Interface UI will be presented 6 Select Inject Language and the following UI will be presented ...

Page 19: ...system will reboot and new language UI should be presented when the system enters the Desktop Creating the Recovery Flash Drive All Windows 7 and Windows 10 touchcomputers come with the built in Elo Restore Utility on the Windows Desktop The utility is able to create a recovery flash drive based on the operating system you purchased Please create your recovery flash drive immediately In the event ...

Page 20: ... process 3 Once completed you shall see a pop up window to ask to insert a blank flash drive to any of available USB ports on your system 4 After the flash drive is inserted you shall see a window as shown below Click Format Drive to continue the process PLEASE NOTE THAT ALL DATA WILL BE LOST DURING THIS PROCESS ...

Page 21: ... on your system configurations and flash drive performance 6 Once the message shows Creation Restore Media success please remove the flash drive and click Exit to exit the program 7 In case the system is crashed and you have to use the recovery flash drive reboot the system and press F11 several times to enter Device Boot Menu Then choose boot from flash drive ...

Page 22: ...tion button 9 Follow the on screen instructions to complete the installation process and then exit the program Note All data is deleted during the recovery process The user must back up files when necessary Elo Touch Solutions does not accept liability for lost data or software Note The end user must adhere to Microsoft s Licensing Agreement ...

Page 23: ... procedures below PLEASE NOTE THAT ALL CUSTOMER SETTINGS AND DATA WILL BE LOST DURING THIS PROCESS Please be sure to completely backup all of your data settings and customer installed software before proceeding 1 Power off your system completely 2 Power on your system 3 After the Elo splash screen shown below press or repeatedly to pause on Windows Boot Manager 4 Select either Restore OS 32bit or ...

Page 24: ...e Signage UM600086 Rev A Page 24 of 45 5 The following User Interface UI will be presented 6 Select Restore OS System will test your hardware automatically Once the process completes click Start button to perform the system recovery function ...

Page 25: ...rocess 8 Once completed click the Close button The system will return to the main menu of the Elo Recovery Solution Then click the Exit button to restart your system NOTE All data is deleted during the recovery process The user must back up files when necessary Elo Touch Solutions does not accept liability for lost data or software NOTE The end user must adhere to Microsoft s Licensing Agreement ...

Page 26: ...ll Mount Kit E143088 I Series Floor Stand Kit E048069 I Series Shelf Mount Kit E043382 I Series GPIO Cable for I Series E211544 Elo USB Expansion Module E990645 Magnetic Stripe Reader Kit E001002 You can add a magnetic stripe reader MSR to the I Series in any of the three mounting locations located on the display head bottom left and right Software application and drivers can be found in the follo...

Page 27: ...3 Tracks Encryption Triple DES encryption Device Host Authentication Tokenization Power supply 5 0VDC 0 25V Power consumption 2 0 W Current draw 40 mA Current draw Suspend mode 500 uA Interface type Compatible with USB HID specification Encrypts security Level 2 Operating temperature 20 C to 80 C Encoded data compliance ANSI ISO AAMVA standards Reliability 1000K times swipes MSR allocation on I Se...

Page 28: ...y head bottom left and right of the touchcomputer The NFC Kit is a USB 2 0 device and compatible design for I Series all configurations The NFC Kit is powered by the USB port no external power is needed The NFC Kit specifications are shown in below table Feature Spec Description Standards ISO 14443 TYPE A and B compliant ISO 18092 compliant Encryption Encrypted card data AES or Triple DES DUKPT ke...

Page 29: ...M board optional Antennas Build in direct matching antenna Remote 50 ohm matching antenna optional Interface type USB2 0 compliant HID support Standard RS 232 signal level Power supply 5 0VDC 0 25V Power consumption 330mA idle mode 430mA operation mode Temperature 20 C to 70 C Operating 30 C to 70 C Storage Humidity 10 to 85 Operating 10 to 90 Storage NFC KIT allocation on I Series ...

Page 30: ...module The barcode reader peripheral shall have a USB connection to interface with the I Series system Feature Spec Description Light Source 660nm visible LED Optical sensor 2500 pixels Toshiba CCD sensor Resolution 3 mil Depth of Field 35 320mm PCS 30 or more Interface type USB HID RS 232 TTL KBW Voltage 5V DC 5 Power 120mA 5VDC typ Standby currents 20 30 mA Scanning Speed Up to 270 scans sec Ope...

Page 31: ...User Manual Windows I Series Interactive Signage UM600086 Rev A Page 31 of 45 ...

Page 32: ...Series Interactive Signage UM600086 Rev A Page 32 of 45 I Series 15 6 Stand Kit E044162 You can add a 15 6 Stand Kit to the I Series to turn the device into a desktop setup The maximum tilt angle is 70 from vertical position ...

Page 33: ...es Interactive Signage UM600086 Rev A Page 33 of 45 I Series 21 5 Stand Kit E044356 You can add a 21 5 Stand Kit to the I Series device to turn the system into a desktop setup The maximum tilt angle is 70 from vertical position ...

Page 34: ...anual Windows I Series Interactive Signage UM600086 Rev A Page 34 of 45 I Series Wall Mount Kit E143088 You can add a Wall Mount Kit to the I Series device onto the wall Basic installation steps show as below ...

Page 35: ...ay is black 1 If the Power Status LED is orange red the I Series may be in SLEEP HIBERNATE mode Press the power button to see if the display comes back 2 Internal cable or electrical part damage Check another cable or component is cracked or burned No Bootable Device Found 1 Confirm the product has loaded the OS 2 Storage device damage Try to swap with another new blank drive Abnormal No Touch fun...

Page 36: ... equipped with an AC DC power adapter Do not use a damaged AC DC power adapter Use only the AC DC power adapter supplied by Elo for the I Series Use of an unauthorized AC DC power adapter may invalidate your warranty Ensure that the system is maintained and runs within the specified environmental conditions listed below Environmental conditions for operating and storage Temperature Operating 0 C t...

Page 37: ... detergent It is important that your unit remains dry Do not get liquids on or inside the unit In the event that liquid does get inside have a qualified service technician inspect the unit before you power it on again Do not wipe the screen with a cloth or sponge that could scratch the surface When cleaning the touchscreen use window or glass cleaner applied to a clean cloth Never apply the cleane...

Page 38: ...ments please visit http www elotouch com AboutElo ewaste program UL Directive The I Series touchcomputer has a lithium battery included on the motherboard There is a risk of explosion if battery is replaced by an incorrect type Please dispose of used batteries according the region instructions Warning It is important that your touchcomputer remains dry Do not pour liquid into or onto your touchcom...

Page 39: ...2 this device must accept any interference received including interference that may cause undesired operation Note This equipment has been tested and found to comply with the limits for a Class A Class B digital device pursuant to Part 15 of FCC Rules These limits are designed to provide reasonable protection against harmful interference in a residential installation This equipment generates uses ...

Page 40: ...as established by the Radio Interference Regulations of Industrial Canada Notice to Users in the European Union Use only the provided power cords and interconnecting cabling provided with the equipment Substitution of provided cords and cabling may compromise electrical safety or CE Mark Certification for emissions or immunity as required by the following standards This Information Technology Equi...

Page 41: ...gital device and the receiver are on different branch circuits V Disconnect and remove any I O cables that the digital device does not use Unterminated I O cables are a potential source of high RF emission levels VI Plug the digital device into only a grounded outlet receptacle Do not use AC adapter plugs Removing or cutting the line cord ground may increase RF emission levels and may also present...

Page 42: ...uct may contain Component Name Toxic or Hazardous Substances and Elements Lead Pb Mercury Hg Cadmium Cd Hexavalent Chromium Cr6 Polybrominated Biphenyls PBB Polybrominated Diphenyl Ethers PBDE Plastic Parts O O O O O O Metal Parts X O O O O O Wire and Cable Assembly X O O O O O LCD Panel X X O O O O Touch Screen Panel X O O O O O PCBA X O O O O O Software CD etc O O O O O O O Indicates that this t...

Page 43: ... years The product will not leak or mutate under normal operating conditions listed below so that the use of this electronic information product will not result in any severe environmental pollution any bodily injury or damage to any assets Operating Temperature 0 35 C Humidity 20 80 non condensing Storage Temperature 30 60 C Humidity 5 95 non condensing 2 It is encouraged and recommended that thi...

Page 44: ...User Manual Windows I Series Interactive Signage UM600086 Rev A Page 44 of 45 Chapter 8 Warranty Information For warranty information go to http www elotouch com Support warranty asp ...

Page 45: ...he extensive range of Elo touch solutions go to www elotouch com or call the office nearest you North America Tel 800 ELO TOUCH Tel 1 408 597 8000 Fax 1 408 597 8050 customerservice elotouch com Europe Tel 32 0 16 70 45 00 Fax 32 0 16 70 45 49 elosales elotouch com Asia Pacific Tel 86 21 3329 1385 Fax 86 21 3329 1400 www elotouch com cn Latin America Tel 786 923 0251 Fax 305 931 0124 www elotouch ...

Reviews: