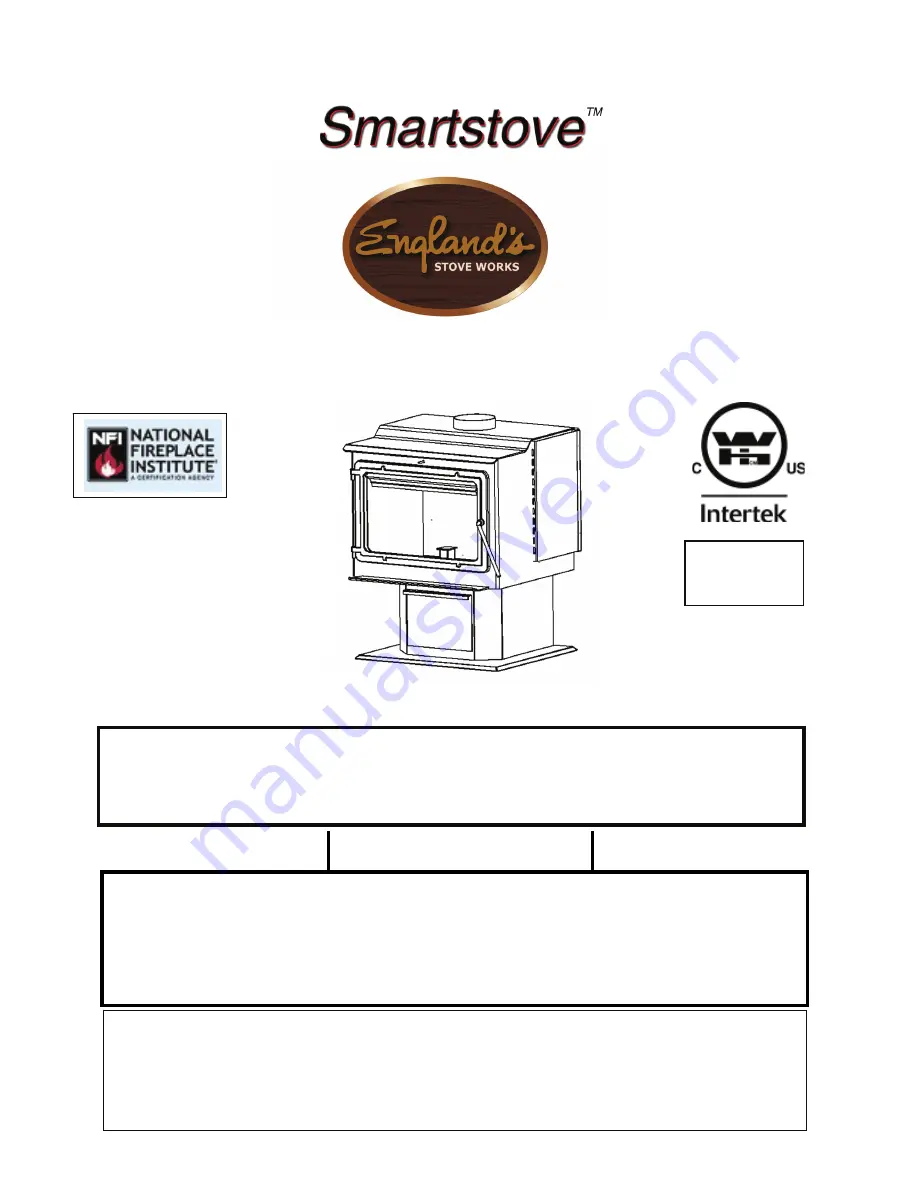
background image


15

SSW02,


50

SHSSW02,


50

TRSSW02


INSTALLATION


&


OPERATION


MANUAL


CAUTION


Please


read


this


entire


manual


before


installation


and


use


of


this


wood


fuel

‐ 

burning


appliance.


Keep


children,


furniture,


fixtures


and


all


combustibles


away


from


any


heating


appliance.


SAVE


THESE


INSTRUCTIONS


SAFETY


NOTICE


Failure


to


follow


these


instructions


can


result


in


property


damage,


bodily


injury


or


even


death.


For


your


safety


and


protection,


follow


the


installation


instructions


outlined


in


this


manual.


Contact


your


local


building


or


fire


officials


about


restrictions


and


installation


inspection


requirements


(including


permits)


in


your


area.


Rev.

10/13/2015


THIS


WOOD


HEATER


NEEDS


PERIODIC


INSPECTION


AND


REPAIR


FOR


PROPER


OPERATION.


CONSULT


THE


OWNER’S


MANUAL


FOR


FURTHER


INFORMATION.


IT


IS


AGAINST


FEDERAL


REGULATIONS


TO


OPERATE


THIS


WOOD


HEATER


IN


A


MANNER


INCONSISTENT


WITH


THE


OPERATING


INSTRUCTIONS


IN


THE


OWNER’S


MANUAL.


Manufactured


By:


England’s


Stove


Works,


Inc.


PO


Box


206


Monroe,


VA


24574


Summary of Contents for Smartstove 15-SSW02

Page 1: ...th For your safety and protection follow the installation instructions outlined in this manual Contact your local building or fire officials about restrictions and installation inspection requirements including permits in your area Rev 10 13 2015 THIS WOOD HEATER NEEDS PERIODIC INSPECTION AND REPAIR FOR PROPER OPERATION CONSULT THE OWNER S MANUAL FOR FURTHER INFORMATION IT IS AGAINST FEDERAL REGUL...

Page 2: ...of Manufacture Serial Number This information can be found on the safety tag attached to the rear of the unit Have this information on hand if you phone the factory or your dealer regarding this product Keep children away CAUTION Supervise children in the same room as this appliance Alert children and adults to the hazards of high temperatures Do NOT operate with protective barriers open or remove...

Page 3: ...ove Maintenance 21 Inspecting Gaskets 22 Finish 22 Replacing Components Glass 23 Burner Tubes 24 Ceramic Fiberboard 24 Heat Shield Back Panel 24 Other Components 25 Optional Accessories AC 16 AC 30 Blower 25 Important Information EPA and Safety Info 26 Troubleshooting Guide Troubleshooting 31 Illustrated Parts Detail Parts List 32 Exploded Parts Diagram 33 Brick Layout 34 Warranty Sample Tag 35 Wa...

Page 4: ...re heat from less fuel Please look at our vast Help section on our website and call our Technical Support Department at 800 245 6489 if you need any help with your unit We are nearly always able to walk you through any installation issues repairs problems or other questions that you may have Wishing you years of efficient quality and comfy heating EVERYONE AT ENGLAND S STOVE WORKS Please Note Whil...

Page 5: ...style insulation and a myriad of other factors Use this information in conjunction with a BTU loss calculation for your home to determine if this unit will be sufficient for your needs U S ENVIRONMENTAL PROTECTION AGENCY Certified to comply with 2015 particulate emission standards for wood heaters Not approved after sale after May 15 2020 TAMPER WARNING This wood heater has a manufacturer set mini...

Page 6: ... line Keeping the entire chimney system inside the heated envelope of the home will ensure a strong easy to initiate draft in the chimney Although exterior chimney systems often function properly they are more likely to suffer from cold down drafts at start up or provide weak draft to the unit Also consider the cross sectional area of the chimney although existing masonry chimneys can often be use...

Page 7: ...r to Rear Wall Unit to Rear Wall Unit to Corner Chimney Connector to Corner A B C D E F in mm in mm in mm in mm in mm in mm Single Wall Chimney Connector Unprotected Surface with side shields 16 406 4 26 5 673 1 15 381 9 228 6 13 330 2 13 330 2 Double Wall Chimney Connector Unprotected Surface with side shields 12 304 8 22 558 8 12 304 8 7 177 8 10 254 10 254 ...

Page 8: ...nal fire codes and if you re uncertain about how to safely install the stove we strongly recommend contacting a local NFI certified installer to perform the installation ALWAYS install vent pipe in strict adherence to the instructions and clearances included with your venting system DO NOT connect this wood stove to a chimney flue which also serves another appliance DO NOT install a flue pipe damp...

Page 9: ...tric or stovepipe damper with this unit Never use single wall or double chimney connector as a chimney system never pass either type of chimney connector through a combustible wall without carefully following the manufacturer s instructions and those listed in the following page on Wall Pass Throughs NEVER pass chimney connector through an attic floor closet or roof Only use 24 gauge MSG black sin...

Page 10: ...INSTALLATION Wall Pass Throughs In Canada the installation must conform to CAN CSA 8365 when passing through combustible construction Page 10 ...

Page 11: ...wall chimney connector joint check manufacturer s recommendations when double wall chimney connector is used Drill three holes in the flue collar of the unit and attach the chimney connector to the unit using sheet metal screws holes should be pre drilled in flue collar from factory Properly attach the prefabricated chimney system to the home in strict accordance with the prefabricated chimney sys...

Page 12: ...at each single wall chimney connector joint check manufacturer s recommendations when double wall chimney connector is used Drill three holes in the flue collar of the unit and attach the chimney connector to the unit using sheet metal screws holes should be pre drilled in flue collar from factory Properly attach the prefabricated chimney system to the home in strict accordance with the prefabrica...

Page 13: ...himney connector is used Drill three holes in the flue collar of the unit and attach the chimney connector to the unit using sheet metal screws holes should be pre drilled in flue collar from factory Avoid numerous elbows and excessive horizontal runs as both will lead to poor draft and increased creosote accumulation Horizontal runs of chimney connector must never exceed 4 0 ft and the overall le...

Page 14: ...t in a zero 0 clearance fireplace The manufacturer will not be held responsible for an accident resulting from this stove being installed on a hearth constructed of a combustible material Inspect your fireplace to ensure it is in proper working order and free of any obstructions Prior to installation remove the existing damper or wire it to fasten it open Venting Your Stove Direct Connect When thi...

Page 15: ...rk Arrestor Class A Chimney System Roof Flashing and Storm Collar Joist Shield Firestop Mobile Home Approved Double Wall Chimney Connector Use silicone to create a vapor barrier where the chimney passes through to exterior HUD CFR 3280 Part 24 as well as any applicable local codes Outside Combustion Air The use of outside combustion air is mandatory when installing this wood stove in a mobile or m...

Page 16: ...tor only serves to keep ashes and sparks from landing on combustible flooring near the unit A hearth rug is NOT an approved substitute for a proper hearth pad No R Value is necessary For the US The floor protector must extend at least 16 in from the front of the fuel opening 8 in from the sides of the door opening and 8 in from the rear of the unit For Canada The floor protector must extend at lea...

Page 17: ...coaling is often a result of burning wood at too high a burn rate and the coal bed should be allowed to burn down before reloading the stove with fresh wood Combustion air is delivered to the stove at two locations The majority of the primary combustion air enters the firebox via the air wash system which keeps the glass clean and feeds the primary combustion flames on the top surfaces of the wood...

Page 18: ...eratures and that the secondary combustion system is functioning properly Additionally follow the guidelines below for acceptable blower speeds When using the optional room air convection blower Part No AC 16 or you can upgrade to the AC 30 the blower should be operated as follows depending on heat output level Burn Rate High Medium High Medium Medium Low Low Blower Speed AC 16 High High Low Low L...

Page 19: ...se of toxic fumes or render the heater ineffective and cause smoke Burning fuels other than cordwood particularly coal and charcoal can result in hazardous concentrations of carbon monoxide being emitted into the dwelling For these reasons NEVER burn coal or charcoal in this cordwood stove Installing a carbon monoxide detector and being aware of the symptoms of carbon monoxide poisoning can help r...

Page 20: ... a fire with gasoline kerosene or charcoal starter Do not burn wet or green unseasoned logs Do not use logs made from wax and sawdust in your wood stove they are made for open hearth fireplaces If you use manufactured logs choose from those made from 100 percent compressed saw dust Build hot fires For most appliances a smoldering fire is not a safe or efficient fire Keep the doors to your wood bur...

Page 21: ...ns Thoroughly clean the chimney system and the chimney connector system Since the chimney connector is generally exposed to high exhaust temperatures inspect it carefully for leaks and weak spots replace any questionable pieces In the case of straight through the roof chimney system be certain to remove the ceramic fiber baffles before pushing the chimney sweeping brush down into the firebox Force...

Page 22: ...skets should only be replaced with equivalent fiberglass gaskets purchased from England s Stove Works specifically for this unit Gaskets 1 Door This unit comes with a rope gasket around the door that should be replaced at least every year To replace the door gasket Part AC DGKHD the old gasket must first be removed entirely prior to adding the new adhesive you may have to scrape the old cement fro...

Page 23: ...be light and water is normally sufficient to remove the deposits If stubborn soot persists use a cleaner made specifically for this purpose Do not scrape the glass or use abrasive cleaners 3 Rinse the glass with clean water and dry the glass before resuming normal operation Glass Replacement 1 Remove the door from the stove and rest it face down on a firm work surface 2 Using a 5 16 wrench remove ...

Page 24: ...n the tubes side by side Replace the tube previously removed Dog box replacement To replace the dog box first remove the ash pan Then remove the two 9 16 nuts that hold the carriage bolts in place Open the front door of the stove and lift up on the dog box Install new or existing carriage bolts into the holes on the flange of the dog box and re install in the reverse manner in which it was removed...

Page 25: ...h side convection channels which allow the room air blower to pick up heat from the hottest regions of the stove and transfer it into the home The mounting screws for the blower are installed into the rear convection channel at the factory mounting the blower only requires a 5 16 open end or socket wrench to remove these screws and install the blower When routing the power cord take care to keep a...

Page 26: ...imney system pulls air through the stove This unit must be installed in accordance with the following detailed descriptions of venting techniques not installing the stove in accordance with the details listed here can result in poor stove performance property damage bodily injury or death Avoid make shift compromises when installing the venting system England s Stove Works is not responsible for a...

Page 27: ...G Venting system surfaces get HOT and can cause burns if touched Noncombustible shielding or guards may be required The 10 3 2 Rule The chimney system must terminate 3 0 ft above the point where it s centerline passes through the roof AND the chimney must terminate 2 0 ft above part of the dwelling within a 10 ft radius of the chimney Operation and Maintenance Please refer to the Operation Operati...

Page 28: ...nformation Firewood is ready at 10 25 moisture content Newly cut logs can have a moisture content MC of 80 or more depending on species Since wood shrinks and can also split twist or otherwise change shape as it dries most wood is dried before being used Air drying or seasoning is the most common method used for cord wood In most parts of the United States the minimum moisture content that can be ...

Page 29: ...HEATER BURNING THESE MATERIALS MAY RESULT IN RELEASE OF TOXIC FUMES OR RENDER THE HEATER INEFFECTIVE AND CAUSE SMOKE Safe Wood burning Practices Once your wood burning appliance is properly installed follow these guidelines for safe operation Keep all flammable household items drapes furniture newspapers and books far away from the appliance Start fires only with newspaper dry kindling and all nat...

Page 30: ...to Back Smoke Detectors England s Stove Works Inc highly recommends the use of smoke detectors in every room of the house However locating a smoke detector directly above this unit can result in nuisance alarms CAUTION This unit is meant to operate only with door closed Smoke spillage and an inefficient lazy burn will result from attempting to operate the stove with the door open Additionally usin...

Page 31: ...rating Stove at Low Burn Rate 8 Wood Loaded Too Close to Glass Coals build up in firebox 9 Operating Stove at High Burn Rates 7 1 Operate the stove at higher burn rates to allow the air wash system to keep the glass clean 8 1 Never load wood so that it is touching the ceramic glass viewing window 9 1 Reduce combustion air control and allow coals to burn down before reloading Fire burns out of cont...

Page 32: ...0 1 Not shown Small standard blower AC 16 1 12 Glass gasket kit 3 4 flat AC GGK 1 16 Door gasket kit 3 4 high density AC DGKHD 1 3 Front burner tube AC W02FBT 1 17 Middle burner tube AC W02MBT 1 4 Rear burner tube AC W02RBT 1 13 Glass size 20 75 X 12 625 AC G70 1 2 Ceramic fiberboard AC W02CFB 1 Not shown Small spring handle Nickel Brass AC SH4N AC SH4 1 Not shown Large spring handle Nickel Brass ...

Page 33: ...Page 33 ILLUSTRATED PARTS DIAGRAM 16 ...

Page 34: ...des and rear will need to be installed after delivery DIAGRAM NUMBER BRICK SIZE PART NUMBER QUANTITY PER STOVE 1 9 X 4 X 1 25 AC SB 27 2 4 5 X 4 X 1 25 AC SB4 5 3 3 9 X 4 X 1 25 with Notch AC SBN1X3 1 4 9 X 2 5 X 1 25 AC SB9X2 5 2 ASH DUMP PLUG CA 30ADP 1 1 2 3 4 ...

Page 35: ...cture Date and Serial Number in the blank spaces on this sample tag for future reference This sample tag also shows the safety info such as UL ULC testing standard etc for your local officials or anyone else who may need reference information ...

Page 36: ...product including any cost or expense providing substitute equipment or service during periods of malfunction or non use 4 All liability for any consequential damage for breach of any written or implied warranty is disclaimed and excluded 5 This warranty does not cover internal wear parts of the combustion system including the firebrick lining and gaskets 6 Warranty is void if unit is not used acc...

Page 37: ...asy ways to send your warranty information in Mailing Address England s Stove Works Inc Technical Support Department P O Box 206 Monroe Virginia 24574 Fax Number 434 929 4810 Twenty four hours a day Online Registration Visit our warranty registration website at http www englanderstoves com warranty warranty html WARRANTY CARD LOCATED ON NEXT PAGE For parts warranty replacement procedures may be fo...

Page 38: ...City State Zip Code Unit Information Refer to the sticker on the back of the manual or box to complete this section IX Model Number Purchase Date X Purchase Price XI Serial Number Mfg Date Purchase Questions How did you first hear about our product Please check one Word of Mouth Burn Trailer Demonstration Internet Other Where did you receive information about our product Via Telephone Dealer Name ...

Reviews: