
I00422_Jan 22
enware.com.au
1300 369 273 | info@enware.com.au
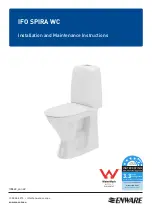
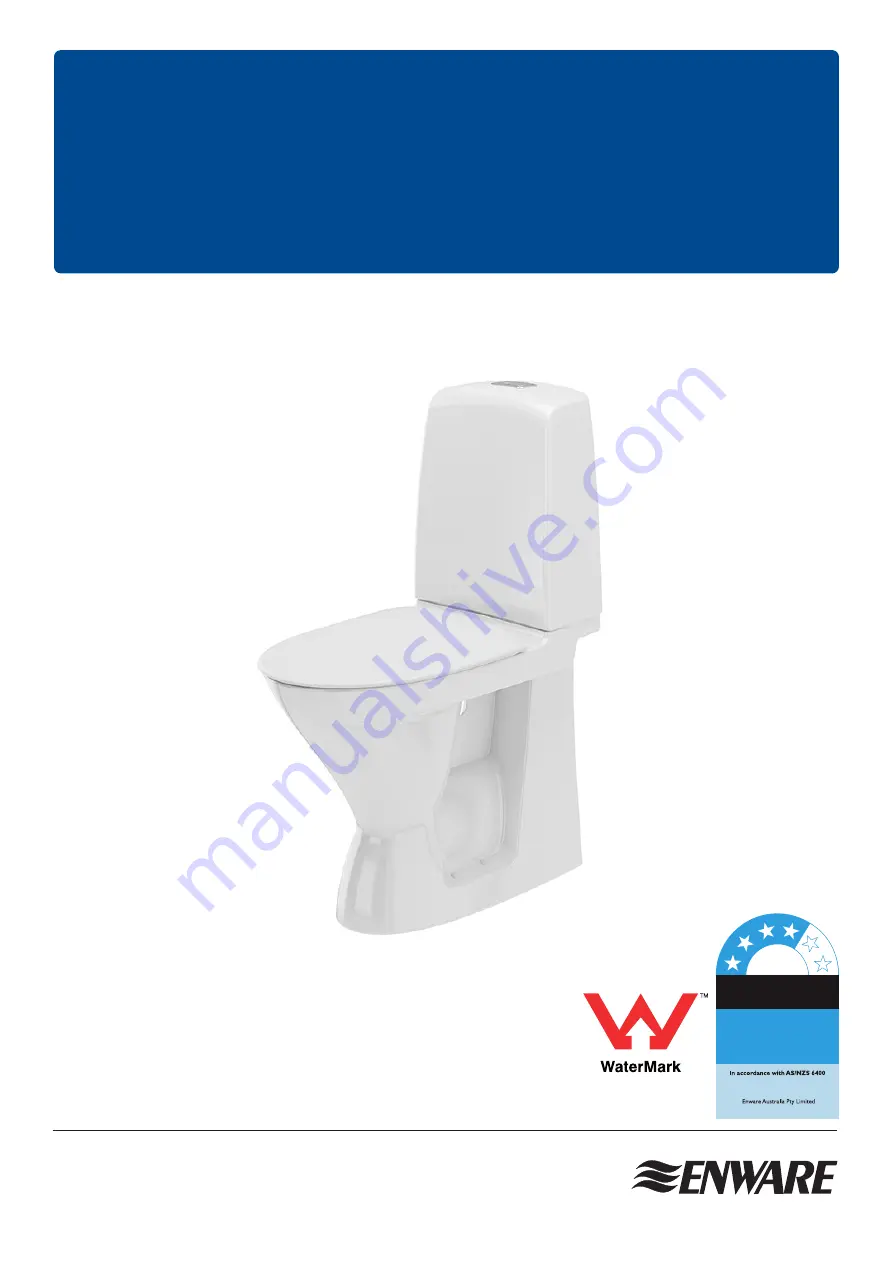
Installation and Maintenance Instructions
IFO SPIRA WC
The more
stars the more
water efficient
WATER RATING
www.waterrating.gov.au
3.3
litres
average flush
4.4 L per full flush / 3.1 L per half flush
Licence No. 0021
IFO/
AS1172-1
WM-040187


