Refill system for
EPSON Work Force 7110
INSTALLATION GUIDE
Thank you for choosing our products. Before the installation read ca-
refully this instructions. For any clarification or tecnical support
contact our costumer service: www.cheapoffice.it
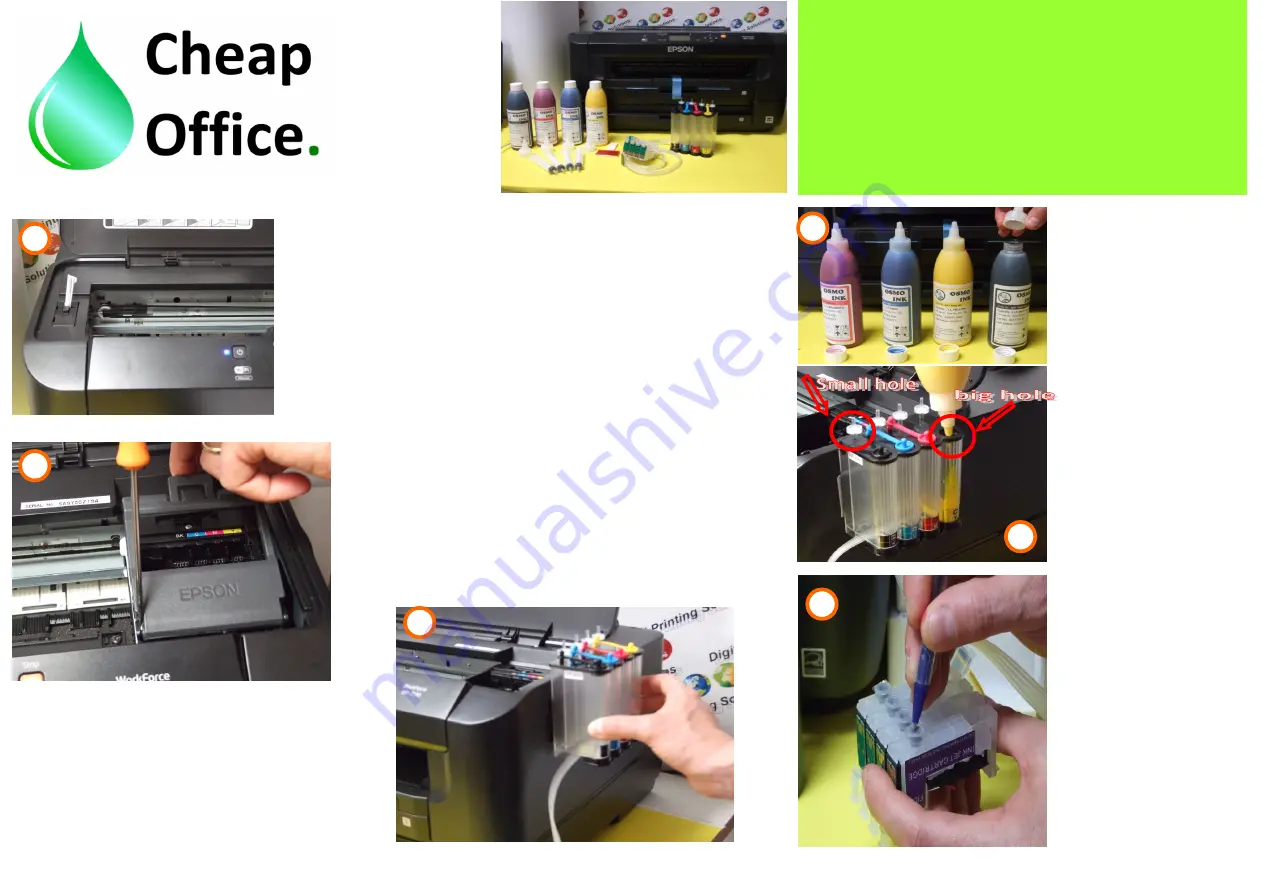
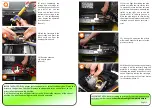
3) Manually move the printer trolley in
the cartridges change area, gently
remove the trolley cover levering with
a flat-blade screwdriver. Photo 2
4) Place the ink tanks on the
right side of the printer using
the adhesive velcro. Photo 3
5) Unscrew the bottle and
screw the measuring spout.
Photo 4
2) To facilitate assembly operations is necessary turn on the printer, wait a few
seconds and remove the power cable while the trolley moves to the left. After
removing the power cable, the printer trolley might be easly moved with your
hands.
1) Open the printer cover and insert a small piece of paper or plastic in the
closing sensor to allow the printer to work with the cover open without repor-
ting errors. Photo 1
6) Fill the tanks K/C/M/Y
following the colors sequen-
ce (photo 5).
NB: On the tanks upside the-
re are 4 big holes to refill
and 4 small holes that du-
ring the operation will must
be open, eventually you can
insert in them an air filter.
7) Reverse the cartridge
group. With a pen tip pierce
the plastic operulum that
protects the valves (Photo 6).
Pag 1/2
1
2
3
4
5
6


