

With Wybron Inside
User Manual
Rev B
November 2007
Copyright © 2007. Electronic Theatre Controls, Inc.
All rights reserved.
Product information and specifications subject to change.
Part Number:
7160M1210
Rev B
Released: November 2007
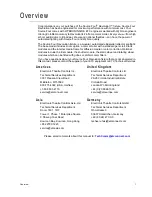
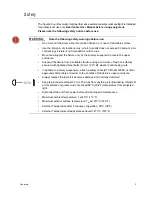
The Source Four Revolution high performance automated ellipsoidal spotlight is intended for professional
use only.
Read entire User Manual before using equipment.


