

1
2
3
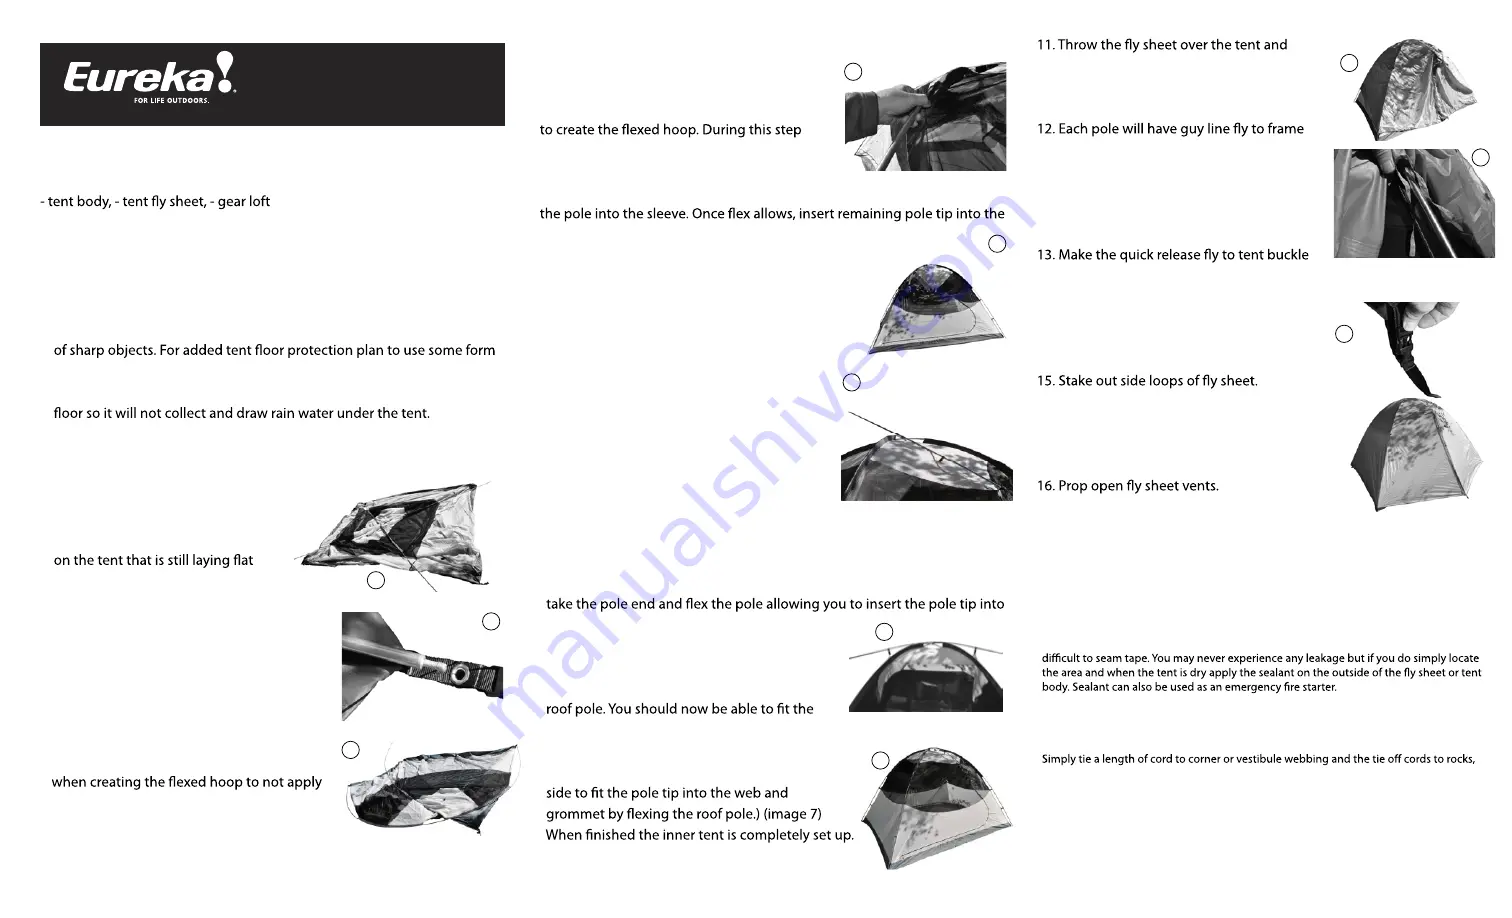
11
5
4
6
7
9
8
10
Component List:
- three poles, two long main body and one shorter roof pole
- guy lines x 4, - aluminum J stakes x 12
Assembly (Always assemble your tent at home before use to ensure
all parts are in good order and you understand how to erect your tent!)
10/2011
ASSEMBLY INSTRUCTIONS
for Summerside
1. Select a level site that will not pool rain water and that has been cleared
of tent ground sheet. (We suggest use of a Eureka Footprint to match
tent size) Important that groundsheet used is smaller than actual tent
2. Spread out the tent body in desired location. Build all three poles
ensuring ferrule connections are fully inserted. Failure to fully connect
pole sections can result in pole breakage.
3. Insert the two long poles through the
pole sleeves of the tent body. When
inserted they will create an X pattern
on the ground. (image 1)
TIPS
- Always have a tube of seam sealant (Seamgrip is one brand) as part of your tent package.
Your tent fabrics are waterproof and seams are taped but it is possible that pin point type
leaks can occur at areas where stitch lines go through seam tape or areas that are too
- Your tent must be packed dry and in a dry location when storing for extended periods.
Waterproof coatings on your tent can form mold causing your tent to lose waterproof
levels.
- If pitching tent in rocky terrain you can use lightweight nylon cords in place of stakes.
trees or other stable structures. Be sure to not damage trees in this process.
SERVICE
We can be reached at:
-
Johnson Outdoors Canada
, 4180 Harvester Road,
Burlington, Ontario, Canada, L7L 6B6
- or by phone at
905 634 0023
and
1 800 263 6390
- by website
www.eurekatentscanada.com
through ‘contact us’
4. Begin at one tent corner inserting the
pole tip into the corner web and grommet.
(image 2)
5. At the opposite end of that pole push it
further into the pole sleeves to create the
hoop shape and attach this pole end tip
into corner grommet. Always be careful
too much pressure. When completed one
pole has now formed a hoop. (image 3)
6. Connect one end of the next long pole into the corner grommet.
7. At the opposite end of this pole you will
push the pole further into the pole sleeve
the tent will ‘spring’ up and start to take shape.
To help in the process you can grab the edge
of the pole sleeve (image 4) and pull the fabric towards you while pushing
corner grommet.
8. At this point the tent body is in an upright
position (image 5) and can be staked into
position by staking at each corner. Be sure to
stretch the tent to full dimensions while staking.
9. The remaining short pole will be connected
over the top of the tent. Begin by inserting pole
tip into a web and grommet that is positioned
above the tent door. Then connect the clip,
found along the roof seam, to the pole
(image 6). (For the 6P sized tents we suggest
only connecting the clip and not the pole tip
into the grommet as this will make the next
step easier due to the height involved.)
10. Move to the opposite side of the tent. For the smaller tent sizes, simply
the web and grommet located above the tent
door. Attach remaining clip. (For the 6P size,
open the tent door zipper. This allows you to
step inside the tent and reach up to grab the
pole end into web and grommet found above
the tent door and attach the clip. (image 8)
You will then need to move back to the original
(image 8)
position vestibule doors in line with
tent doors. (image 9)
attachments (image 10) that should be
secured. This will add increased wind
stability should you experience windy
conditions.
connections at each tent corner
(image 11)
14. Stake out the vestibules.
Depending on the site you may need to
to the side loops before staking.
17. We suggest attaching the supplied four guylines, one to each corner
guyline loops, and stake out. (This MUST be done should you expect
stormy or windy conditions.)
attach a short piece of cord (not included)


