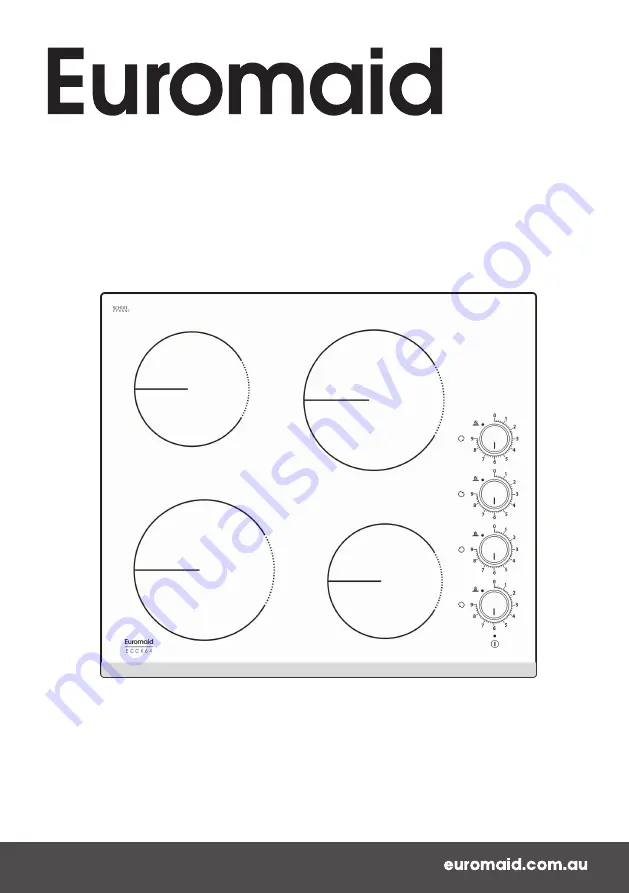
background image

User Manual

60cm Ceramic Cooktop

ECCK64

Summary of Contents for ECCK64

Page 1: ...User Manual 60cm Ceramic Cooktop ECCK64 ...

Page 2: ...sing the touch controls 10 Choosing the right cookware 10 Using your hob 11 Cooking guidelines 13 Heat settings 14 Care and Cleaning Troubleshooting 16 Technical Specification 16 Installation 17 Electrical connection 20 Disposal 21 15 anufacturer guarantee M otes 22 N 25 ...

Page 3: ... to the domestic wiring system must only be made by a qualified electrician Failure to follow this advice may result in electrical shock or death Cut Hazard Take care panel edges are sharp Failure to use caution could result in injury or cuts Important safety instructions Read these instructions carefully before installing or using this appliance No combustible material or products should be place...

Page 4: ...pliance The use of inappropriate guards can cause accidents Failure to install the appliance correctly could invalidate any warranty or liability claims Regarding the details of installation please refer to the section Installation Operation and maintenance Electrical Shock Hazard Do not cook on a broken or cracked cooktop If the cooktop surface is broken or cracked switch the appliance off immedi...

Page 5: ...to follow this advice could result in burns and scalds Cut Hazard The razor sharp blade of a cooktop scraper is exposed when the safety cover is retracted Use with extreme care and always store safely and out of reach of children Failure to use caution could result in injury or cuts Important safety instructions Never leave the appliance unattended when in use Boil overs cause smoking and greasy s...

Page 6: ...on your cooktop Do not stand on your cooktop Do not use pans with jagged edges or drag pans across the glass surface as this can scratch the glass Do not use scourers or any other harsh abrasive cleaning agents to clean your cooktop as these can scratch the ceramic glass which may result in shattering of the glass If the supply cord is damaged it must be replaced by the manufacturer its service ag...

Page 7: ... hob with fat or oil can be dangerous and may result in fire NEVER try to extinguish a fire with water but switch off the appliance and then cover flame e g with a lid or a fire blanket WARNING Danger of fire do not store items on the cooking surfaces WARNING If the surface is cracked switch off the appliance to avoid the possibility of electric shock for hob surfaces of glass ceramic or similar m...

Page 8: ...n order to fully understand how to install correctly and operate it Read all the safety instructions carefully before use and keep this Instruction Installation Manual for future reference Product Overview Top View 1 200mm max 1800 W zone 2 165mm max 1200 W zone 3 200mm max 1800 W zone 4 165mm max 1200 W zone 5 Control Panel ECC 64 K ...

Page 9: ...uide taking special note of the Safety Warnings section Remove any protective film that may still be on your ceramic hob The Control Panel 1 ON OFF key 2 Knob Power level indicators 3 Residual heat indicator 4 Heating zone indicator ECC 64 K ...

Page 10: ...lways lift pans off the ceramic hob do not slide or they may scratch the glass Using the Touch Controls The controls respond to touch so you don t need to apply any pressure Use the ball of your finger not its tip You will hear a beep each time a touch is registered Make sure the controls are always clean dry and that there is no object e g a utensil or a cloth covering them Even a thin film of wa...

Page 11: ...l automatically switch off You will need to start again at step 1 You can modify the heat setting between 1 and 9 level at any time during cooking Note Do not leave the cooking unattended When you have finished cooking 1 Turn the cooking zone off by turning knob control to OFF The Residual heat indicator will flash 2 Turn the whole cooktop off by touching the ON OFF key The residual heat indicator...

Page 12: ...default shutdown times are shown in the table below Power level 1 2 3 4 5 6 7 8 9 Default working timer hour 8 8 8 4 4 4 2 2 2 Residual Heat Warning When the hob has been operating for some time there will be some residual heat The indicator appears to warn you to keep away from the particular zone Auto Shutdown ...

Page 13: ...ng the food You should also cook egg based and flour thickened sauces below boiling point Some tasks including cooking rice by the absorption method may require a setting higher than the lowest setting to ensure the food is cooked properly in the time recommended Searing steak To cook juicy flavoursome steaks 1 Stand the meat at room temperature for about 20 minutes before cooking 2 Heat up a heav...

Page 14: ...r fry the vegetables When they are hot but still crisp turn the cooking zone to a lower setting return the meat to the pan and add your sauce 6 Stir the ingredients gently to make sure they are heated through 7 Serve immediately Heat Settings Heat setting Suitability 1 2 delicate warming for small amounts of food melting chocolate butter and foods that burn quickly gentle simmering slow warming 3 ...

Page 15: ...but beware of hot cooking zone surfaces 1 Switch the power to the cooktop off at the wall 2 Hold the blade or utensil at a 30 angle and scrape the soiling or spill to a cool area of the cooktop 3 Clean the soiling or spill up with a dish cloth or paper towel 4 Follow steps 2 to 4 for Everyday soiling on glass above Remove stains left by melts and sugary food or spillovers as soon as possible If le...

Page 16: ...Make sure the touch control area is dry and use the ball of your finger when touching the controls The glass is being scratched Rough edged cookware Unsuitable abrasive scourer or cleaning products being used Use cookware with flat and smooth bases See Choosing the right cookware Do not slide any cookware on the hob See Care and cleaning Weight and Dimensions are approximate Because we continually...

Page 17: ...ickness of the work surface is at least 30mm and suitable for the application Ensure the hob is well ventilated and the air inlet and outlet are not blocked Ensure the hob is in good working order Install Rangehoods and Exhaust Fans in accordance to the manufacturer s instructions No closer than 600mm above the hob for Rangehoods and 750mm for Exhaust Fans L mm W mm H mm D mm A mm B mm X mm 590 52...

Page 18: ...tallation will comply with all clearance requirements and applicable local standards and regulations A suitable isolating switch providing full disconnection from the mains power supply is incorporated in the permanent wiring and is mounted and positioned to comply with the local wiring rules and regulations The isolating switch will be easily accessible to the customer with the hob installed You ...

Page 19: ...stalled below the base of the hob The isolating switch is easily accessible by the customer Locating the fixing brackets Fix the hob on the work surface by screwing the four brackets on the bottom of hob after installation Adjust the bracket position to suit for different work surface s thickness Ensure the hob sits flat and square to the work surface and doesn t slide around Turn the unit over an...

Page 20: ... minimum contact opening of 3mm between the appliance and the mains The isolating switch should be sized according to the load on the appliance rating label and should comply with current regulations the earth wire should not be interrupted by the circuit breaker Connection to the electricity supply must be made by an authorized person in accordance with the wiring rules AS NZS3000 Ensure the supp...

Page 21: ...cycling of electrical and electronic goods This appliance requires specialist waste disposal For further information regarding the treatment recover and recycling of this product please contact your local council your household waste disposal service or the shop where you purchased it For more detailed information about treatment recovery and recycling of this product please contact your local cit...

Page 22: ...___________________ ______________________________________________________ ______________________________________________________ ______________________________________________________ ______________________________________________________ ______________________________________________________ ______________________________________________________ __________________________________________________...

Page 23: ...___________________ ______________________________________________________ ______________________________________________________ ______________________________________________________ ______________________________________________________ ______________________________________________________ ______________________________________________________ __________________________________________________...

Page 24: ...___________________ ______________________________________________________ ______________________________________________________ ______________________________________________________ ______________________________________________________ ______________________________________________________ ______________________________________________________ __________________________________________________...

Page 25: ...t be carried out by Glen Dimplex or their nominated service agent Note warranty periods detailed above may vary in line with agreements with select retail and builder partners and may differ between Australia and New Zealand The benefits conferred by this express warranty are in addition to the Consumer Guarantees referred to in section 3 and any other statutory rights you may have under the Austr...

Page 26: ...aired or replaced if the goods fail to be of acceptable quality and the failure does not amount to a major failure 4 How to make a claim You may make a claim under this warranty through our website contacting our customer care line or via email Contact details for Glen Dimplex Australia and New Zealand can be found at the end of this document To make a valid claim under this warranty you must a Lo...

Page 27: ...e Goods presented for repair may be replaced by refurbished goods of the same type rather than being repaired Refurbished parts may be used to repair the goods Products are designed and supplied for normal domestic use We will not be liable to you under this warranty for business loss or damage of any kind whatsoever Glen Dimplex Australia Pty Ltd Glen Dimplex New Zealand Ltd www glendimplex com a...

Page 28: ...adherence to the relevant electrical plumbing and building codes with compliance being issued as required by state or national legislation Additionally all upright cookers must have the anti tilt device installed correctly in adherence to the relevant standards by a licenced installer For maximum effectiveness and efficiency all rangehoods should be installed with the use of ductwork by a licenced...

Reviews: