Rev. 2.0, 2-15-2012
Fancy Foam Models, LLC
635 Laramie Cir. Maize, Ks. 67101
www.fancyfoam.com
SST (Sloper Steve Tribute) – Assembly Instructions.
The SST is a slope glider flying wing designed for
Ultrabatics. A thin symmetrical airfoil, light weight and
extra large elevons allow extreme aerobatic flight in even
the lightest lift.
These instructions will cover the build of both the 30”
version and 48” version. Notes will be provided
throughout these instructions about the few differences in
the build.
Recommended Electronics:
It is up to the builder to decide how light to build this kit.
The instructions are for the recommended build. It is your
option to deviate from this to make it lighter/less durable
or heavier/more durable.
Servos: (2) 9gram. - 48” SST
(2) 2.9gram – 30” SST
Receiver: 4-6 channel
Battery: 1 or 2 cell 600mah lipo – 48” SST
1 cell 360mah lipo – 30” SST
Transmitter: To achieve 90 deg up throw a computer radio
is required. Elevon mixing is also required.
Note: it is preferred that the receiver be able to take
direct 1 or 2 cell battery voltage. If not then you will need
a voltage regulator/booster as required.
Build options:
The SST can be built to weight between 7 and 12oz
depending on how light you want it to be verses
durabiltity.
An ultralight build mainly involves using less covering. The
Tiplets are only covered around the perimeter. The wing
leading edge is covered and part of the elevons are
covered. You can use as small of a battery as you want
and still get the CG correct.
A durable build would involve covering the whole wing and
tiplets. You can run a bigger battery with this build up to
about a 2s-700 mah.
Flying has shown that there is not very much advantage
to getting below 9oz weight so full covering can be done
without much concern.
In either case we recommend using a minimum of a
9gram servo due to the large size of the elevons.
Painting:
The covering is clear once it has been applied so painting
the bare foam works well. EPP is solvent resistant so
normal spray can paint like Krylon will work great.
Glue:
The recommended construction glue is Beacon Foam-Tac.
It is a clear contact adhesive that remains flexible when
dry which works excellent with the flexible EPP foam. It
can be used for general construction as well as for hinging
the control surfaces.
Wing construction:
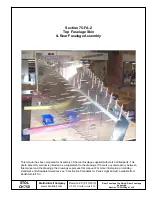
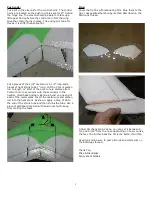
Glue the two wing halves together. When the glue is dry,
use straight pins to hold the spar as shown. The middle of
the spar should be about 7” from the leading edge . The
ends of the spar should be about 2” from the leading
edge.
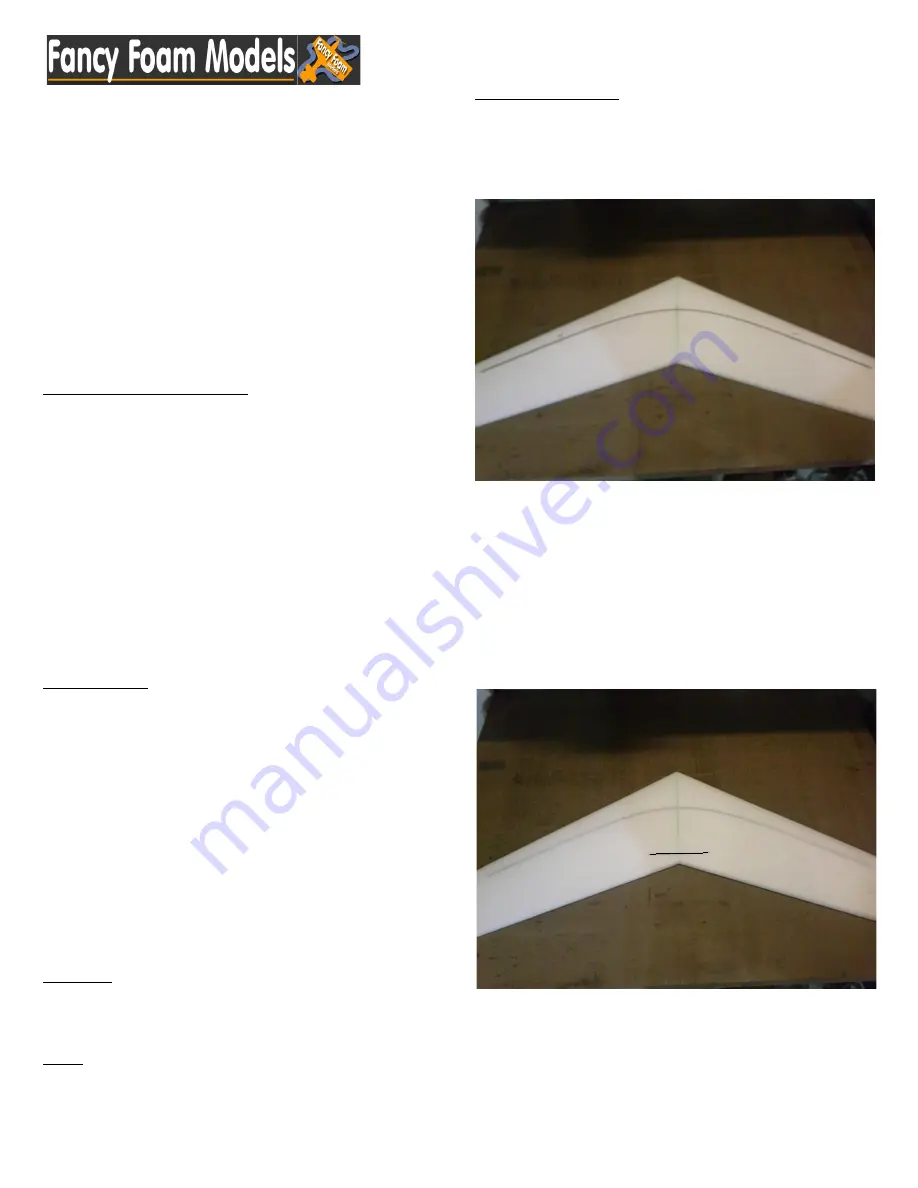
Cut a slit in the foam near the 0.5 x 3mm carbon spar.
The cut can be made ¼” off of the carbon to make the
cutting easier. Turn the wing over and repeat on the
bottom trying to make sure the spars are lined up. Apply
glue to the cut and press the spar through the glue and
into the cut so it is flush or just below the surface of the
wing. Straighten the wing so it is flat and let the glue
cure. Once the top side is done repeat on the bottom side.
Cut a slot and glue in a piece of 1.5mm x 6” carbon near
the trailing edge on the bottom.
Check the wing along the leading edge and make sure it is
straight. While the glue on the bottom spar is still wet any
bends in the wing can be removed. Once you are happy
that the wing is straight, set it aside for an hour so the
glue will set completely.
1