

Manual Instruction
A730-1
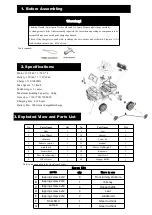
Special Note: /
The car hopper is a trim only. No loading people or goods.
◆
Please read the manual carefully before assembling;
◆
Preserve the manual properly for future reference;
◆
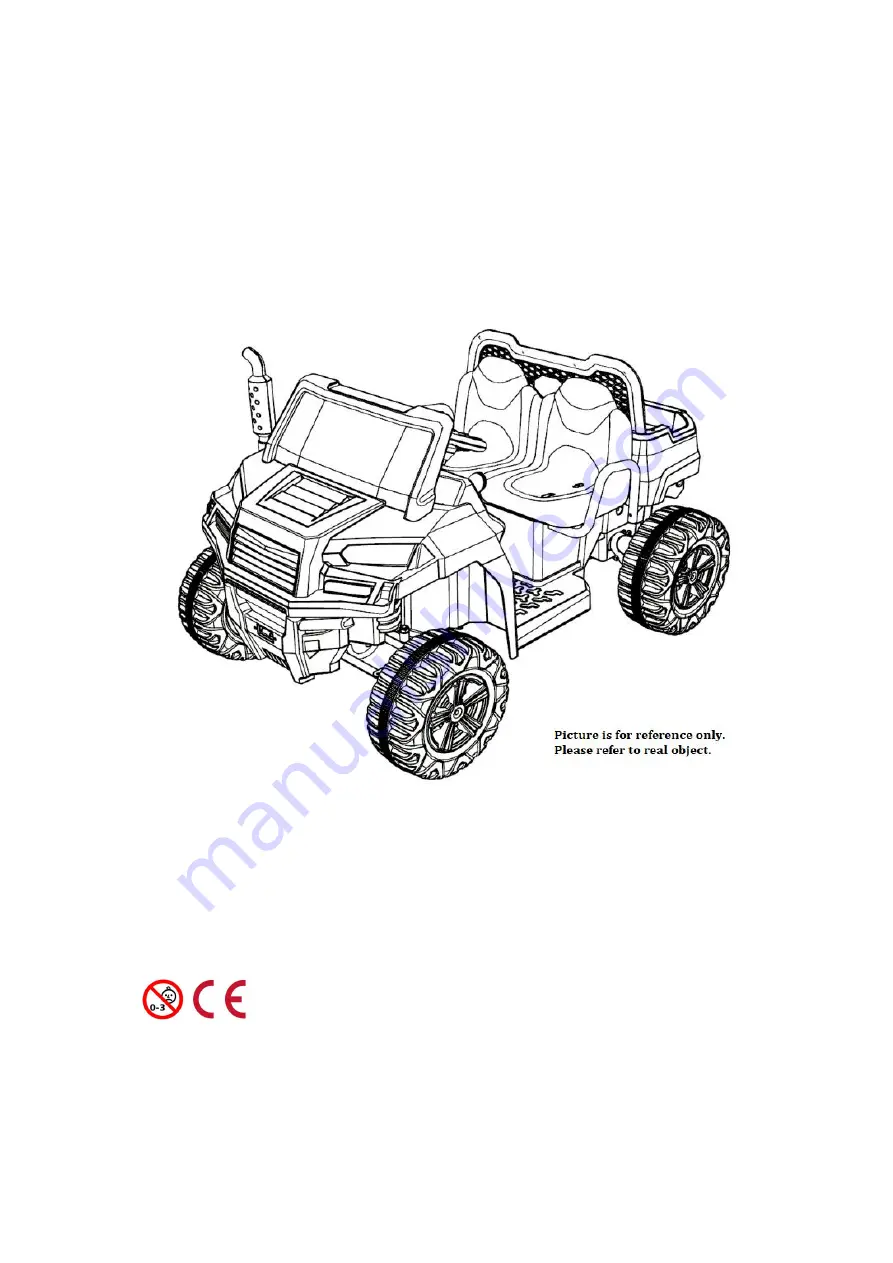
The manual is for assembling and using reference only. Details will be possibly
improved and updated, including structure, appearance, packing, functions, and etc.
Please refer to the real object as standard if there is something different from the manual.