background image

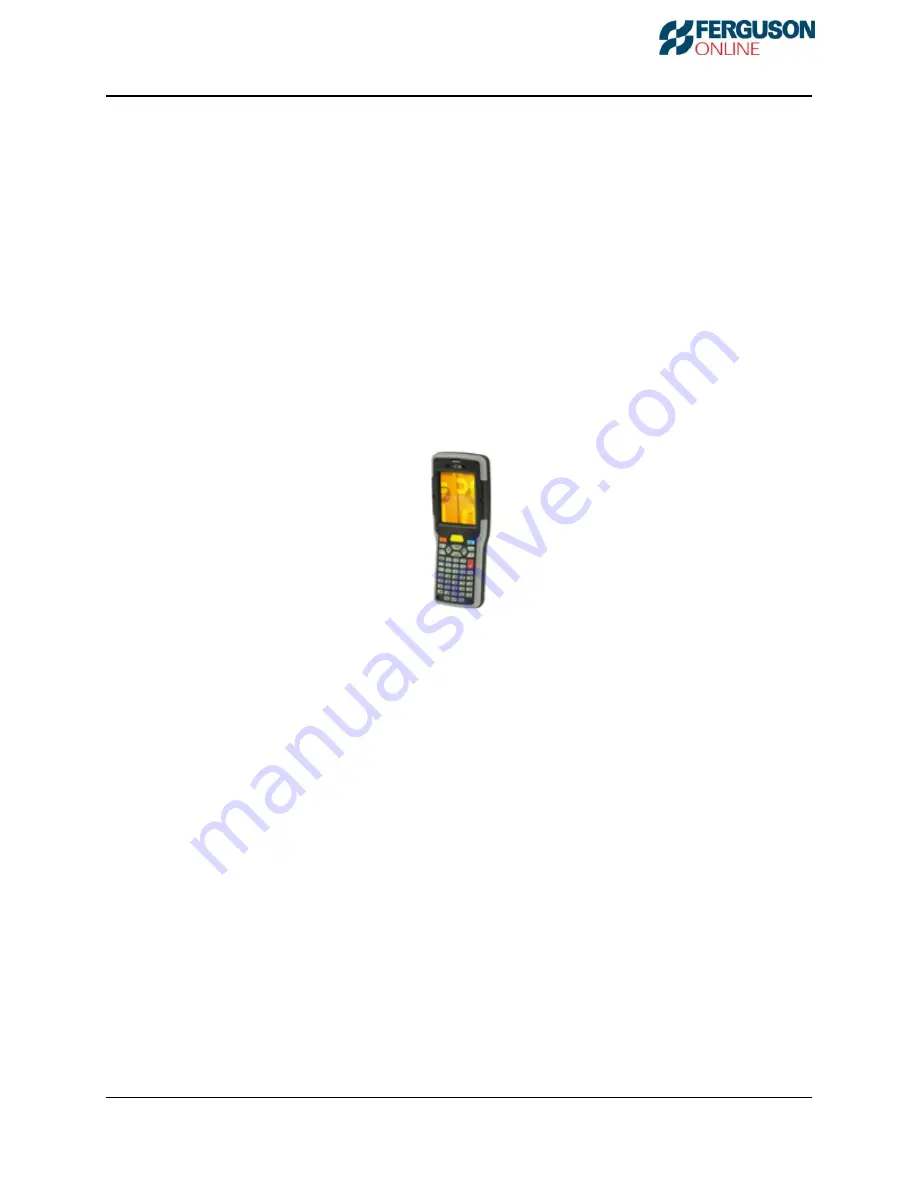
Ferguson Online Neo Wireless Scanner 

–  

Scanner User Guide 


Ferguson Online                                                                                                                                             
 

Page 1 of 45 


Ferguson Online NEO Scanner User Guide 

Summary of Contents for Online Neo

Page 1: ...Ferguson Online Neo Wireless Scanner Scanner User Guide Ferguson Online Page 1 of 45 Ferguson Online NEO Scanner User Guide...

Page 2: ...ndows Mobile Device Center Active Sync and the Upload Application onto your PC or laptop This guide is the User Guide after all installation is complete Contents Ferguson Online NEO Scanner User Guide...

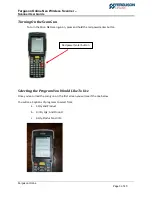
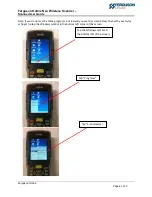
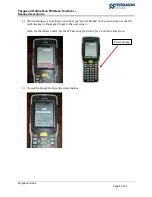
Page 3: ...NEO scan gun on press and hold the red power enter button Selecting the Program You Would Like To Use Once you ve turned the scan gun on the first screen you will see if the one below You will see 3 o...

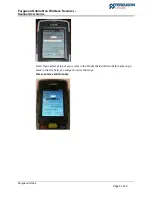
Page 4: ...age 4 of 45 Note If you do not see the three programs but instead you see the screen below then with your stylus or finger tip tap the Windows symbol in the bottom left corner of the screen Tap the Wi...

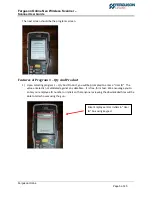
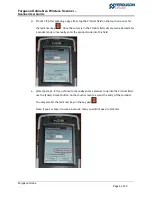
Page 5: ...1 Upon selecting program 1 Qty And Product you will be prompted to enter a User ID The value entered is not validated against any database It is free form text We encourage you to enter your employee...

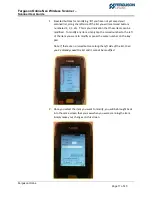
Page 6: ...entering your User ID you can either tap Enter Accept on the touch screen or use the red Enter key on the keypad to get to the next screen Note For the letters Y and Z hit the XYZ key once for X twic...

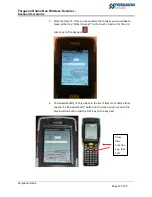
Page 7: ...ge the user tap Exit c Qty When you first come to this screen your curser will be in the Qty field Simply use the key pad to key the desired qty to be scanned or you may also scan a barcode that repre...

Page 8: ...Scanner Scanner User Guide Ferguson Online Page 8 of 45 Note If you attempt to put your cursor in the Product field and scan before entering a value in the Qty field you will get an error that says P...

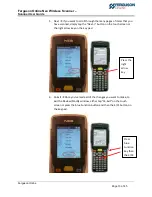
Page 9: ...in the Product field simply scan a barcode for a product code or manually enter the product code into this field e Enter Accept If you choose to manually enter a product code into the Product field u...

Page 10: ...mended that you review them and modify any that you might need to change To do that you may either tap the F1 Review Modify button on the touch screen or press the blue Function button and then the 1...

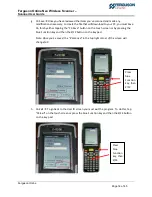
Page 11: ...at these items can be modified To modify any item simply tap the raised number to the left of the item you want to modify or press the same number on the key pad Note If there are no raised buttons al...

Page 12: ...es you would like to make either tap Enter Accept on the touch screen or hit the red enter key on the key pad 4 F1 Review Modify To go back to the list of items to modify either tap the F1 Review Modi...

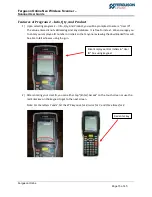
Page 13: ...anned simply tap the Next button on the touch screen or the right arrow key on the key pad 6 F4 Exit Once you ve made all of the changes you want to make to exit the Review Modify window either tap F4...

Page 14: ...apping the F2 Save button on the touch screen or by pressing the blue Function key and then the 2 F2 button on the key pad Note Once you ve saved the Scanned in the top right corner of the screen will...

Page 15: ...s free form text We encourage you to enter your employee ID number or initials so that anyone reviewing the downloaded files will be able to tell who was using the gun 2 After entering your User ID yo...

Page 16: ...User Guide Ferguson Online Page 16 of 45 3 You will be brought to the entry screen below a Scanned This value will display the number 0 before you begin scanning products If you successfully scan an...

Page 17: ...Ferguson Online Neo Wireless Scanner Scanner User Guide Ferguson Online Page 17 of 45 b User ID This is the User ID that you entered in the previous step To change the user tap Exit...

Page 18: ...of items scanned It is free form text Note By selecting the Info Qty And Product program it is implied that you will enter an Info value This field is required when using this program Note When you do...

Page 19: ...a barcode that represents a qty Note you must either hit the red Enter key or tap the Product field to move on to scanning If you put a qty in and attempt to scan without hitting Enter the gun will b...

Page 20: ...in the Product field simply scan a barcode for a product code or manually enter the product code into this field f Enter Accept If you choose to manually enter a product code into the Product field u...

Page 21: ...iew Modify button on the touch screen or press the blue Function button and then the 1 F1 key on the key pad h F1 Review Modify Once you have scanned all of the items it is recommended that you review...

Page 22: ...not yet saved your scanned list along the left side of the list you will see raised buttons numbered 1 2 3 etc This is your indication that these items can be modified To modify any item simple tap t...

Page 23: ...were scanning the item Simply make your changes on this screen 3 Enter Accept Once you have made the changes you would like to make either tap Enter Accept on the touch screen or hit the red enter key...

Page 24: ...ms that you have scanned simply tap the Next button on the touch screen or the right arrow key on the key pad 6 F4 Exit Once you ve made all of the changes you want to make to exit the Review Modify w...

Page 25: ...y modifications necessary to create the file that will download to your PC you must Save Do this by either tapping the F2 Save button on the touch screen or by pressing the blue Function key and then...

Page 26: ...uide Ferguson Online Page 26 of 45 j F4 Exit To go back to the User ID screen you must exit the program To do this tap F4 Exit on the touch screen or press the blue Function key and then the 4 F4 butt...

Page 27: ...s free form text We encourage you to enter your employee ID number or initials so that anyone reviewing the downloaded files will be able to tell who was using the gun 2 After entering your User ID yo...

Page 28: ...User Guide Ferguson Online Page 28 of 45 3 You will be brought to the entry screen below a Scanned This value will display the number 0 before you begin scanning products If you successfully scan an...

Page 29: ...l be in the Qty field Simply use the key pad to key the desired qty to be scanned or you may also scan a barcode that represents a qty Note you must either hit the red Enter key or tap the Product fie...

Page 30: ...nd scan before entering a value in the Qty field you will get an error that says Please enter a valid Quantity d Product After entering a qty either tap the Product field on the touch screen or hit th...

Page 31: ...te By selecting the Qty Product And Info program it is implied that you will enter an Info value This field is required when using this program Note When you download your scanned items to your comput...

Page 32: ...the entry of that product record You may also hit the red Enter key on the key pad g F1 Review Modify Once you have scanned all of the items it is recommended that you review them and modify any that...

Page 33: ...at these items can be modified To modify any item simple tap the raised number to the left of the item you want to modify or press the same number on the key pad Note If there are no raised buttons al...

Page 34: ...en or hit the red enter key on the key pad 4 F1 Review Modify To go back to the list of items to modify either tap the F1 Review Modify button on the touch screen or push the blue Function button and...

Page 35: ...uson Online Page 35 of 45 6 F4 Exit Once you ve made all of the changes you want to make to exit the Review Modify window either tap F4 Exit on the touch screen or press the blue Function button and t...

Page 36: ...pping the F2 Save button on the touch screen or by pressing the blue Function key and then the 2 F2 buttons on the key pad Note Once you ve saved the Scanned in the top right corner of the screen will...

Page 37: ...re the cradle is plugged in to a power outlet Also make sure it is plugged into a USB port on your PC 2 Make sure the scan gun is turned on 3 Dock the scan gun in the cradle You will see a small green...

Page 38: ...er User Guide Ferguson Online Page 38 of 45 B Select Number of Partnerships Leave the default bullet to Yes I want to synchronize with only this computer and click Next C Select Synchronization Settin...

Page 39: ...f 45 D Setup Complete Click Next Note You may need to undock the gun and re dock it just this first time 4 When you dock the scan gun a Microsoft ActiveSync window will pop up and it will say Connecti...

Page 40: ...ne Page 40 of 45 5 Once it is done synching with the scan gun it will say Connected and Synchronized 6 In the bottom right tool bar on your PC you may see this bubble pop up 7 To see the files that yo...

Page 41: ...Ferguson Online Neo Wireless Scanner Scanner User Guide Ferguson Online Page 41 of 45 8 Locate the EComTransfer folder and double click it...

Page 42: ...f 45 9 There will be several files in the folder a If you used one of the Info programs on the gun there will be one csv file for every Info value that you entered This is sample output of one of the...

Page 43: ...45 b If you used the Qty And Product program on the gun your scanned items will be located in the file called ScannedProducts This is sample output of the ScannedProducts file This is the file that wi...

Page 44: ...ms on the scan gun and you would like to see a complete list of all items scanned no matter what info values you entered you can see this in the ScannedSummary file This is sample output of the Scanne...

Page 45: ...er Scanner User Guide Ferguson Online Page 45 of 45 Turning Off the Gun To turn the Psion NEO scan gun off press the blue Function key and then the red power enter button Press the blue Function key a...

Reviews: