background image

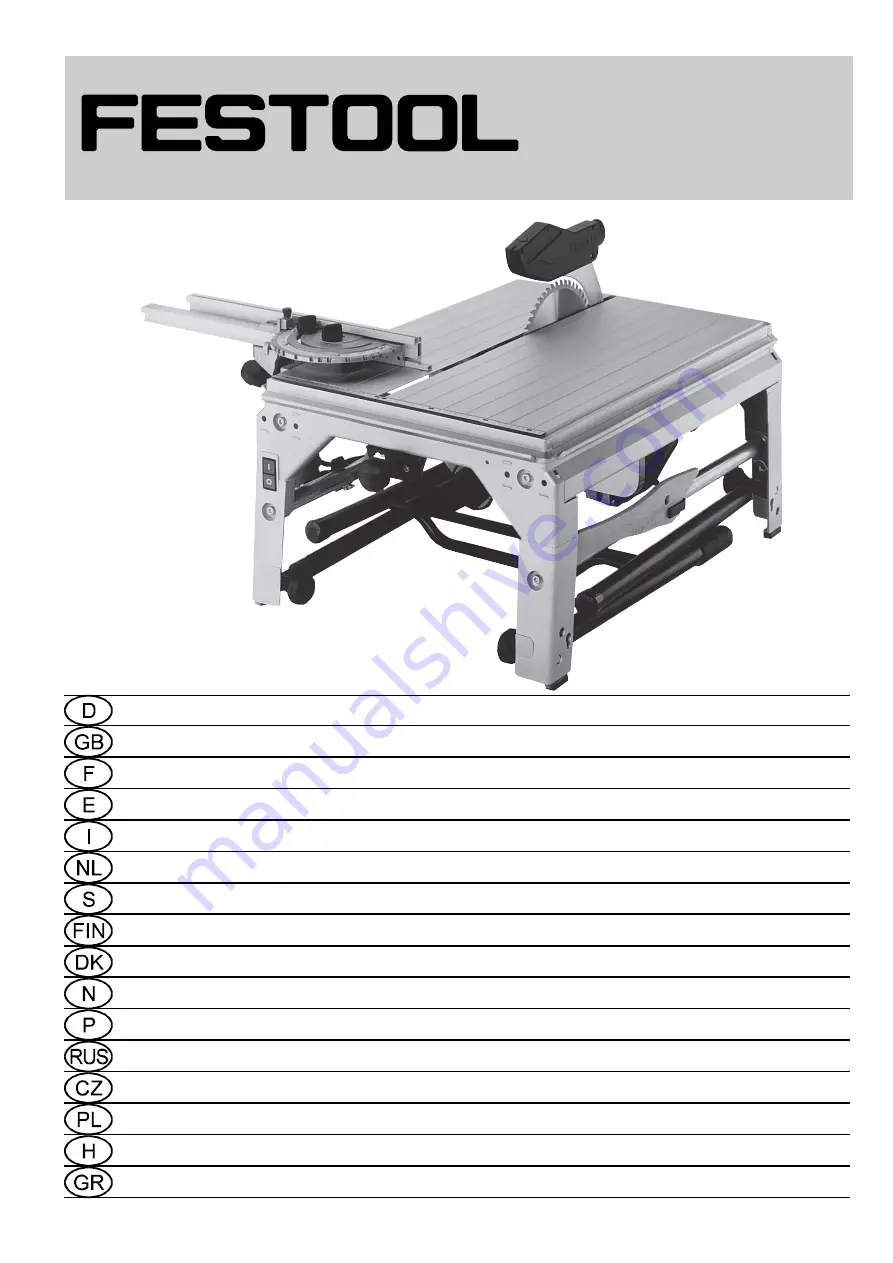
PRECISIO

CS 70 EB

CS 70 E

Bedienungsanleitung

6 - 11

Operating  Instructions

12 - 17

Mode d’emploi

18 - 24

Instrucciones  de  servicio

25 - 30

Istruzioni  d’uso

31 - 36

Gebruiksaanwijzing

37 - 42

Bruksanvisning

43 - 48

Käyttöohje

49 - 54

Driftsvejledning

55 - 60

Bruksanvisning

61 - 66

Instruções de uso

67 - 73

Ðóêîâîäñòâî ïî ýêñïëóàòàöèè

74 - 80

Návod k obsluze

81 - 85

Instrukcja obs³ugi

86 - 91

Kezelési  utasítás

92 - 97

Ïäçãßá  ëåéôïõñãßáò

98 - 104

Festool GmbH   Wertstr. 20   D-73240 Wendlingen   

(

  07024/804-0

461 

001_002

Seen at Ideal Tools.

Summary of Contents for Precisio CS 70 E

Page 1: ... 36 Gebruiksaanwijzing 37 42 Bruksanvisning 43 48 Käyttöohje 49 54 Driftsvejledning 55 60 Bruksanvisning 61 66 Instruções de uso 67 73 Ðóêîâîäñòâî ïî ýêñïëóàòàöèè 74 80 Návod k obsluze 81 85 Instrukcja obs ugi 86 91 Kezelési utasítás 92 97 Ïäçãßá ëåéôïõñãßáò 98 104 Festool GmbH Wertstr 20 D 73240 Wendlingen 07024 804 0 461 001_002 Seen at Ideal Tools ...

Page 2: ...Seen at Ideal Tools ...

Page 3: ...Seen at Ideal Tools ...

Page 4: ...Seen at Ideal Tools ...

Page 5: ...Seen at Ideal Tools ...

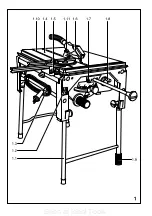
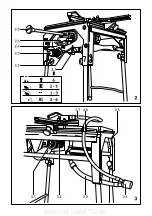
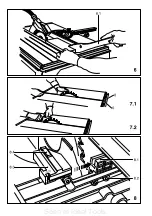
Page 6: ...to its upper position by pulling upwards firmly 7 2 Inthisposition theencloseduppersaw cover is screwed onto the riving knife with a screw Turn the knob 2 6 to the left to release the saw lock the saw now slides into the idle position on its own The return speed can be adjusted by altering the damping at the setting screw 3 5 The end cap 1 9 can be rotated to adjust the height of the front right f...

Page 7: ...m 0 70 mm by turning the crank 1 6 A clean saw cut is obtained when the pre set depth of cut is 2 5 mm larger than the thickness of the workpiece 8 2 Adjusting angle cuts Lock the saw in its setting up position foremost position Release the clamp 2 4 so that the saw can be pivoted with the rotary knob 2 3 from 0 45 according to the scale 2 5 Visible edges must match cleanly during exact fitting wo...

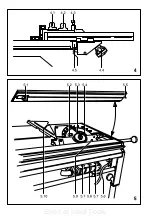
Page 8: ...he lower protective hood Join both suction hoses with a Y piece 3 4 and connect to a dust extractor with a Ø 50 mm connection 10 2 General remarks If dust chips block the suction channel of the lower protective hood open the flap 5 6 by a gap of approx 8 mm by releasing the rotary knob 5 8 and remove the blockage In the event of serious blockages or if saw sections jam the seals 5 7 can be release...

Page 9: ...automatically and the tool comes to a standstill If this occurs the machine should be returned to a Festool customer service workshop or specialised workshop to change the brushes The specialised workshop can order repair instructions from Festool under the order no 450 157 to carry out the following simple repairs change brushes change the belt replace the electronics clean the scraper on the gui...

Page 10: ...ews 8 1 14 9 Fitting a screw clamp A screw clamp Order no 489570 can be inserted into the groove 1 10 Workpieces can be clamped in place with the screw clamp 15 Miscellaneous Warranty Our equipment is under warranty for at least 12 months with regard to material or production faults in accordance with national legislation IntheEUcountries thewarrantyperiodis24months an invoice or delivery note is ...

Page 11: ... mellett ezennel tanúsítjuk hogy a jelen termék megfelel az alábbi szabványoknak ill szabványdokumentációnak EN 61 029 EN 55 014 EN 61 000 a 98 37EG 89 336 EWG irányvonalak rendelkezései szerint Leitung Forschung und Entwicklung Management Research and Development Direction de recherce et développement Festool GmbH Wertstr 20 D 73240 Wendlingen Dr Johannes Steimel EC Declaration of Conformity We d...

Page 12: ...Festool GmbH Postfach 1163 D 73236 Wendlingen Wertstraße 20 D 73240 Wendlingen 07024 804 0 Fax 07024 804 608 http www Festool com Seen at Ideal Tools ...

Reviews: