background image

INSTRUCTION MANUAL

SMOKE SENSOR

FIBARO SYSTEM

Summary of Contents for Smoke Sensor

Page 1: ...INSTRUCTION MANUAL SMOKE SENSOR FIBARO SYSTEM ...

Page 2: ...nical support Should you need any assistance in connecting or configuring your Home Center please use our guides and technical presentations which can be found on our website http www fibaro com en support ...

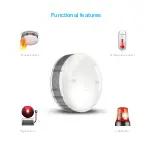
Page 3: ...Smoke sensor Temperature sensor Signal alarm Light alarm Functional features ...

Page 4: ...Download FIBARO app for smartphone ...

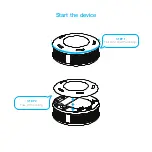
Page 5: ...Start the device Twist and open the casing STEP 1 Take off the casing STEP 2 ...

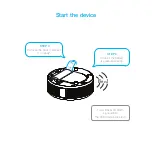
Page 6: ...Beep Check if the battery is placed correctly STEP 4 Remove the battery blocker I m ready STEP 3 Start the device You will hear an alarm signal while the LED diode blinks red ...

Page 7: ...Start the device Close the casing STEP 5 It s not possible to close the device without the battery ...

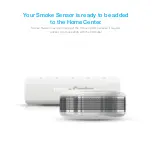
Page 8: ...Your Smoke Sensor is ready to be added to the Home Center Smoke Sensor must be in range of the Home Center because it requires a direct communication with the controller ...

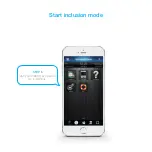
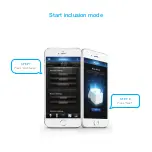
Page 9: ...Start inclusion mode Start your FIBARO application Go to Settings STEP 6 ...

Page 10: ...STEP 8 STEP 7 Start inclusion mode Press Next Press add device ...

Page 11: ...Inclusion mode has been launched ...

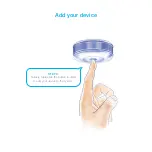
Page 12: ...Add your device Quickly triple click the button in order to add your device to the system STEP 9 ...

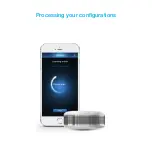
Page 13: ...Processing your configurations ...

Page 14: ...Wake up the device Press the button in order to wake up the device Sometimes waking up the device is not required so it will be omitted automatically STEP 10 ...

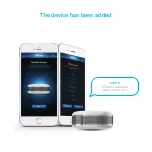
Page 15: ...The device has been added Name the device and assign it to the room STEP 11 ...

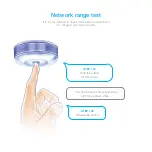
Page 16: ...est You should hear a short signal while LED diode blinks white STEP 12a Hold the button for 3 seconds STEP 12b Release the button It is recommended to check if the device s destination is in range of your Home Center ...

Page 17: ...ve testing mode STEP 14 Network range test STEP 13 Press the button when the indicator glow pink Direct communication Routed communication Limited communication No signal The device will not work correctly The quality of the network range will be indicated by different colours of the LED diode ...

Page 18: ...stalled in the tallest space of the room 4 The device should not be installed in draft places in location with a natural smoke or steam e g above the oven and kettle as well as in well lightened spaces 2 Minimum distance From walls and other objects 40 cm From lightning system 50 cm From air conditioners 1 5 m During the installation it is recommended to wake up the device ...

Page 19: ...Alarm and information signal Damage A beep every 50 seconds and a light alarm Fire Three beeps every 1 5 seconds and red light alarm Low battery level A beep every 50 seconds and yellow light alarm ...

Page 20: ...www fibaro com ...

Reviews: