
w w w . f i n g e r t e c . c o m
w w w . f i n g e r t e c . c o m
User Guide
©
2013
FingerTec Worldwide Sdn. Bhd. All rights reserved • 052013
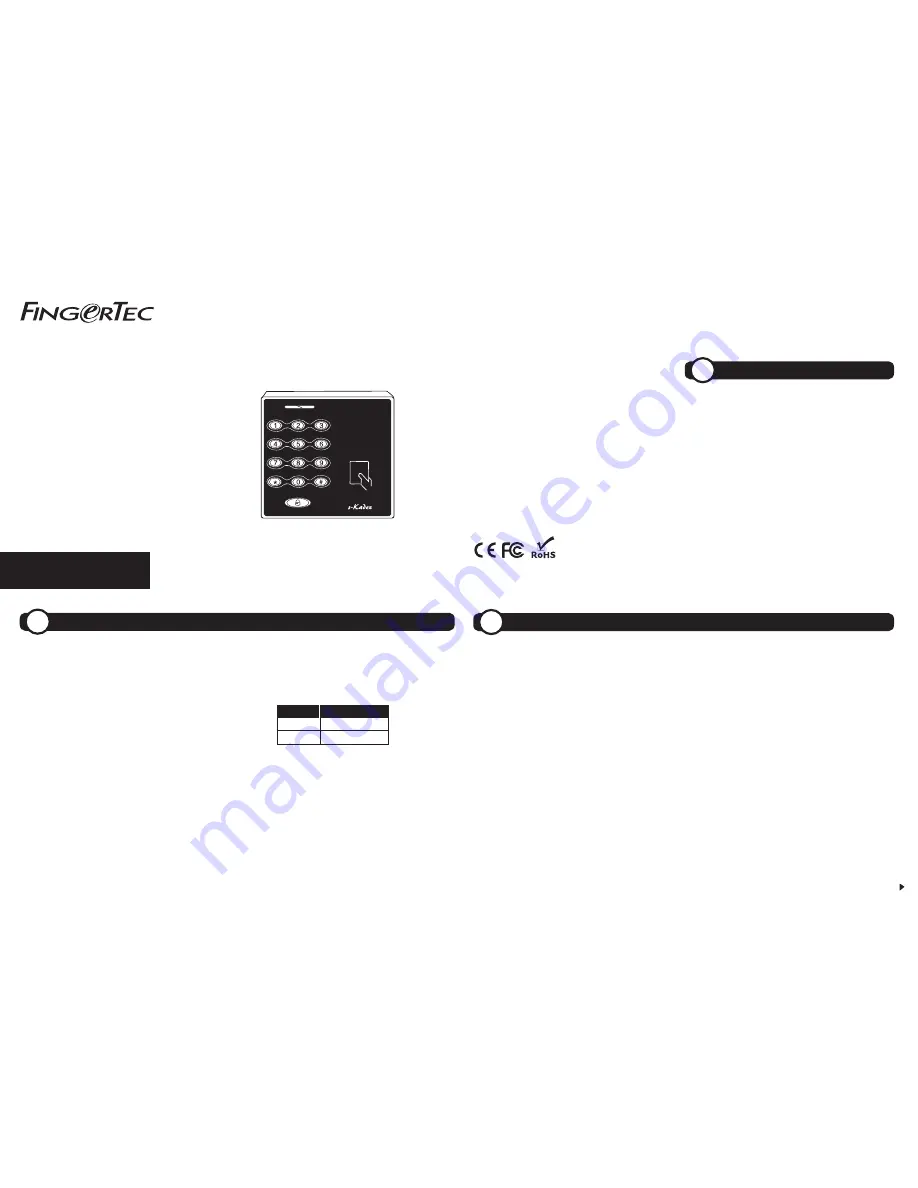
s-Kadex
Stand-alone Card & Password
Access Control System
!
IMPORTANT
DELETING USER INFO
T
his guide serves as an important document
for consumers to operate s-Kadex. Keep this
guide intact for your future reference.
For any problems, kindly contact
support@
fingertec. com
for assistance.
ADMIN PASSWORD
Default Password:
1234
Operation:
Press * > LED goes off > Buzzer emits long
beep > Press # > Insert the Admin password > Green
LED blinks > Buzzer emits long beep again > Admin
password verified successfully
Note:
The admin password must be inserted before the start of any
operation in s-Kadex.
CHANGING ADMIN PASSWORD
It’s recommended that you change the default Admin
password to your very own 4-digit unique password. If
you want to use less than 4 digits, hash (#) symbol is
permitted. I.e.: 123 will be keyed in as 123#.
Operation:
Verify default Admin password > Press 8 >
Insert new Admin password > Repeat new Admin
password > Green LED blinks > Buzzer emits long beep
> Admin password changed successfully
ENROLLMENT
s-Kadex assigns user IDs automatically. It ranges from
1 to 65534. Record the details of enrollment using a
form for future reference. Enroll cards as desired.
ENROLLING CARDS
Operation:
Verify your Admin password > Press 1 >
Wave card once > Green LED blinks > Buzzer emits
long beep > Continue to enroll another card > Press *
to end process
Note:
s-Kadex will blink its red LED and it’ll beep twice if the card
data had already been enrolled before.
ENROLLING A BATCH OF CARDS
Operation:
Verify your Admin password > Press 6 >
Wave the 1st card once > Insert the total number of
cards (i.e. 50) > Press # if the total number is less than
3-digits for example 81#, 99# > Green LED blinks >
Buzzer emits long beep > Press * to end process
Note:
All cards must have running card number in sequence.
SETTING PASSWORDS
s-Kadex supports 8 sets of passwords. Any of the
predefined passwords can unlock the device. Get ready
with the passwords before you register them in s-Kadex.
For
example:
SET PASSWORD
1 2331
2 4563
ENROLLING PASSWORDS
Operation:
Verify your Admin password > Press 3 >
Green LED blinks > Buzzer emits long beep > Press the
number of password(s) set, e.g. 1 > Insert the password >
Insert the same password again > Green LED blinks >
Buzzer emits long beep again > Press * to end process
Note:
If you want to continue enrolling more passwords, do not
press *, which will end the process. Instead, continue by inserting the
new set number and its new password. Maximum set of passwords
allowed is 8. Press # to fill in the gap if your chosen password is less
than 4-digits. I.e.: 123 will be keyed in as 123#.
DELETING USER ID
Operation:
Verify your Admin password >
Press 2 > Green LED blinks > Buzzer emits long
beep > Insert the user ID for deletion > Press #
if the ID is less than 5-digits > Buzzer emits
long beep again > Press * to end process
Note:
You can delete more users by inserting their user
ID after the long beep. Only press * after you have
finished deleting the users you want. In case the red LED
blinks after you’ve inserted the user ID, that particular ID
is not available in s-Kadex.
DELETING CARDS
Operation:
Verify your Admin password >
Press 2 > Green LED blinks > Buzzer emits long
beep > Wave the enrolled card at the
induction area > Buzzer emits long beep again
> Press * to end process
DELETING PASSWORDS
Operation:
Verify your Admin password > Press 3 >
Green LED blinks > Buzzer emits long beep > Insert the
set number, for example 2 > Insert 0000 > Insert 0000
one more time > Green LED blinks > Buzzer emits long
beep again > Press * to end process
Note:
Only press * after you’ve finished deleting the fingerprint,
card or password data. In case the red LED blinks after you’ve
inserted one of the data, that particular user data is not available
in H3i.
DELETING DEVICE INFORMATION
Operation:
Verify your Admin password > Press 9 >
Green LED blinks > Buzzer emits long beep > Press 9
again > Green LED blinks > Buzzer emits two long
beeps
Note:
This deletion will not affect the passwords stored in H3i. The
password(s) must be deleted one by one.


