


www.fi sher-price.com
www.fi sher-price.com
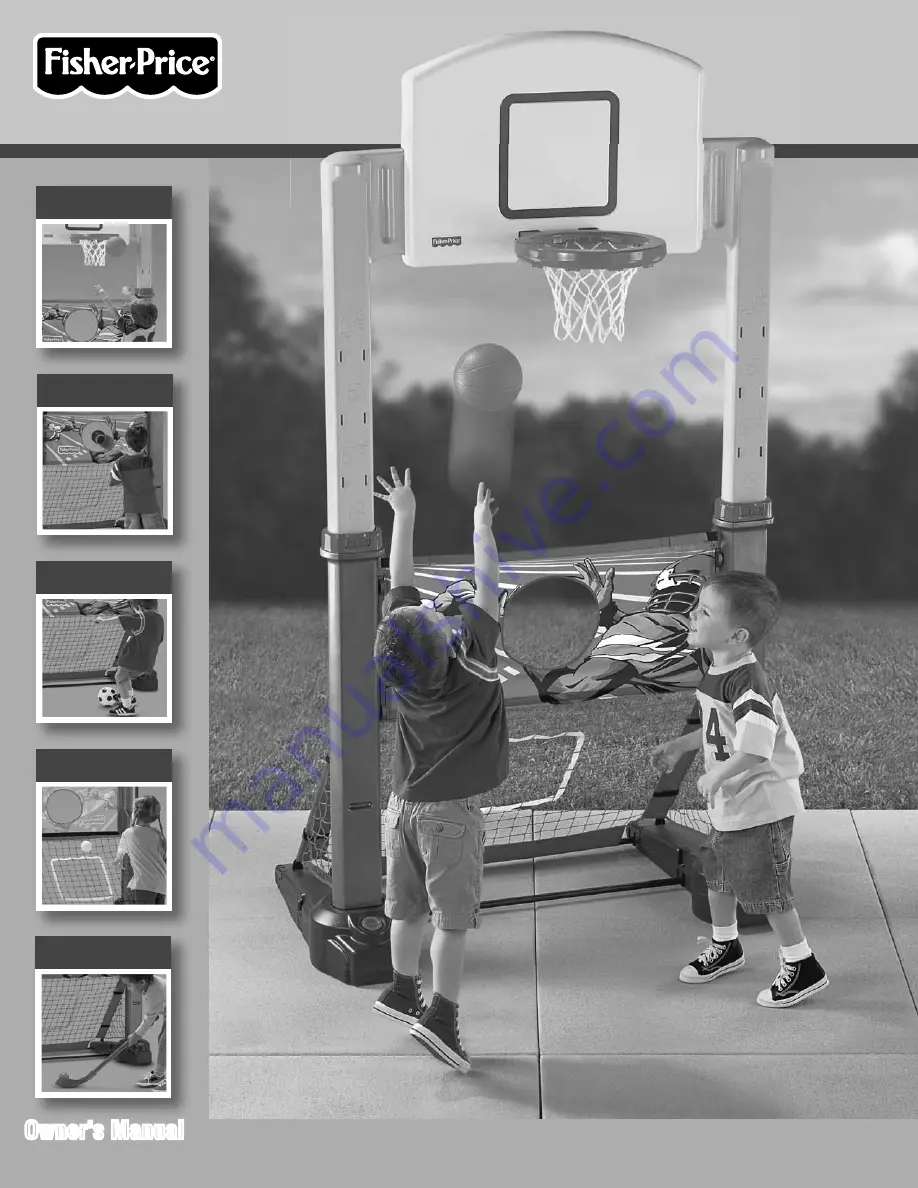
Owner's Manual
with Assembly Instructions
with Assembly Instructions
Please keep this instruction sheet for future reference,
Please keep this instruction sheet for future reference,
as it contains important information.
as it contains important information.
Adult assembly is required.
Adult assembly is required.
Tool needed for assembly: Phillips screwdriver (not included).
Tool needed for assembly: Phillips screwdriver (not included).
Water or sand is needed to fi ll the bases (not included).
Water or sand is needed to fi ll the bases (not included).
IMPORTANT!
IMPORTANT!
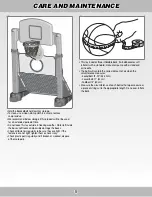
Backboard height should be adjusted only by an adult.
Backboard height should be adjusted only by an adult.
M5726
M5726
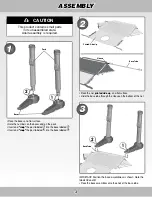
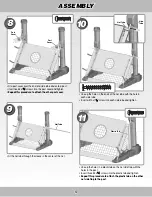
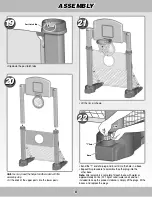
1.
Basketball
2.
Football
3.
Soccer
4.
Baseball
5.
Hockey