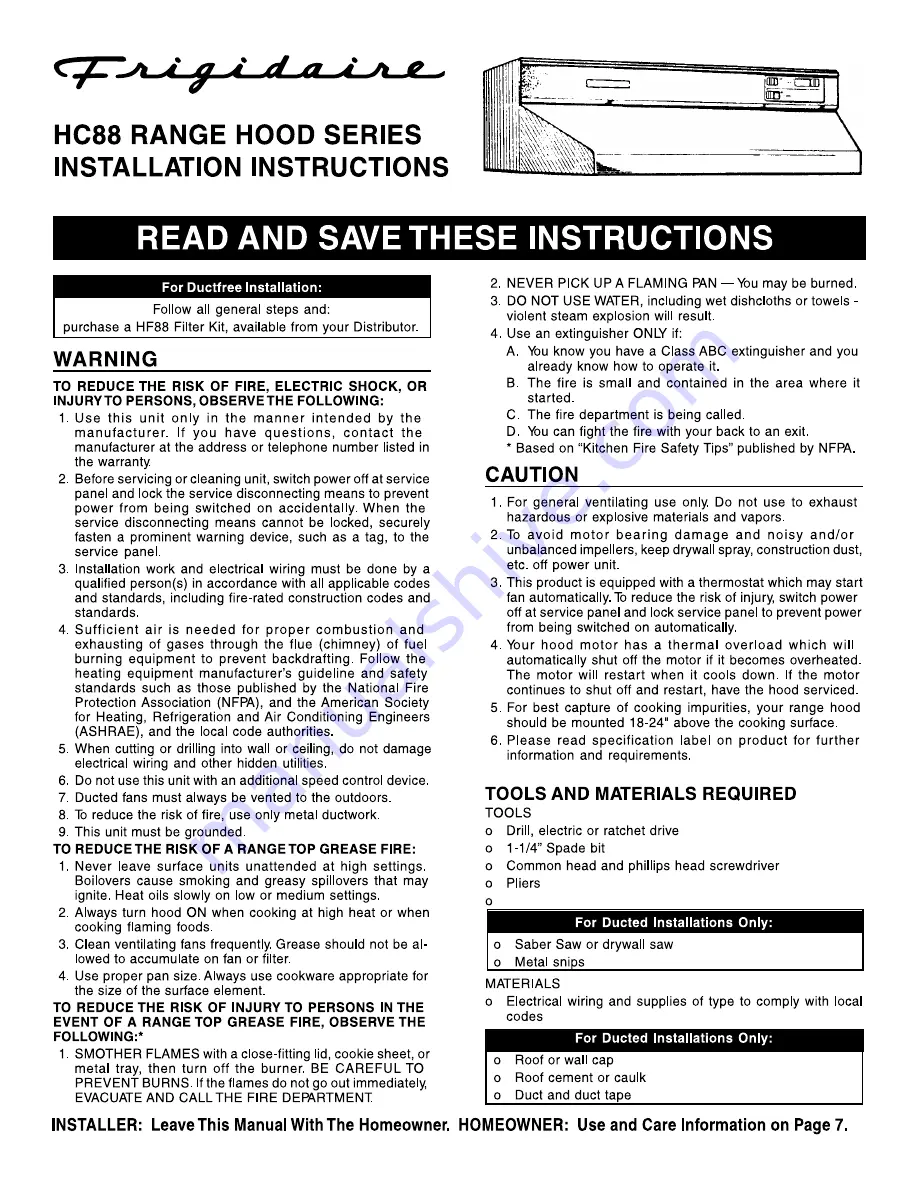
background image

Summary of Contents for HC88 Series

Page 1: ......

Page 2: ...se locally Four 1 1 4 long flat head wood screws purchase locally to fasten strips to cabinet bottom PLAN DUCTWORK INSTALLATION For Ducted Installations Only Begin planning ductwork by deciding where duct will run between hood and outside For best performance use shortest possible duct run and a minimum number of elbows In more complex situations 3 1 4 x 10 duct can be converted to round duct by m...

Page 3: ...ve blower assembly a Unplug blower b Loosen knurled nuts on mounting rods and slip rods out of blower mounting brackets Do not remove nuts completely from rods c Lift out blower and set blower aside CAUTION DO NOT GRASP BLOWER BY BLOWER WHEELS WHEELS MAY BE DAMAGED 6 Remove light lens Squeeze sides of lens toward center of hood and lift lens out 7 Remove either top or rear electrical knockout FIG ...

Page 4: ...cted Installations Only b duct opening 3 Cut duct opening in wall or cabinet bottom 4 Drill 1 1 4 electrical wiring opening in wall cabinet bottom 5 Hold hood up against cabinet bottom and trace keyhole slots onto cabinet bottom or filler strips For larger hoods Two dia holes are provided for secure mounting They are located in top of hood approx 8 each side of center Add filler strips for these a...

Page 5: ...roof cap inserting back edge of cap under shingles FIG 7C Seal around roof cap with roof cement and seal all nail heads and shingles which were cut or lifted FIG 7D Make sure that enough duct runs into the room so that the duct will overlap the damper duct connector by 3 4 when the hood is put into place ELECTRICAL LINE FIG 8 INSTALL HOOD 1 Position hood so that FIG 8 a electrical wiring runs thro...

Page 6: ... Continued 6 For Ducted Installations Only 7 Reinstall blower Do not grasp blower by blower wheels Position blower so that blower discharge lines up with damper duct connector and slip rods into mounting brack ets on blower assembly FIG 10 Tighten knurled nuts securely and plug in blower For Ductfree Installations Only 7 Reinstall blower Do not grasp blower by blower wheels Move blower mounting ro...

Page 7: ...grease Use a mild detergent suitable for painted surfaces DO NOT USE ABRASIVE CLOTH STEEL WOOL PADS OR SCOURING POWDERS Vacuum blower to clean Do not immerse blower in water 7 FIG 15 CONTROL BOARD SYMBOLIC M WHITE B GREEN WHITE BLACK 120 VAC LINE IN WHITE WHITE BLACK LAMP A LAMP B THERMOSTAT 1 2 4 5 6 8 9 10 BLACK YELLOW BLACK WHITE WHITE BLACK BLACK ORANGE WHITE HOW TO AVOID A COMMON RANGE TOP GR...

Page 8: ......

Reviews: