
WWW.FUHR.DE
www.fuhr.de
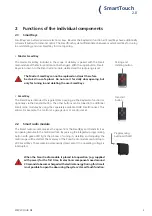
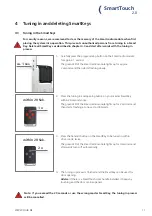
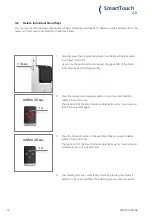
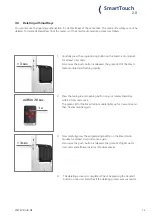
Master SmartKey
SmartKey
Smart radio module
Sensor
SmartTouch
2.0
These instructions are to be passed
on by the fitter to the user.
Manuals in further languages, see
www.fuhr.de
Access control system with KeylessGo technology
Installation, operating and maintenance manual
MB
W26a-EN/04.20-3
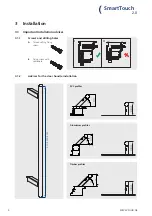
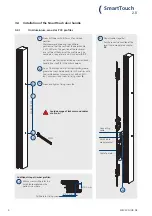
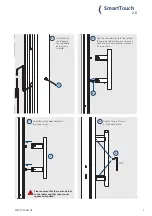
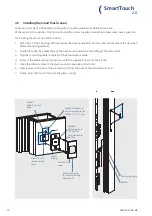
Door handles


