


Summary of Contents for GPSMAP 188 Sounder
Page 132: ...188Ccover indd 3 6 30 2003 3 24 52 PM...
Page 133: ......
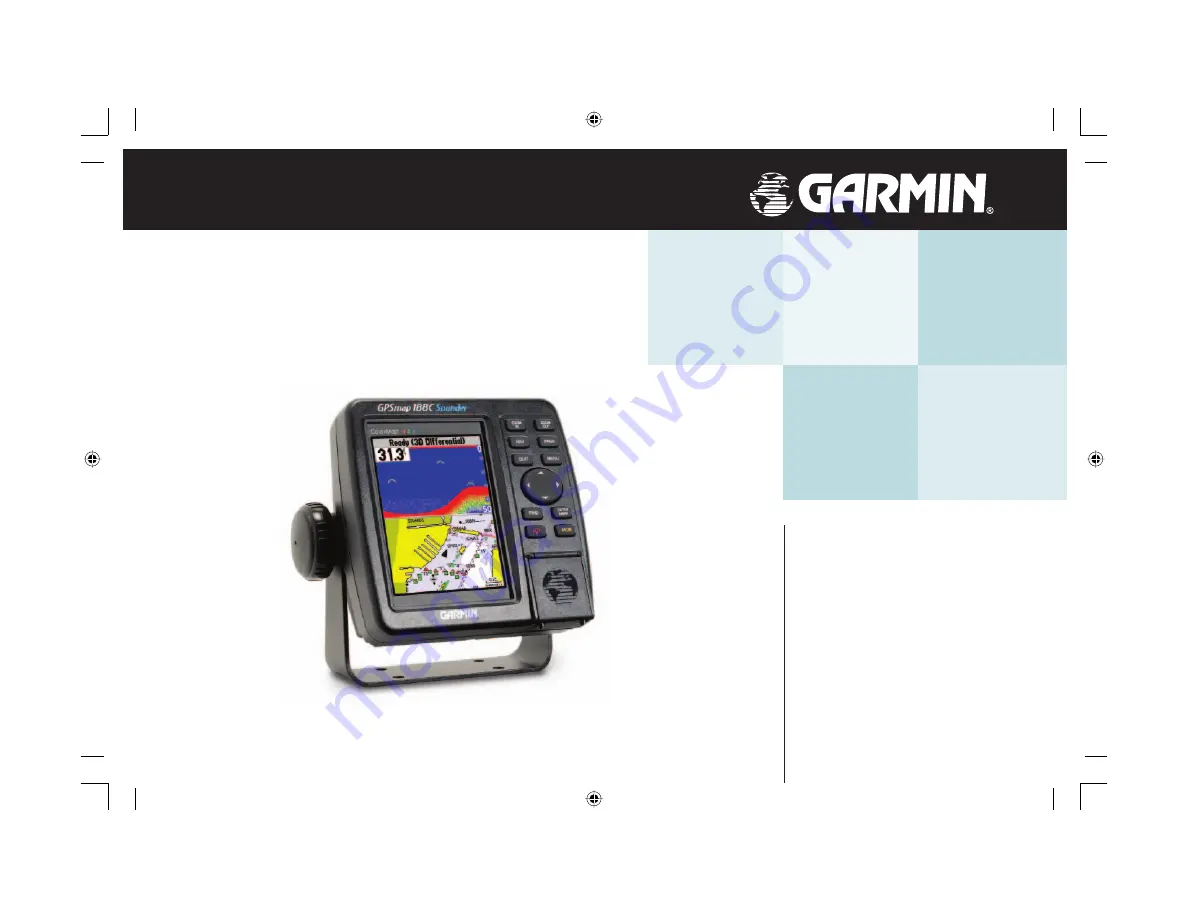
The Garmin GPSMAP 188 Sounder is a reliable GPS device that also offers sounder capabilities. For detailed instructions on how to use this product, download the Owner's Manual and Reference Manual for free from 88.208.23.73:8080. These manuals provide essential information to help you maximize the functionality of your GPSMAP 188 Sounder.
Page 132: ...188Ccover indd 3 6 30 2003 3 24 52 PM...
Page 133: ......


