Garmin GPSMAP 396 - Aviation GPS Receiver, Owner'S Manual
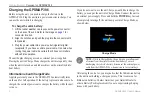
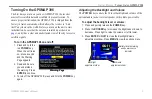
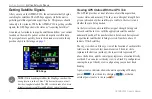
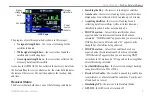
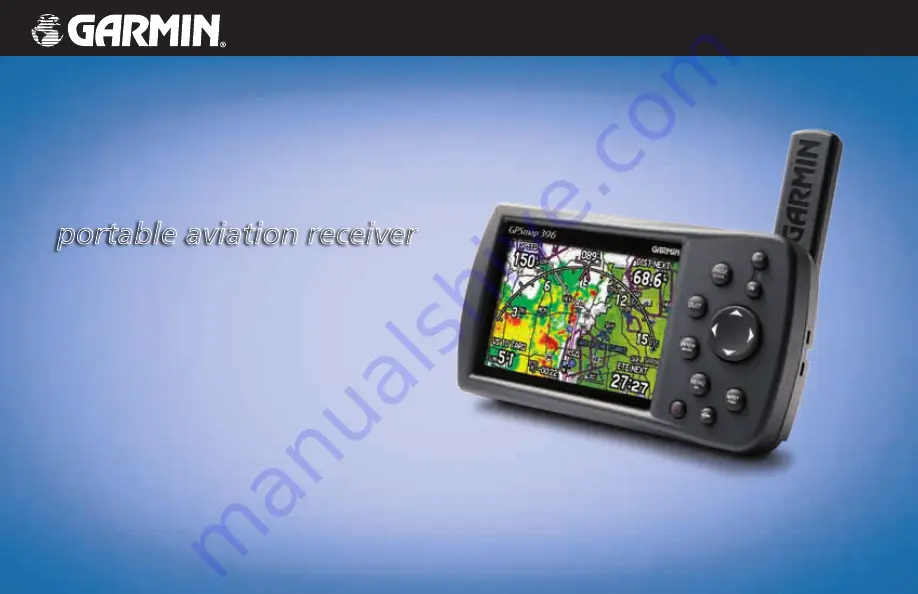
The Garmin GPSMAP 396 Aviation GPS Receiver is a powerful navigation tool for pilots. Stay on course with detailed maps and precise positioning. For quick setup and reference, download the free Quick Reference Manual from 88.208.23.73:8080. Ensure a smooth flight with this reliable manual at your fingertips.
Share
Download

Reviews:
No comments
Related manuals for GPSMAP 396 - Aviation GPS Receiver

GEOVISION 5066 Mireo
Brand: Prestigio Pages: 47

78-641
Brand: Blow Pages: 20

ET017
Brand: Easiphone Pages: 13

ST4315
Brand: SunTech Pages: 30

GPS GBT 709
Brand: Altina Pages: 15

DezlCam Series
Brand: Garmin Pages: 7

RX102
Brand: Chinavision Pages: 17

P69
Brand: Cantrack Pages: 3

G200
Brand: Cantrack Pages: 6

firefly
Brand: Loc8r Pages: 6

OBD
Brand: Optimus Pages: 2
Tracker
Brand: Polyend Pages: 47

Tag360-SBM
Brand: Tagbox Pages: 6

Twig
Brand: Benefon Pages: 26
IQL 4G VEHICLE TRACKERA
Brand: Tramigo Pages: 16

GPS 1080
Brand: Cobra Pages: 104

NAV ONE 2200
Brand: Cobra Pages: 2

GPS100
Brand: Cobra Pages: 28


