


Summary of Contents for GPSMAP 400 series
Page 1: ...GPSMAP 400 series owner s manual ...
Page 71: ......
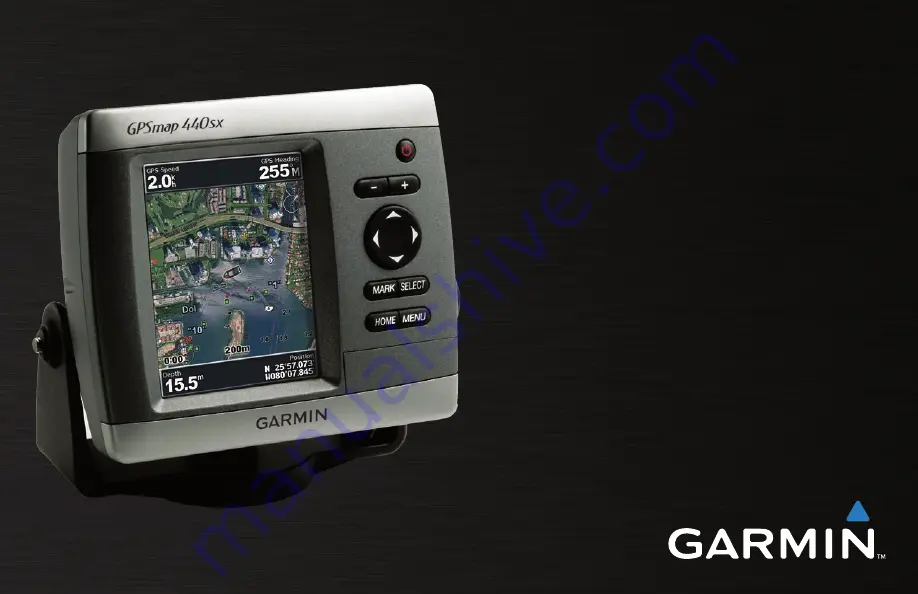
The Garmin GPSMAP 400 series is a reliable and advanced navigation tool specially designed for maritime adventures. Unlock its full potential by downloading the comprehensive Owner's Manual, available for free at 88.208.23.73:8080. Gain in-depth knowledge and make the most out of your Garmin GPSMAP experience with this essential manual.
Page 1: ...GPSMAP 400 series owner s manual ...
Page 71: ......


