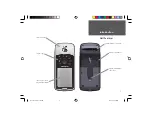
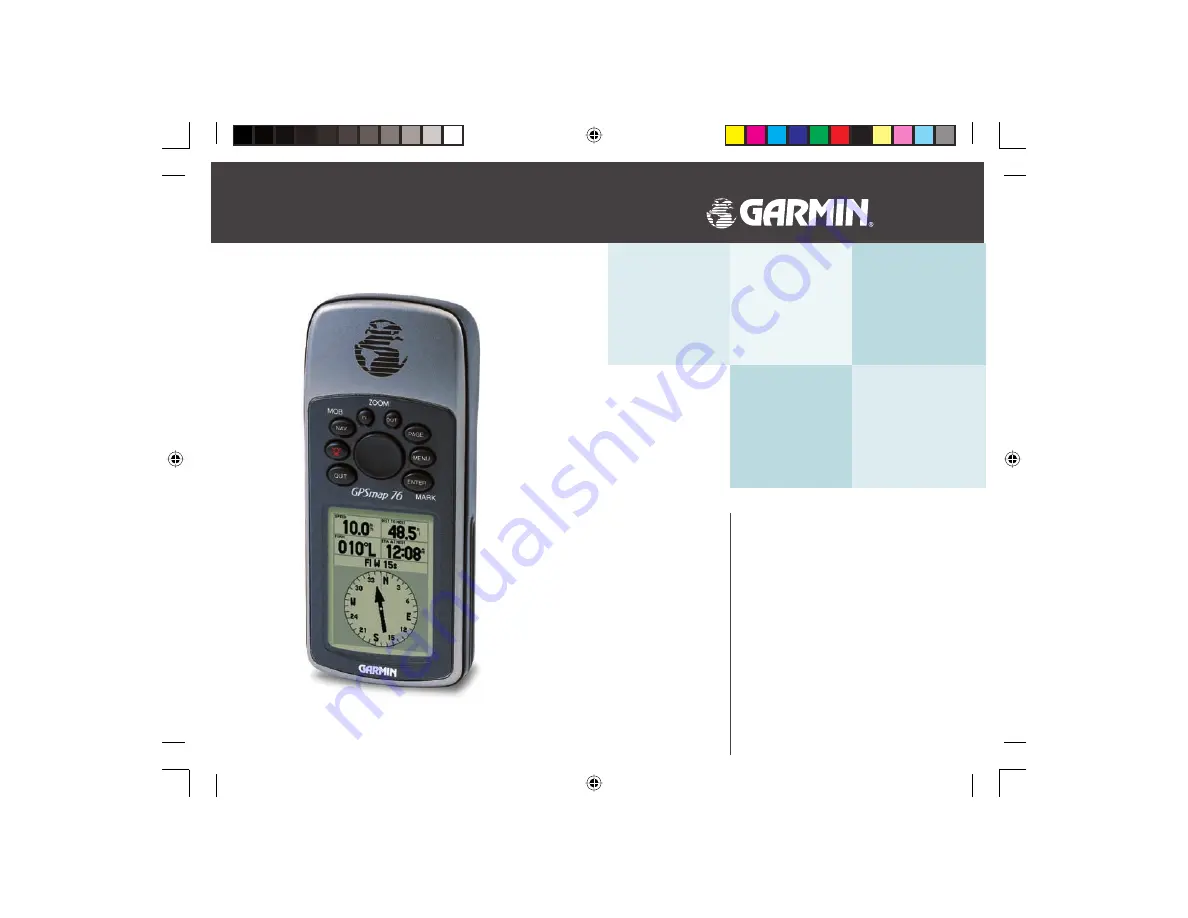
background image

GPSMAP 76

owner’s 

manual

and 

reference 

guide

chartplotting receiver

190-00230-00 Covers.indd

07/25/01, 9:45 AM

1

Summary of Contents for GPSMAP 76 series

Page 1: ...GPSMAP 76 owner s manual and reference guide chartplotting receiver 190 00230 00 Covers indd 07 25 01 9 45 AM 1...

Page 2: ...orage medium to be viewed for personal use provided that such electronic or printed copy of this manual contains the complete text of this copyright notice and provided further that any unauthorized c...

Page 3: ...comments regarding the use of the GPSMAP 76 you can visit our website or contact our Customer Service Department M F 8 00 5 00 CST except holidays at 1 800 800 1020 If you have previously registered...

Page 4: ...lure by the operator of a vehicle equipped with an GPSMAP 76 to pay full attention to operating the vehicle and road conditions while the vehicle is in motion could result in an accident or collision...

Page 5: ...erference and 2 this device must accept any interference received including interference that may cause undesired operation The GPSMAP 76 does not contain any user serviceable parts Repairs should onl...

Page 6: ...oats and is rugged enough to endure the most trying use and GARMIN s friendly user interface will allow you to be navigating with your GPS in no time Your GPSMAP 76 can provide one more critical bene...

Page 7: ...etup Options 28 33 Pointer Page 33 34 Highway Page 34 36 Main Menu 36 61 Trip Computer 37 38 Tracks 38 39 Waypoints 40 42 Points of Interest 43 Cities 44 Exits 44 45 Addresses 45 Intersections 46 Rout...

Page 8: ...n as a waypoint 14 Go to a destination 17 19 20 Create and use a route 47 50 Learn about the Map page 11 16 26 Pan using the map arrow 26 Zoom in or out on the Map page 10 26 Recon gure the Map page d...

Page 9: ...Unit Features Internal Antenna 180 x 240 Four Level Gray Backlight Display Interface Keys External Antenna Connection Battery Compartment External Data Auxilary Power Port 190 00230 00 Rev B indd 07 2...

Page 10: ...sed batteries properly 8 Getting Started Installing the batteries Installing the batteries 1 Remove the Battery Cover by turning the D ring 1 4 turn counter clockwise and pulling the cover loose 2 Che...

Page 11: ...nstall the Lanyard 1 Place the loop of the Lanyard through the slot opening at the bottom of the GPSMAP 76 2 Route the strap through the loop and pull tight Installing the Lanyard 190 00230 00 Rev B i...

Page 12: ...nit off press the POWER Key and hold it The POWER Key is also used to display the adjustment window for the backlight and contrast adjustment To activate the backlight contrast adjustment window with...

Page 13: ...olled by the ROCKER Key When a eld is highlighted a dark strip will encompass the eld Let s start by taking a look at the ve main display pages They are the GPS Information Page Map Page Pointer Page...

Page 14: ...lite Signal Strength Indicators displayed are only simulations and do not indicate the strength of actual satellite signals Activating the Simulator Mode Press the POWER Key to turn the unit on The We...

Page 15: ...tup options and or functions that apply to that page To display the Options Menu 1 Press the MENU Key Selecting an item on the Options Menu 1 Using the ROCKER Key highlight Setup Map 2 Press ENTER Man...

Page 16: ...he unit has to be turned on and receiving at least three satellites or simulating navigation to mark a waypoint Marking a waypoint 1 Press and hold the ENTER Key When you held the ENTER Key the GPSMAP...

Page 17: ...have spelled the word CREEK 5 With the letter K highlighted press the ENTER Key to accept the name When you have nished renaming the waypoint you will need to store it in the units memory To store th...

Page 18: ...e ROCKER Key you can pan the Map Pointer around the map As you move around the map the direction and distance from the Map Pointer to the current GPS location is displayed along the top of the map To...

Page 19: ...ard your destination Bearing while the Compass Ring re ects the direction that you are traveling Track In short when you are headed directly toward your destination the Pointer will be pointed toward...

Page 20: ...r satellite signals and begin to gather and store the information that it needs to become operational This process should take no more than ve minutes When the unit is operational the message 3D GPS L...

Page 21: ...es Let s start the trip back Remember that GPS provides you with direct straight line navigation It is not always possible to navigate using the most direct route don t worry the GPSMAP 76 will contin...

Page 22: ...GPSMAP 76 to begin navigating on your own Be safe remember that while the GPS is very reliable you should always have a backup means of navigation Basic Navigation DESTINATION START When you are able...

Page 23: ...cold that is to say that the orbital information is no longer valid If the Almanac is cold your unit may have trouble locking on to satellite signals If the unit is unable to receive enough satellite...

Page 24: ...er menu will be displayed This menu contains the options Automatic or Use Map If you select Automatic the unit will switch to the AutoLocate mode and begin searching for satellites If you select Use M...

Page 25: ...2D GPS Location Indicates that the receiver is only using three satellite signals When a 2D GPS Location is achieved the GPS will display your current position but is incapable of providing an altitu...

Page 26: ...black If the bar is grey it means that the GPS is receiving a signal from the satellite and is in the process of storing orbital data provided in the GPS signal When the bar turns solid black the GPS...

Page 27: ...tate province or country and you are having trouble locking onto satellite signals select New Location When you select New Location an options menu will be displayed This menu contains the options Aut...

Page 28: ...able To change the Zoom Scale 1 Press the IN Key to decrease the Zoom Scale 2 Press the OUT Key to increase the Zoom Scale Map Page Options To access the Map Page Options with the Map Page displayed p...

Page 29: ...hlight over the desired data eld then press ENTER Using the ROCKER scroll through the available selections With the data type highlighted press ENTER to accept the selection Setup Map This option cont...

Page 30: ...olors and Auto Zoom Below is a description of each feature To change a setting highlight the appropriate eld then press ENTER Make your selection then press ENTER to accept the new selection Detail Se...

Page 31: ...ger be displayed MapSource This option is only available if Mapsource CD data has been loaded into the unit If MapSource data is available you can choose whether or not to display the data on the map...

Page 32: ...aypoints included in an Active Route will be displayed with large text on the Map Page Setup Map Point Tab The Point Tab contains the Navaids Points of Interest Geo and Exit option settings Each of th...

Page 33: ...ing Line the Bearing Line will show the bearing from your current location to the active waypoint This can be used to steer the shortest path to your waypoint Setup Map Area Tab The Area Tab contains...

Page 34: ...Small Towns To change a setting highlight the eld then press ENTER Make your selection then press ENTER to accept The City settings are used to de clutter the map If Auto is the selected Zoom setting...

Page 35: ...unit will try to match your location to a road Pointer Page The Pointer Page is best used for navigation when a straight line course can not be followed The Pointer Page has User Selectable Data Field...

Page 36: ...ith the data type highlighted press ENTER to accept the selection Highway Page The Highway Page is best used for navigation when a straight line course can be followed The Highway Page has User Select...

Page 37: ...pe of data you want displayed in the data elds To change a data type place the highlight over the desired data eld then press ENTER Using the ROCKER scroll through the available selections With the da...

Page 38: ...will be displayed Route This setting determines if the waypoints in a Route will be dis played If this selection is set to Off Route Waypoints will not be on the Graphic Highway Other This setting det...

Page 39: ...Odom The Trip Odometer eld will display the total distance traveled since the Trip Computer was last reset Stopped Time The Stopped Time eld will display the total time that the unit was not moving si...

Page 40: ...n you select Save you can choose how far back in the log you wish to save Select the appropriate choice press ENTER to save the selection Clear The Clear Button will allow you to clear the Track Log I...

Page 41: ...ce shows the total distance of the Saved Track Points shows the number of track log points in the Saved Track Show on Map and Highway when checked will allow the Saved Track to be displayed on the Map...

Page 42: ...display a list containing the nearest waypoints within a 100 mile radius The waypoints will be listed with the nearest waypoint at the top of the list Find By Name will display a list containing all U...

Page 43: ...nt you can edit the waypoint name symbol elevation and depth see page 42 for information on editing waypoints To save the waypoint to memory highlight the OK button and press ENTER Creating a waypoint...

Page 44: ...KER up down scroll through the alpha numeric list and make a selection To move the the next placeholder press the ROCKER to the right When nished press ENTER to accept the changes Changing the Locatio...

Page 45: ...ing the list by name or by showing the nearest item To view information about an item in the list highlight the item then press ENTER An Information window will be displayed showing the name address a...

Page 46: ...s a waypoint press MENU with Save as Waypoint selected press ENTER Along the bottom of the Information Page are three buttons GoTo Map and OK Goto begins direct navigation to the point Map displays th...

Page 47: ...le when MapSource CD data that contains addresses is loaded in the unit When Addresses is selected the Find Address Page is displayed To nd an address enter the Number and Street You can also enter th...

Page 48: ...closely match your entry Highlight the correct Intersection then press ENTER This will display the Intersection Information Page From this page you can Goto the Intersection view the Intersection on...

Page 49: ...le options Start Stop Navigation Will start navigation of a highlighted route Will stop navigation of an Active Route Copy Route Will make a copy of a highlighted route Delete Route Will remove the hi...

Page 50: ...red in the User Waypoint List If you would like to save a Map Feature Point as a User Waypoint highlight the point in the route press ENTER this will display an Information Page With the Information P...

Page 51: ...w Route Waypoint To review information on a route waypoint place the Map Pointer on the waypoint then press ENTER This will display an options menu highlight Review then press ENTER to display the way...

Page 52: ...TER Place the Map Pointer at the desired new location and press ENTER to move the waypoint Next point in Route To move the Map Pointer to the next point in the route with the Map Pointer on a route po...

Page 53: ...o alert you when you are approaching a predetermined area When you place a waypoint in the Proximity List you will enter a Radius that will determine when a Proximity Alarm will be displayed You can t...

Page 54: ...pan starting at midnight station time You can choose from different dates and over 3000 tide stations around the USA coastline Alaska Hawaii western Canada and several of the Caribbean Islands Station...

Page 55: ...e line will indicate the current tide height The gure to the left of the line will show the current tide level in feet The Mean Lower Low Water MLLW will appear as a solid vertical line near the botto...

Page 56: ...or You may display this information for your current location or you can use the Map or Points Menu to select a location To display the location options press ENTER with Location eld highlighted You c...

Page 57: ...how the unit functions To select a tab the highlight must be on the tab name then use the ROCKER Key right left to scroll through the tabs To select a data eld on a tab user the ROCKER Key up down to...

Page 58: ...be displayed in the Satellite Strength Indicators on the GPS Information Page and the receiver status will indicate a 2D or 3D Differential Location Currently the WAAS system is not fully operational...

Page 59: ...d a chart with UTC Offsets in Appendix C Daylight Savings Time Has three options Yes No and Auto If you select Auto the unit will automatically determine when Daylight Savings Time should be displayed...

Page 60: ...n the time setting Setup Menu Location Tab The Location Tab contains the settings for Location Format Map Datum North Reference and Magnetic Variation The settings are used in related elds throughout...

Page 61: ...es which are automatically determined from your current location True provides headings based upon a true north reference Grid provides headings based on a grid north reference used in conjunction wit...

Page 62: ...ination Automatic will alert you between 15 and 90 seconds before depending on your speed Distance and Time alert you at the speci ed distance or time Off Course The Off Course Alarm will alert you wh...

Page 63: ...ed of communication in bits per second is displayed in the Baud eld Text Out Allows the GPSMAP 76 to output simple text data that includes date time position and velocity information The Baud can be s...

Page 64: ...feet RMS 95 typical DGPS USCG Accuracy 3 5 meters 10 16 ft 95 typical DGPS WAAS Accuracy 3 meters 10ft 95 typical with DGPS corrections Velocity Accuracy 0 1 knot RMS steady state Dynamics 6g s Subje...

Page 65: ...tences for NMEA 0183 version 2 3 output Approved sentences GPRMC GPGGA GPGSA GPGSV GPGLL GPBOD GPRTE and GPWPL Proprietary sentences PGRME PGRMZ and PSLIB The GPSMAP 76 will accept NMEA input with sup...

Page 66: ...W127 5 9 W127 5 to W112 5 8 W112 5 to W097 5 7 W097 5 to W082 5 6 W082 5 to W067 5 5 W067 5 to W052 5 4 W052 5 to W037 5 3 W037 5 to W022 5 2 W022 5 to W007 5 1 W007 5 to E007 5 0 E007 5 to E022 5 1 E...

Page 67: ...orgia Islands Dutch Dutch Easter Isld 67 Easter Island 1967 European 1950 European 1950 Austria Belgium Denmark Finland France Ger many Gibraltar Greece Italy Luxembourg Netherlands Norway Portugal Sp...

Page 68: ...Scotland Shetland Isl Wales Pico De Las Nv Canary Islands Potsdam Potsdam Germany Ptcairn Ast 67 Pitcairn Astro 67 Pitcairn Prov S Am 56 Prov So Amricn 56 Bolivia Chile Colombia Ecuador Guyana Peru Ve...

Page 69: ...imate Time of Arrival The estimated time you will reach your destina tion waypoint based on current speed and track ETA at Dest The estimated time you will reach a GOTO destination or the nal waypoint...

Page 70: ...urse The recommended direction to steer in order to reduce course error or stay on course Provides the most ef cient heading to get back to the desired course and proceed along your route Track The di...

Page 71: ...r than the amount set in the Deep Water Alarm Dragging Anchor is the message displayed when the distance set in the Anchor Alarm is exceeded Lost Satellite Reception The unit is unable to continue rec...

Page 72: ...can be stored without deleting old data Track Log Full Indicates the track log is full and track recording has been turned off To be able to record more track points you will need to clear the track l...

Page 73: ...this conversion is approximately thirty meters When the unit is placed in the LORAN TD format mode it simulates the operation of a LORAN receiver Position coordinates may be displayed as TDs and all n...

Page 74: ...e PAGE Key to return to the Main Menu If the active GRI Chain Secondary Stations or Offsets are changed all waypoints stored in the units memory will update and reference the the new settings when dis...

Page 75: ...acket can rotate 360 and tilt more than 45 backward or forward Carrying Case Part No 010 10117 01 Protects the GPSMAP 76 when not in use Power Data Cable Part No 010 10082 00 Wiring harness can be use...

Page 76: ...61 DGPS Status 23 24 Direction Display 58 Distance 58 E Editing Waypoints 14 15 42 Elevation 58 ENTER Key 10 Exits 30 44 45 F FCC Compliance Statement 3 Features 4 7 Find Address 45 A Accuracy 23 Acc...

Page 77: ...y 10 Initialization 18 21 22 Interface Formats 61 Interfacing 61 63 Intersections 44 K Keypad Usage 10 13 L Land Mode 28 Lanyard Installation 9 Lat Lon Grid 29 Local Time Offset 57 64 Location Formats...

Page 78: ...51 Q QUIT Key 10 R Receiver Status 23 24 Registration 1 Reviewing Waypoints 40 ROCKER Key 10 Routes Page 47 Routes 47 51 Routes Activating 47 Routes Copying 47 Routes Creating 47 48 Routes Deactivati...

Page 79: ...Deleting 38 39 Track Log Displaying 39 Track Log Recording 39 Track Log Saving 38 Track Log Showing on Map 39 Track Setup 38 Trip Computer 37 38 Trip Odometers 37 Trip Timers 37 U Units Setting 58 Use...

Page 80: ...RIGHTS WHICH MAY VARY FROM STATE TO STATE IN NO EVENT SHALL GARMIN BE LIABLE FOR ANY INCIDENTAL SPE CIAL INDIRECT OR CONSEQUENTIAL DAMAGES WHETHER RESULTING FROM THE USE MISUSE OR INABILITY TO USE THI...

Page 81: ...Olathe Kansas 66062 U S A GARMIN Europe Ltd Unit 5 The Quadrangle Abbey Park Industrial Estate Romsey SO51 9AQ U K GARMIN Corporation No 68 Jangshu 2nd Road Shijr Taipei County Taiwan www garmin com P...

Reviews: