Summary of Contents for iQue 3000
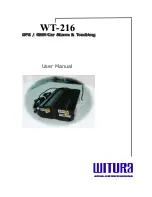
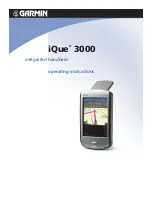
Page 1: ...iQue 3000 integrated handheld operating instructions...
Page 119: ......
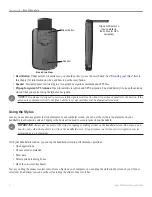
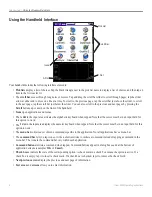
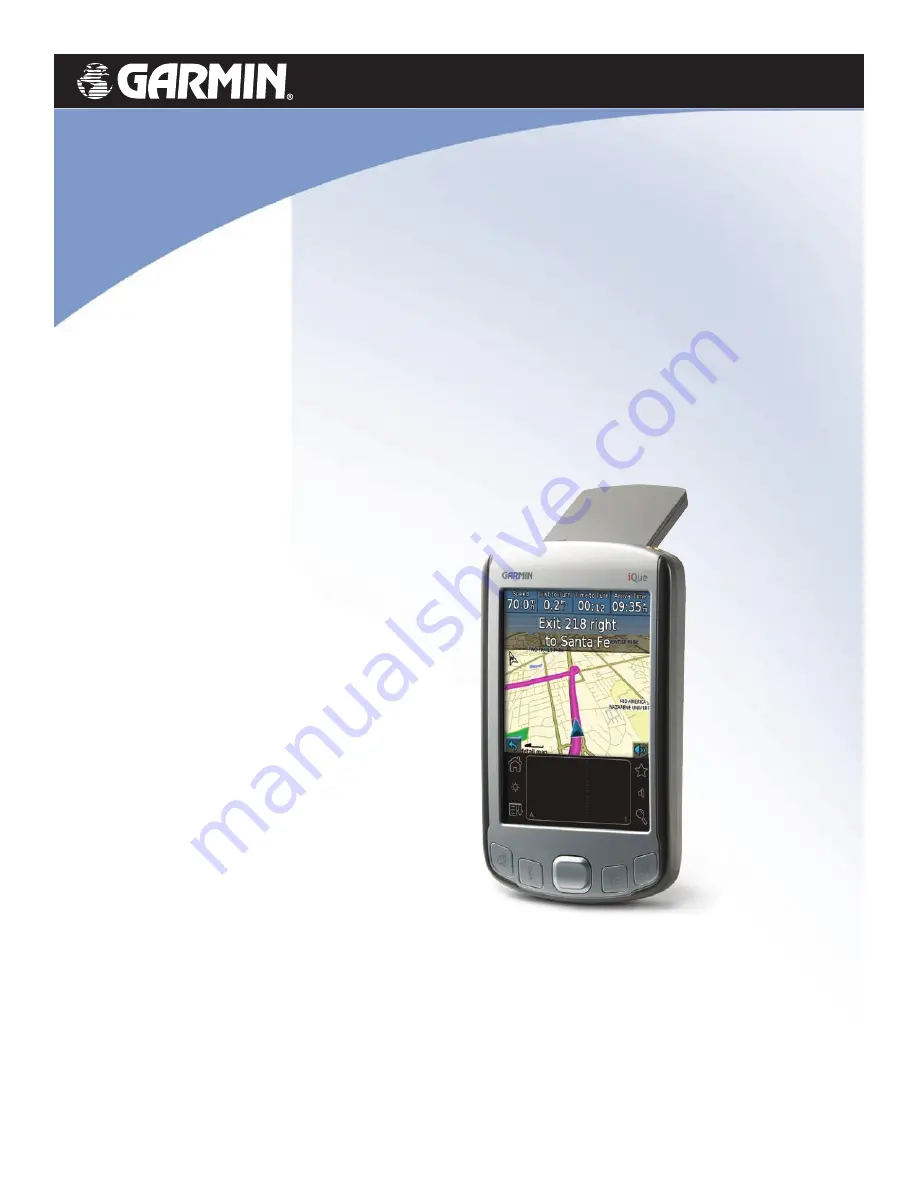
The Garmin iQue 3000 is a versatile GPS device with a built-in PDA feature. To fully utilize its functions, download the Operating Instructions Manual for free from our website. The manual provides detailed guidance on how to operate the device effectively. Access the manual at 88.208.23.73:8080.
Page 1: ...iQue 3000 integrated handheld operating instructions...
Page 119: ......