background image

GARO AB

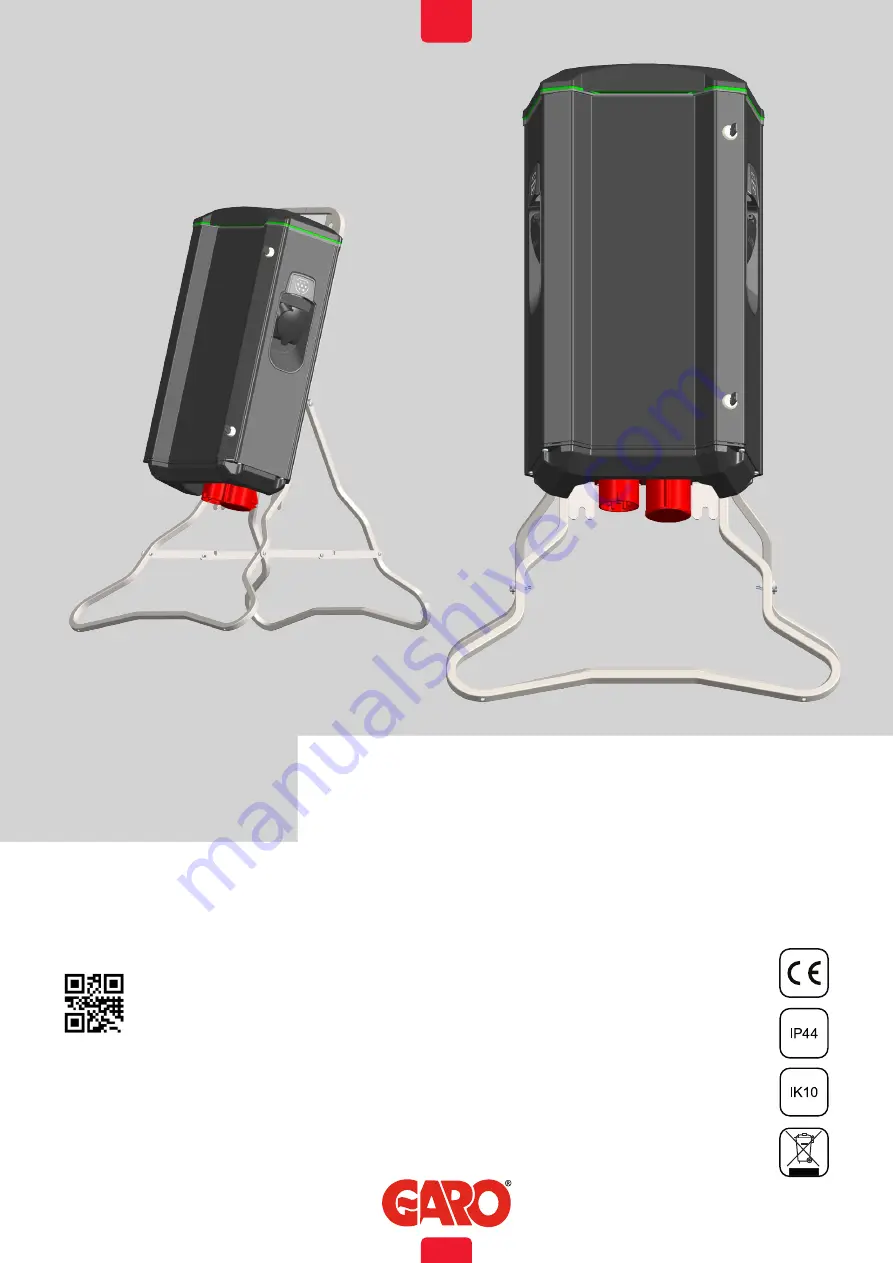
GARO Nova GTC

Box 203, SE–335 25 Gnosjö
Phone: +46 (0) 370 33 28 00
info@garo.se

garo.se

Manual 380234 1.0

Assembly instructions / End User Instruction (EN)

EN

Summary of Contents for Nova GTC

Page 1: ...GARO AB GARO Nova GTC Box 203 SE 335 25 Gnosjö Phone 46 0 370 33 28 00 info garo se garo se Manual 380234 1 0 Assembly instructions End User Instruction EN EN ...

Page 2: ...ss point AP 16 Web interface 17 Main menu 17 Energy information 19 RFID settings in the web interface 20 Schedule 20 Connect GTC Nova to a local network via Wi Fi 21 Connect GTC Nova to a local network via ethernet with DHCP 21 Connect GTC Nova to a local network via ethernet using static IP adress 22 Factory reset of Network settings 22 Updating the firmware 22 Uppdatering för GTC laddbox som ej ...

Page 3: ...vision or prior instruction in how to use the equipment by the person responsible for their safety The GTC Nova range of charging stations is designed exclusively for charging electric vehicles The GTC Nova must be grounded according to local country installation requirements Do not install or use the GTC Nova near flammable explosive harsh or combustible materials chemicals or vapors Turn off the...

Page 4: ...lectric vehicles and L1 and L2 in the GLB is used for this purpose Ventilation signal from EV is not supported Adapters for charging connectors are not allowed to be used Cord extension sets for charging cable is not allowed to be used Electrical vehicles EV software and the GTC Nova firmware are continuously updated To make sure that the GTC Nova is working properly it is necessary to update the ...

Page 5: ...ft hand side PCB CC1 controls the left side outlet cable and the right hand side PCB CC2 controls the right hand side outlet cable 1 Select the appropriate group fuse and cable size for the electrical installation GTC Nova have a CEE inlet where the mains cable NOTE Due to high currents for a long time in the cable there is a high risk of voltage drop if the cable is under dimensioned which can da...

Page 6: ... values on left and right hand side 4 Install the electrical power supply cable in the CEE inlet see picture 3 table1 SW2 MAX Ampere SW2 ON OFF 3 3 OFF 6A 2 2 OFF 1 1 ON 3 3 OFF 10A 2 2 ON 1 1 OFF 3 3 OFF 13A 2 2 ON 1 1 ON 3 3 ON 16A 2 2 OFF 1 1 OFF 3 3 ON 20A 2 2 OFF 1 1 ON 3 3 ON 25A 2 2 ON 1 1 OFF 3 3 OFF 29A 2 2 OFF 1 1 OFF 3 3 ON 32A 2 2 ON 1 1 ON picture 4 picture 3 SW2 CC1 CC2 SW2 picture 2...

Page 7: ...the front door Type in 172 24 1 1 in your web browser and check that the GTC web interface is visible This action confirms that the GTB Twinbox communication module is working properly 7 Test the GTC Nova both sides with a test instrument or test to charge an electric vehicle to ensure that the GTC Nova is working properly picture 5 picture 6 7 EN INSTALLATION OF STANDALONE GTC NOVA ...

Page 8: ... Assembly the RFID readers according picture 7 9 Note Both DIP switches should set to ON on both RFID readers see picture 10 A wifi module needs to be installed to the Master GTC Nova RFID reader installation picture 10 DIP switch ON OFF 2 1 8 EN INSTALLATION OF STANDALONE GTC NOVA ...

Page 9: ...ID settings for stand alone GTC Nova SW1 picture 11 Set SW1 Dip5 CC2 to ON that makes the unit as Master see picture 11 For RFID setting see section web interface 9 EN INSTALLATION OF STANDALONE GTC NOVA ...

Page 10: ...Dimensional sketch 660 206 377 10 EN INSTALLATION OF STANDALONE GTC NOVA ...

Page 11: ...imum rated power according to the rating label When both sides are in use the GTC Nova will balance the load equally between both sides In cases where the required power exceeds the available power to the Nova the left hand side is prioritized The GTC Nova is equipped with outlets and it is important to use correct charging cable For example if you want to use 32A from the Nova you must use a 32A ...

Page 12: ...pressing the test button every 6 month Procedure to reset condition 1 Disconnect the EV from the Nova 2 Open the front door 3 Reset the RCCB B Conditioning means that first press the test button A and then reset the RCCB B 4 Close the front door Front door should be closed and locked to achieve IP44 class A B picture 12 Left vänster Right höger 12 EN USER MANUAL ...

Page 13: ...ft Outlet FB2 RCCB Right Outlet FC1 Fuse Left Outlet FC2 Fuse Right Outlet QA1 Contactor Left Outlet QA2 Contactor Right Outlet XN1 N Neutral terminal XPE1 PE Terminal Protection Earth CC1 Charge Controller Left CC2 Charge Controller Right RFID1 Left Receiver RFID2 Right Recevier KF1 Led light Topcard X1 Incoming terminal XD1 Left charging connector XD2 Right charging connector 13 EN USER MANUAL ...

Page 14: ...1 3 mA 30 N 5 FB1 40A N 6 2 4 1 3 mA 30 L3 L2 L1 N PE X1 2 1 6 4 5 3 8 7 A1 A2 QA1 2 1 6 4 5 3 8 7 A1 A2 QA2 CT2 CT1 CP PP L1 L2 L3 PE N XD2 CP PP L1 L2 L3 PE N XD1 CT1 CT2 XPE1 XN1 PP 2 CP 2 Red White PP 1 CP 1 Red White LINE L FC2 FC1 XN1 XPE1 A B P1 lastbalansering QA1 QA2 A LASTBALANSERING B A B DATALINK A DATALINK B A B P2 14 EN USER MANUAL ...

Page 15: ...al N Protective earth PE A B A B ON SW2 1 2 3 4 5 6 ON E Meter Datalink Fuse 1 blue brown 2 blue red 3 blue yellow 4 blue green 5 white 6 red Connector for WLAN Card CP 2 PP 2 CT2 CP 1 PP 1 CT1 FC1 FC2 XN1 XPE1 A B P1 lastbalansering A B DATALINK QA1 QA2 M GR BL YE BL RE BL BR BL LINE L A B P2 communication cable communication cable KF1 Connector for Led light Topcard Connector for the RFID reader...

Page 16: ... the box below for future reference 3 Identify the wallbox s SSID name in the wireless network display on your phone tablet or computer see picture 23 Connect to the Nova wireless network and enter the password 4 Launch the browser on your device The device will display the Nova website automatically or type in 172 24 1 1 To connect the GTC Nova to a local wireless network see the section entitled...

Page 17: ...When the GTC Nova is connected to your local network you should use the url chargebox garo se in your web browser Your mobile device needs to be connected to same network as the GTC Nova Settings for scheduled reduced charge current not active when external energy meter installed Activating and deactivate RFID function Activating and deleting RFID tags Connecting to local Wifi network and LAN sett...

Page 18: ...Example of information for left and right hand side 18 EN USER MANUAL ...

Page 19: ...Energy information Information for consumed energy for each side of the GTC 19 EN USER MANUAL ...

Page 20: ...n in the interface Press save When RFID check is activated you need to hold an active RFID tag against the RFID reader to activate the charging process A ticking sound will indicate that the GTC is waiting for the RFID tag The ticking continues in 30sek After that you need to reconnect the charging cable to the vehicle again and restart the process If the RFID tag is accepted the charging process ...

Page 21: ...nstructions Note your device needs to be connected to same network as the GTC Nova Note If the data entered is incorrect or the connection is unsuccessful for any other reason the device will return to access point mode after around 10 minutes Connect GTC Nova to a local network via ethernet with DHCP The GTC Nova will attempt to get an IP address from the local DHCP server 1 Choose Ethernet and O...

Page 22: ...device needs to be connected to same network as the GTC Nova Updating the firmware When GTC Nova is connected to internet via a local network wifi or ethernet klick on Check for updates and follow the instructions When multiple GTC Nova is connected in a grid update for all units can perform at same time from the GTC Master USER MANUAL picture 14 By pressing the SW3 on CC2 for 3s you will reset th...

Page 23: ...ct your computer mobile table to the GTC Nova AP wifi access point SSID and password is located inside the front door Open http 172 24 1 1 8080 update in the web browser Click choose file and mark the downloaded file Click update and wait for the process to end Care Cleaning the Charging Station We recommend cleaning the GTC Nova with a soft dry cloth Never use abrasive pads or detergents The RCCB...

Page 24: ...g white Indentification signal Error indications Error type Action Solid yellow Charging cable error Check the charging cable Flashing yellow EV outlet locking function error Check the EV outlet contact local electrician Solid red RCCB tripped or error signal from EV Reset RCCB Solid red for 3s RFID tag not accepted Check your RFID tag Fast red flash DC fault detected Automatically reset after 15m...

Page 25: ...for authorization eg RFID tag One tick sound repeating every two minutes Indicate an error in DLM function Technical specifications USER MANUAL Product type All GTC models Standards directives IEC 61851 1 and IEC TS 61439 7 Installation Wall ground mounted Voltage rating 230V 400V 50Hz Installation systems TT TN and IT systems Charging Type Mode 3 Charging method AC charging Protection class IP44 ...

Page 26: ...GARO AB Box 203 SE 335 25 Gnosjö Phone 46 0 370 33 28 00 info garo se garo se EN ...

Reviews: