background image

Summary of Contents for JBP19

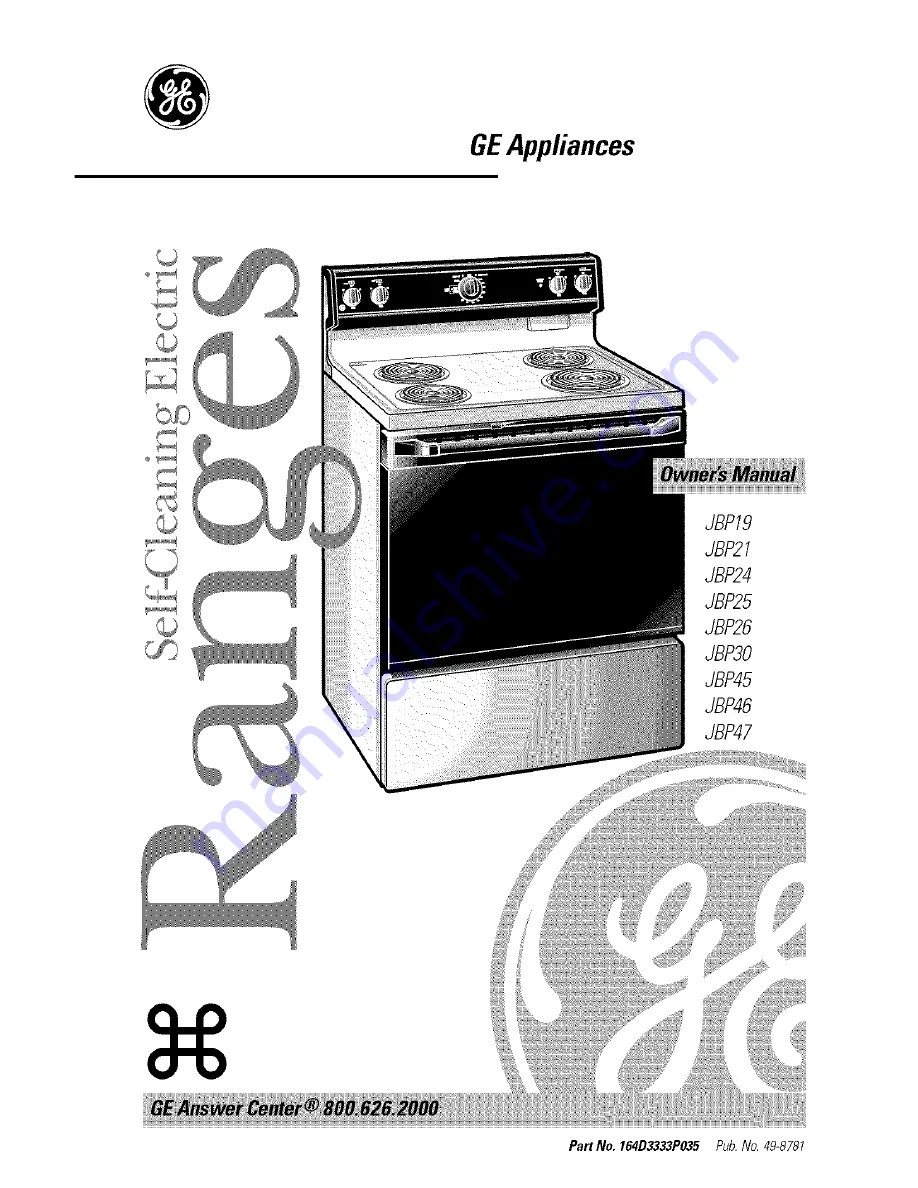
Page 1: ...GEAppliances JBP19 JBP21 JBP24 JBP25 JBP26 JBP30 JBP45 JBP46 JBP47 Part No 164D3333PM5 Pub No 49 8781...

Page 2: ...u use y ur range That s important because y_ur new range will be part of y ur t_mfily tor many years And we hope you will be part of ours tot a long time tO come We thank you tbr bu ing GE We apprecia...

Page 3: ...eshooting Tips first you may not need to call tot service at all If YouNeed Service IIyotl do need service yotl can reke_ knowing help isonl a phone call awW A listof toll fl ee o _ston erservice numb...

Page 4: ...l If it is not tbe e is a possible risk of the range tipping over and causing inju U if xm or a child stand sit or lean on an open door Please refer to the Anti Tip device infbm_ation in this manual F...

Page 5: ...t breaker _ i Do not leave chikh n alone child on should not be left alone or unattended in an area where an appliance is in use They should never be allowed to sit or stand on any part of the applian...

Page 6: ...or fbam t _ e fire exting_fisher Flaming gTease ouLside a pan can be put out by covering itwith baking soda or if available by using a multi purpose dU chemical or foam t 1 efire exting_fisher Flame i...

Page 7: ...containers Pressure could build up and tile container could burst causing an in ju U _ Keep tile oven vent unobstructed _ Keep tile oven flee from g_ease buildup _ Place tile oven shelf in tile desire...

Page 8: ...tile overt remove the broiler pan grid and tiler cookware Be sure to wipe up excess spillage before starting tile self cleaning operation in this Owner s Manual If tile self cleaning _ Do not use ove...

Page 9: ...ct ark not covered and ark in place Their absence during cooking could damage range parts and wiring _ Only certain t pes of glass glass ceranfic earthenware or other glazed containers are suitable fo...

Page 10: ...for efIecfive shallow or deep fat flTing Filling the pan too full of tat can cause spillovers when food is added _ Ira combination of oils or fats will be used in flying stir together before heating o...

Page 11: ...ium heat settings Steel pans ma cook unevenly ifnot combined with tiler metals F or best cooking resuhs pans should be flat on tile bottom Match the size ot tile saucepan to the size of tile surface u...

Page 12: ...s to dela the starting of your oven up to 11 hours and 59 minutes COOKTIME ON OFF Press this pad and then press the H UP and MIN pads to set the amount of tinle y tl want your t0od to cook Turn the ye...

Page 13: ...Ovendoor with the latch during cooking Thelatch is used for self cleaning only _ PREHEATED Light lows wheri tile overl reaches v tll sele ted temperature _ _ _ Oven Temperature Knob Turn this Mlob to...

Page 14: ...ll support To remove a shelf pull it toward you tilt the t ont end up and pull it out To replace place the end otthe shell stop locks on the support tilt up the t ont and push the shelt in How to Set...

Page 15: ...c Aluminum Foil Never entirely cover a shelf with ahmfinum toil This will disturl the heat circulation and resuh in poor baking A smaller sheet oftoil m W be used to catch a spillover by 1 lllO 1 1 p...

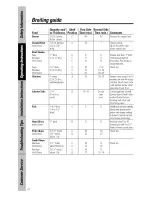
Page 16: ...thick about 1 In FirstSide Time min C 4_ C 10 C 6 C 8 C 12 C 10 C 15 C 25 A 35 B 13 16 C 5 B 8 C 10 B 13 C 10 C 12 C 14 B 17 SecondSide Time min 4_ 5 6 11 78 14 16 20 25 10 15 Do not turn over 9 10 12...

Page 17: ...ads tmtil the arnourlt ot tirne you want shows in the displa The tirner will start autornaticall witlfin a tew seconds of releasing the pad ToReset the timer ltthe display is still showing the time re...

Page 18: ...he length of cooking time Turn the yen Temperature knob to tile desired temperamre Tile displa will show tile cooldr N time rernairfing Wher_ tile ovell reaches tile set temperature a tone sounds When...

Page 19: ...conds to make the o _en20 F hotter or 20 L cooler Wl_en _ou are ad ustino the thermostat the follo_dno O _ O lights will flash indicating where the dlermostat will be set when you release the a iusm_e...

Page 20: ...oven door with soap and water The enamel grid and broiler pan nla be cleaned in tile sell leaning oven However to hel I prevent hear smoke caused v selikleanino _ tile _reas_ so1in the p an Oill ntlst...

Page 21: ...p cloth Nier the oven cools If white spots remain remove them with a soap filled steel wool pad and rlese thoroughly with a vinegarand water mixture These depos ts are tlStlall a salt res hie that can...

Page 22: ...ile control knot s lllay 1 e removed for easier cleanillg To remove a knob pull it straight ott the stem _ ash the knol s in soap and water l tlt do not soak ii iii i l ii lil _i_i iii_iiiiiiiiiii iii...

Page 23: ...gasket and the fl ont fl anle can be cleaned with a soap filled scouring pad hot water and detergent Rinse well with a vinegar and water sohltion Donotruborcleanthedoorgasket it hasanextremely low res...

Page 24: ...Before replacing your oven light bulb disconnect the electrical power to the range at the main fuse or circuit breaker panel Be sure to let the light cover and bulb eel ornpletel Toremovethecover HeM...

Page 25: ...also be cleaned with an oven cleaner If the grid is chrome do not use all ell cleaner to clean it l oth the broiler pan and grid can also be cleaned in the dishwasher Do not store a soiled broiler pa...

Page 26: ...ash with soap and water or cleansing powders atier the surface has cooled Rinse well Polish with a oh cloth Besureall surfaceunitsareturnedoff beforeraisingtbecooktep Lift Up Cooktop on some models So...

Page 27: ...tile pan lines up with tile receptacle Insert the terminals of the surface unit through the nlno Ill ope g the drip pan and into the receptade Guide the surtht e unit into pla_e so it rests evenly Do...

Page 28: ...ratchet t_Tench with 3 16 socket for leveling range ElectricalRequirements CAUTION FORPERSONALSAFETYDO NOT USEAN EXTENSIONCORD WITH TH SAPPL ANCE REMOVEHOUSEFUSEOR OPEN CIRCUITBREAKER BEFORE BEGINNING...

Page 29: ...ooktop shall conform to theInstallation Instructions packedwiththatappliance 1tcabinet storage is installed reduce risk by installing a range hood that projects horizontally a rain ot 5 beyond the l o...

Page 30: ...ectric Code requires that new construction not existing utilize a 4 conductor connection to an electric ranga when installing a electric range in new construction follow Steps 3 and 5for 4 wire connec...

Page 31: ...ockout ring away from the bracket and twist until ring is removed Knockout ring inbracket Knockoutringremoved 5sset n le the strain reliet in the hole Insert the power cord through the strain relieI a...

Page 32: ...t be connected to the outside brass colored terminals Remove tile 3 wire terminal screws Oli1 tile connector block Insert screws through each power cord terminal ring and into tile connector block unt...

Page 33: ..._ 1 1the connector block ib Remove the grounding s rew and strap t_ om the coru ector block middle _ OCatiOl and tile screw connectiol to tile ti _lIlle I the range i Irlsert screws throutrh each ower...

Page 34: ...hlnlirll_lrn wire to tile Collnector l lock Use copper building _ire rated tk r tile correct amperage and volta e to make 3 three 3 copper jumper wires Connect wire as per Step 6 or 7 depending on num...

Page 35: ...only If aluminum wire is used see note below NOTE ALUMINUM WIRING x Do not connect a tlfniflllm wife tO cofmector block Use copper building _ ire rated tor the correct amperage and voltage to make 3 t...

Page 36: ...nge Tile rarve lllllSt be level I evelilw feet are located at each corner of the base of tile rano e_ Remove tile storage drawer or kick panel depending on our model and using cllannel locks rotate tt...

Page 37: ...ing in the pan lines up with the receptacle Thedisplaygoes blankorindicator lightscroneon whenrange is notinuse Power surge Disconnect power at the tuse box or cir afit breaker tor at least 10 seconds...

Page 38: ...broilproperly at BROIL knob all the way to the BROIL position Door not open to the See the Using the broil stop position as oven section recommended Improper shelf position See the Broiling guide bei...

Page 39: ...Replace fllse or reset cirolit breaker See tile Using the clock and timer section self clean _llox_ tile ranu e to cool to room temperature and reset tile controls Oven conWols improperly set Oven doo...

Page 40: ...ean Oven controls not after a clean cycle properly set Oven was heavily soiled See Using the self cleaning oven section lean up hemy spilhwers before starting the clean c _le Heavily soiled ovens may...

Page 41: ...locked position Make sure the latch is moved to the right as far as it will go Turn the h en Temperature knob to OFF Allow the wen to cool tor one hour Put the oven back into operation l isconnect al...

Page 42: ..._ Notes ii_iiiiii_ JiiiiHiii ii i_ iiiii _i_i iii_iiiiiiiiiii iiiiiii ii_ i iiiiiii i_iiii ii_...

Page 43: ...ailure of the product if it is abused misused or used for other than the intended purpose or used commercially _ Damage to the product caused by accident f we floods or acts of God Incidental or conse...

Page 44: ...duals qualified to service tl_eir o _a _ appliances can have parts or accessories sent directly to tl_eir homes VISA MasterCard and Discover cards are accepted Instructions containedinthismanualcoverp...

Reviews: