
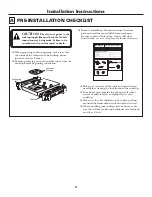


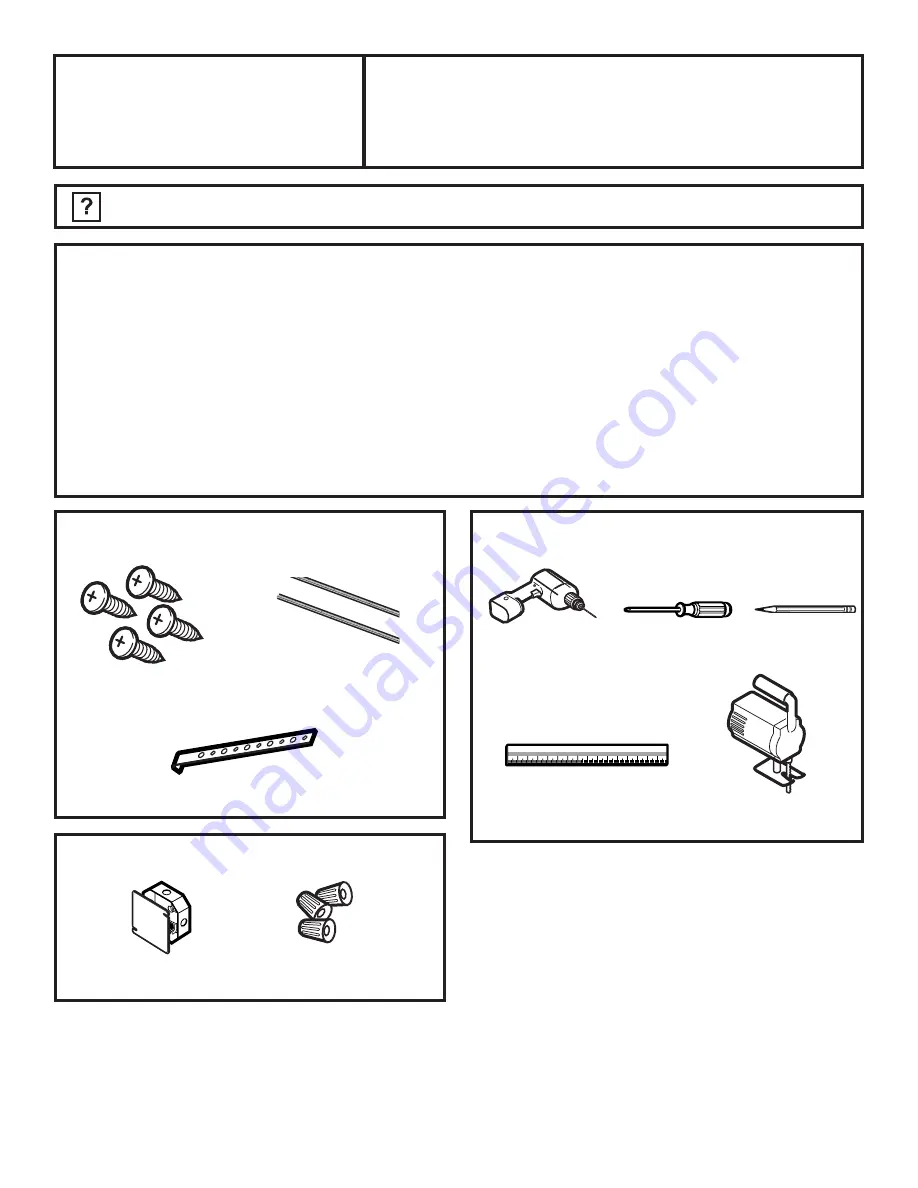
TOOLS YOU WILL NEED
CAUTION: BEFORE YOU BEGIN
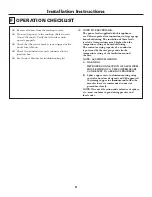
Read these instructions carefully and completely.
•
IMPORTANT –
Save these instructions for local
inspector’s use.
•
IMPORTANT –
Observe all governing codes and
ordinances.
•
Note to Installer –
Be sure to leave these instructions with
the Consumer.
•
Note to Consumer –
Keep these instructions for future
reference.
30” Electric Cooktop
Installation
Instructions
JCP910, JCP930
•
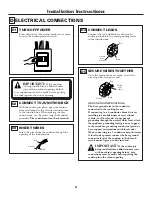
NOTE:
This appliance must be properly grounded.
•
Skill level –
Installation of this appliance requires basic
mechanical and electrical skills.
•
Completion time –
2–3 hours.
•
Proper installation is the responsibility of the installer.
•
Product failure due to improper installation is not
covered under the Warranty.
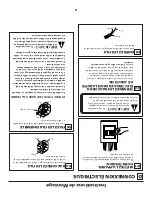
PARTS INCLUDED
1/8” Drill Bit and
Electric or Hand Drill
Phillips
Screwdriver
Foam Strips
4 screws
Pub. No. 31-10602
01-05 JR
Printed in the United States
1
Questions? Call 1.800.361.3400
or
visit our Website at:
www.GEAppliances.ca
2 Hold Down Brackets
Ruler or
Straightedge
Hand or
Saber Saw
Pencil
Junction
Box
Wire Nuts
MATERIALS NEEDED


