


ge.com
PP950
PP980
Owner’s Manual
Coo
kto
p
Electronic T
ouch Control
49-80423-1
12-06 JR
Safety Instructions
. . . . . . . . 2–4
Operating Instructions
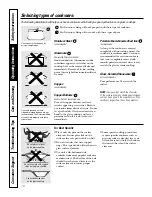
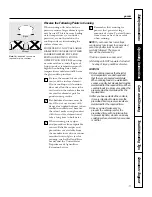
Cookware Tips . . . . . . . . . . .10, 11
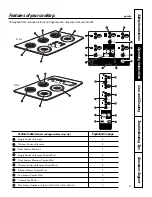
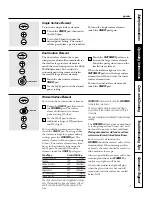
Dual Surface Element . . . . . . . . 7
Features of Your Cooktop . . . . . .5
Kitchen Timer . . . . . . . . . . . . . . .9
Locking the Cooktop . . . . . . . . .9
Pan Detection Feature . . . . . . . . .9
Pan Sizing Feature . . . . . . . . . . . .9
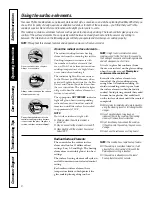
Surface Elements . . . . . . . . . . 6–9
Warmer Surface Element . . . . . .7
Care and Cleaning
Control Lock Pad . . . . . . . . . . . 13
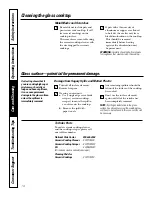
Glass Cooktop . . . . . . . . . . . 13, 14
Packaging Tape . . . . . . . . . . . . . 12
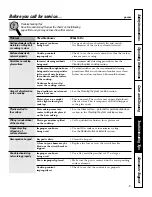
Troubleshooting Tips
. . . . 15, 16
Consumer Support
Consumer Support . . . . . . . . . . 20
Product Registration . . . . . . 17, 18
Warranty . . . . . . . . . . . . . . . . . . 19
Write the model and serial
numbers here:
Model
# ______________
Serial
# ______________
You can find them on a label
under the cooktop.


