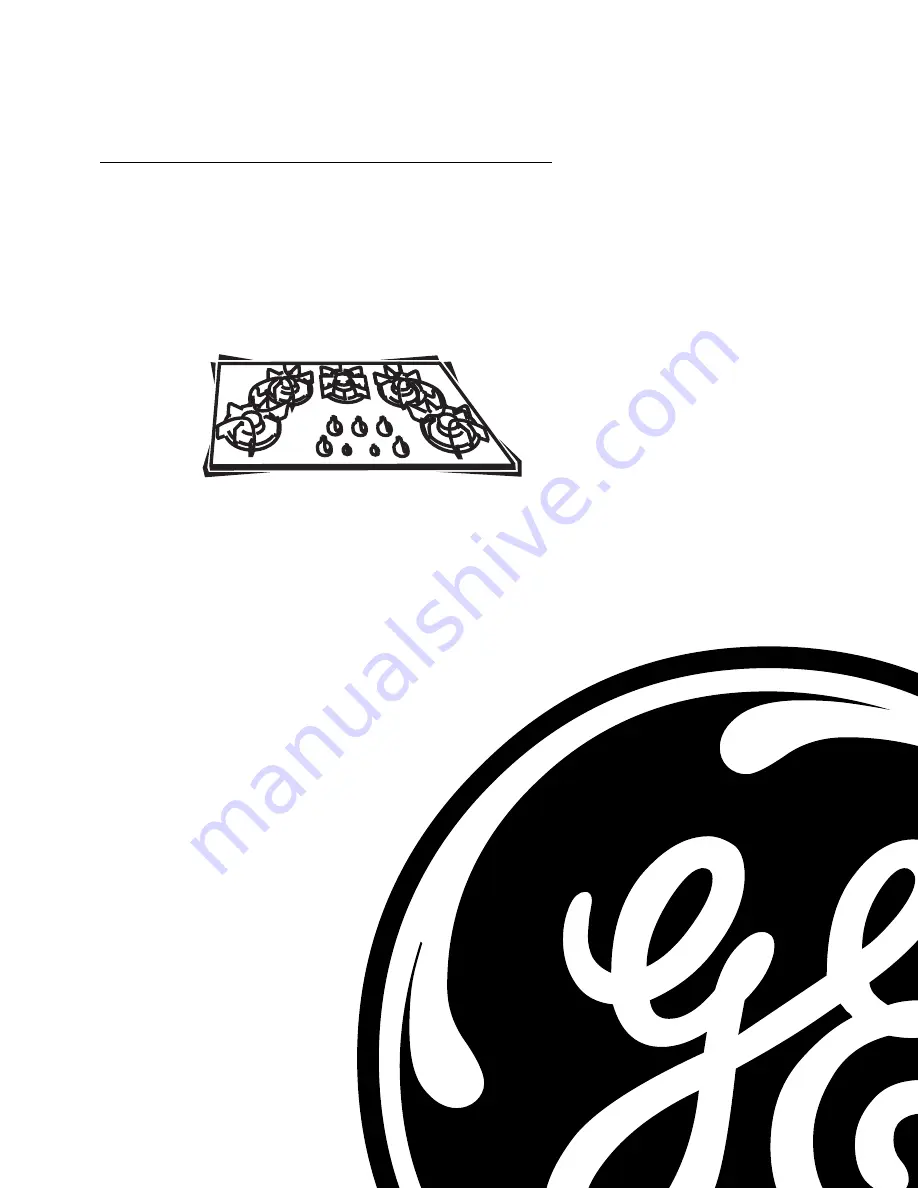
background image

PUB # 31--9056

08/00

MODEL SERIES:

TECHNICAL SERVICE GUIDE

GE Consumer Home Services Training

g

Monogram/Profile

Gas Cooktop

JGP656
JGP6560
ZGU365
ZGU3650

Summary of Contents for Profile JGP656 Series

Page 1: ...PUB 31 9056 08 00 MODEL SERIES TECHNICAL SERVICE GUIDE GE Consumer Home ServicesTraining g Monogram Profile Gas Cooktop JGP656 JGP6560 ZGU365 ZGU3650...

Page 2: ...o not use any phone in the building Immediately call the gas supplier from a neighbor s phone Follow the gas supplier s instructions If you cannot reach the gas supplier call the fire department CAUTI...

Page 3: ...ntrols 5 Care and Cleaning 6 Installation Requirements 9 Cabinet Preparation 11 Downdraft Vent Installation 14 Cooktop Installationx 17 Conversion to LP Propane Gas 20 Accessories 24 Removal and Repla...

Page 4: ...goes out All burner igniters spark while a burner is relighting In case of a power outage the surface burners on the cooktop can be lit with a match Hold a lighted match to the burner then turn the k...

Page 5: ...kware those for oven use only and those for surface cooking saucepans coffee pots and teapots Glass conducts heat very slowly Heatproof Glass Ceramic This can be used for either surface or oven cookin...

Page 6: ...use woks that have support rings Use of these types of woks with or without the ring in place can be dangerous Placing the ring over the burner grate may cause the burner to work improperly resulting...

Page 7: ...t turn the VENT knob again to the RAISE LOWER position The vent will then descend Operating the Vent System Turn the FAN knob to the HIGH position to turn it on If you continue turning the FAN knob yo...

Page 8: ...icult to remove As soon as the cooktop is cool wash the glass surface with a cloth moistened with warm soapy water Rinse the surface with clean water and dry it with a soft cloth You can use any liqui...

Page 9: ...e out excess water and then dry it thoroughly by setting it in a warm oven for 30 minutes Replace the burner heads and caps Make sure the heads and caps are replaced in the correct locations There are...

Page 10: ...durable the grates will gradually lose their shine regardless of the best care you can give them This is due to their continual exposure to high temperatures Cleaning Stainless Steel Surfaces Caution...

Page 11: ...the cabinet floor JXBC57 optional outdoor cover accessory may be ordered for installation of blower and motor assembly on outside wall These gas updraft cooktops are only 3 deep and can be installed o...

Page 12: ...I NFPA No 70 Latest Edition Installation of cooktop must conform with local codes or in their absence with National Fuel Gas Code ANSI Z223 1 Latest Edition Disconnect the electrical supply before ser...

Page 13: ...Cabinet Preparation Allow at least 8 13 16 in clearance from the right and left sides of the cutout to the adjacent wall Allow at least 2 1 4 in clearance between the front of the cutout and front edg...

Page 14: ...perpendicular to the sides 36 22 1 4 1 1 4 min 8 3 4 8 13 16 min to side walls 2 1 4 min to front edge 21 2 15 34 5 8 19 2 34 2 5 16 GEA00277 The gas downdraft cooktop is designed to fit in a 36 in or...

Page 15: ...he rear wall or on the cabinet floor at the rear as illustrated Power Supply Locations Electrical Supply WARNING For personel safety appliance must be properly grounded These cooktops feature pilotles...

Page 16: ...Lay the vent on its back onto the pad 3 Remove 4 nuts holding the blower to the mounting plate see illustration One nut is just inside the blower discharge 4 Remove and turn the blower 90 to the right...

Page 17: ...is used all the equivalent length values entered on the worksheet for flexible ducting should be doubled The flexible metal duct should be straight and smooth and extended as much as possible Vent ins...

Page 18: ...of both PVC duct should be used if installing under a poured concrete slab Do not use flexible plastic ducting Always use an appropriate roof or wall cap with damper Laundry type wall caps should neve...

Page 19: ...irection Install manual shut off valve in gas line in an easily accessible location WARNING Do not use a flame to check for gas leaks Turn ON gas Check for leaks using liquid leak detector at all join...

Page 20: ...des 10 Insert hold down bracket into highest slots on right and left sides of cooktop Cooktop has three slots the highest available will depend on thickness of countertop 11 Secure brackets to undersi...

Page 21: ...will cease sparking when burner is lit 3 Turn knob to OFF 4 Repeat procedure for each burner Install Filters Check Operation of Downdraft 1 To raise vent turn VENT knob to RAISE LOWER Hold knob until...

Page 22: ...Service and Parts Center Total input rating after conversion Four burner cooktop 35 000 Btu hr Five burner cooktop 44 500 Btu hr Tools Required Adjustable wrench Nut driver 9 32 in or 7 mm Prepare Co...

Page 23: ...r of cooktop 2 Use an adjustable wrench to remove nut from pressure regulator LP Nut Gas flow into range LP adapter GEA00257 NAT 3 Insert LP adapter into nut LP adapter Nut LP GEA00258 NAT 4 Reinsert...

Page 24: ...should look like B or C depending on the type of gas used With LP gas some yellow tipping on outer cones is normal Final Steps 1 Fill in the date plus the name and address of the service organization...

Page 25: ...23 Notes...

Page 26: ...A 3 1 4 in x 10 in transition to 6 in round is required GEA00281 Parts Supplied Hanger Brackets Outlet Plate Cover Plate Package of screws GEA00282 Downdraft Vent Assembly JXBA56WW White JXBA56BB Bla...

Page 27: ...n x 10 in transition to 6 in round is required GEA00288 4 Hanger Brackets Package of screws Damper Outlet Plate Cover Plate Cover Junction Box Base Assembly Outlet Pan GEA00289 LP Gas Conversion Kit J...

Page 28: ...e burner bowl Remove Gas Valve Assembly 1 Remove 4 or 5 gas control knobs 2 From below cooktop remove 17 screws and bottom pan 3 Remove 4 or 5 gas line fittings 4 Remove manifold gas line fitting from...

Page 29: ...right and rotate the left end toward the front to remove the module Caution When assembling be sure to replace the insulation covering the spark module before replacing the bottom pan Low Flame Simmer...

Page 30: ...L RED RED RAISE LOWER SWITCH FAN ON OFF SPEED CONTROL SWITCH R R R BLACK TOP BURNER IGNITERS BLACK BLACK BLACK WHITE BLACK WHITE MICROSWITCH TOP BOTTOM LIMITS WHITE WHITE WHITE WHITE WHITE WHITE TOP...

Page 31: ...l e e r u s e k a M e l u d o M k r a p S e c a l p e R n o i t i s o p N O n i s i b o n k e r u s e k a M n o i t i s o p N O n i s i e v l a v f f o t u h s e r u s e k a M t n e i c i f f u s s i...

Page 32: ...TOP BLK 1 88 WB02X9843 SEAL DRIP PAN 5 91 WB02X9243 INSTALLATION HARDWARE PK 2 94 WB02K10044 RETENTION BRACKET 5 95 WB34K10043 CLAMPING PLATE 5 View Catalog Description Qty 96 NOT STOCKED NUT M4 30 10...

Page 33: ...52 GLASS COOKTOP WH 1 88 WB02X9843 SEAL DRIP PAN 5 91 WB02X9243 INSTALLATION HARDWARE PK 2 94 WB02K10044 RETENTION BRACKET 5 95 WB34K10043 CLAMPING PLATE 5 View Catalog Description Qty 96 NOT STOCKED...

Page 34: ...1 66 WB18K10007 HARNESS HV 1 72 WB13K10007 ELECTRODE SPARK 5 74 WB01K10026 CLIP ELECTRODE 5 View Catalog Description Qty 75 WB02K10037 GROUND PATH SHIELD 5 86 WB57K10050 GLASS COOKTOP BLACK 1 88 WB02...

Page 35: ...7 ELECTRODE SPARK 5 74 WB01K10026 CLIP ELECTRODE 5 75 WB02K10037 GROUND PATH SHIELD 5 View Catalog Description Qty 86 WB61K10007 GLASS COOKTOP WH 1 88 WB02X9843 SEAL DRIP PAN 5 91 WB02X9243 INSTALLATI...

Page 36: ...44 RETENTION BRACKET 5 95 WB34K10043 CLAMPING PLATE 5 96 NOT STOCKED NUT M4 30 101 WB56X10010 COVER 36 1 102 WB56X10004 PANEL GEAR MOTOR 1 103 WB07X10012 SLIDE 1 View Catalog Description Qty 104 WB02X...

Page 37: ...K10044 RETENTION BRACKET 5 95 WB34K10043 CLAMPING PLATE 5 96 NOT STOCKED NUT M4 30 101 WB56X10010 COVER 36 1 View Catalog Description Qty 102 WB56X10004 PANEL GEAR MOTOR 1 103 WB07X10012 SLIDE 1 104 W...

Page 38: ...not allow the exclusion or limitation of incidental or consequential damages This war ranty gives you specific legal rights and you may also have other rights which vary from state to state To know w...

Page 39: ...37...

Page 40: ...38...

Reviews: