
1.
Carefully unpack, removing any bubble wrap and inspect the
contents of your tree.
{Fig. A}
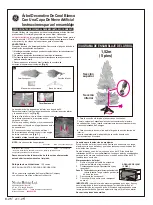
TREE ASSEMBLY DIAGRAM
White Flocked Coral
Decorative Tree
Assembly Instructions
Nicolas Holiday Ltd. thanks you for purchasing this pre-lit Christmas tree.
Should you have any problems with your tree, visit us at
www.geholidaylighting.com
for more information.
You can call our toll free number at 1-877-398-7337.
Check our website for latest service hours and assembly instruction videos.
8.25”x11.25”
WARNING:
Risk of fire and electric shock. Disconnect light set from power source before
starting.
1) Keep wires clear of being pinched or cut during assembly or installation.
2) Do not press or grasp bulbs during assembly or installation.
3) Please read all instructions and warnings included with this product before using.
CAUTION: EXERCISE CARE WHEN UNPACKING AND ASSEMBLING
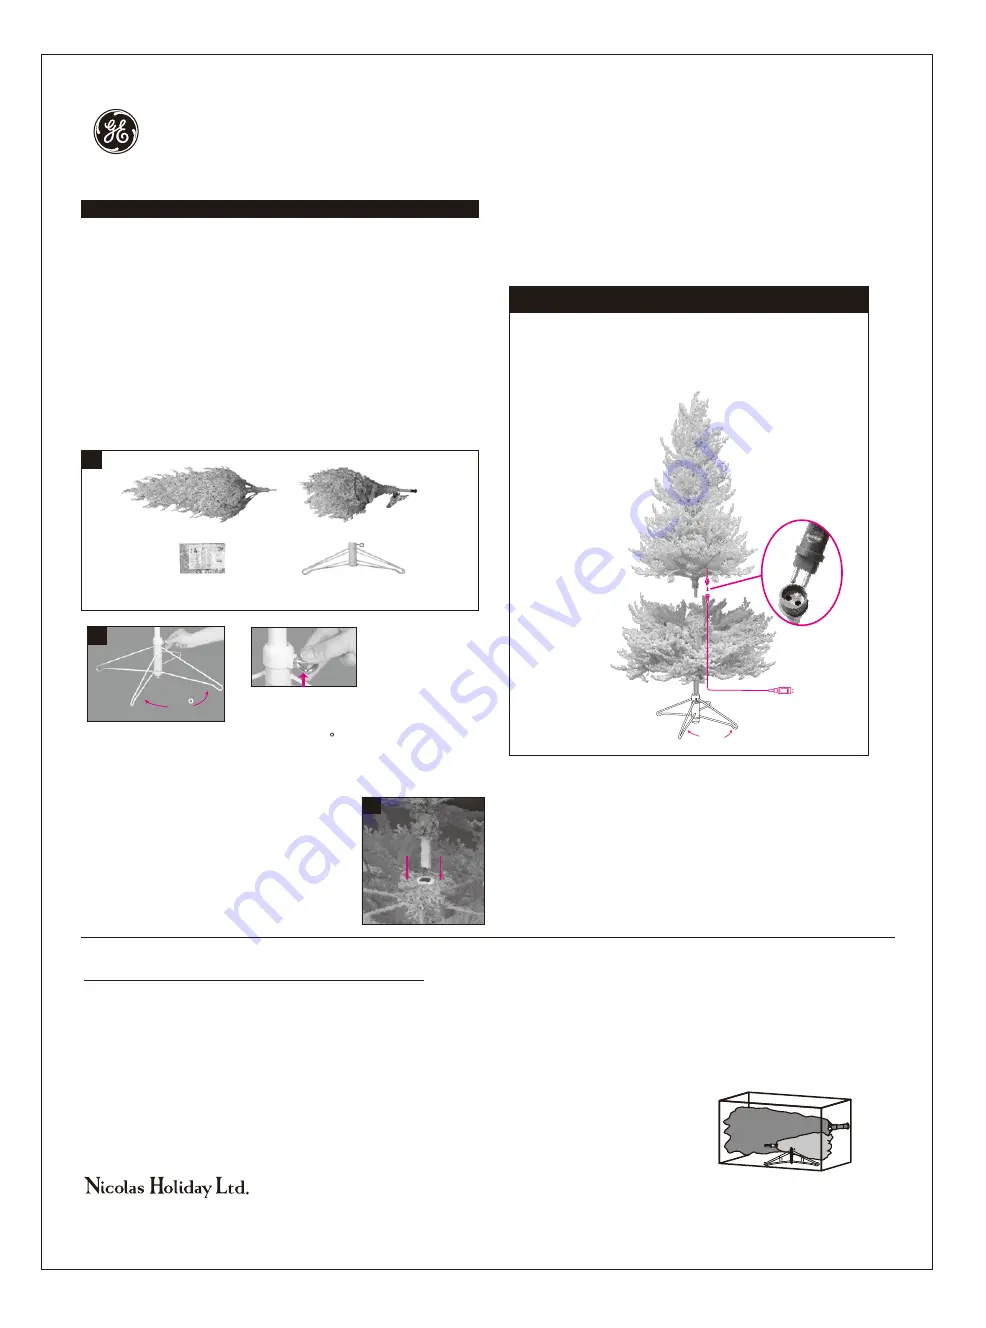
3.
To electrically connect the lighted sections:
First, locate the 2 white connector cord tags between each section.
Then fully insert the 2-pin polarized male and female connectors.
Fully screw on the cap to secure connection.
4.
To illuminate, find and unhank the long lead wire from the bottom
lighted section.
Fully insert the direct plug-in adapter into a working outlet.
Thumbscrew
The tree stand should be open and set at a 90 angle. Remember to
tighten the thumbscrew after connecting bottom section and tree stand.
See
{Fig. B}
Untie
red
twist-tie to release branch panels. Gently
position any branches that do not fall into place.
Your assembled tree may be heavy and difficult
to move when done, so place the stand in desired
location before assembling.
5 FT
90
B
A
Top section
Bottom section
Metal stand
Instruction manual
NOTE:
No tools required
Tree Sections Tree Stand
Approx. Asm Time
5 ft tree 2 Metal
10 – 15 minutes
* Does not include time for shaping branches, estimated shaping time is 30 minutes/section.
Disconnect the decorative item from the power source before
performing any maintenance or cleaning.
GE is a trademark of General Electric Company
and is under license by Nicolas Holiday Ltd.
©2020 Nicolas Holiday Ltd.
9 F., No. 37, Guangfu North Rd.,
Taipei, Taiwan 10560 All rights reserved.
Printed in China
20005LO
For indoor use only
120V
THIS IS NOT A TOY, FOR DECORATIVE USE ONLY.
Top
section
Bottom
section
2.
When you connect two tree sections, it is
important that you align square shape connector.
See
{Fig. C}
Assemble section by section.
C
IMPORTANT:
Store your carton neatly in a cool, dry location protected
from sunlight to prolong the tree life and to better keep the light sets in
working order. Do not place a heavy load on the carton to avoid damage
to or crushing the carton and tree inside.
NO Spare Bulbs
Troubleshooting Tips
If one section of your tree does not illuminate, check that section for cut or
damaged wires or that all electrical connections on tree are made.
Due to unique construction of the light sets, the individual LEDs are not
replaceable. The light sets are designed for continued operation even if an
individual LED fails to light.
OPEN
5 FT TREES
A
TOP
Tree Storage
1. Remove the tree’s main extension cord plug from the wall outlet.
2. Starting at the top, disconnect the top and section A.
Step A:
Gently fold the branches up
toward the center.
Care Should be taken
to avoid damage to the lights.
3. Disconnect sections A.
4. Refer to the drawing on how to
repack your tree.


