


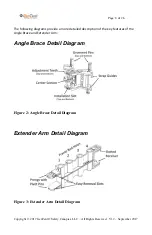
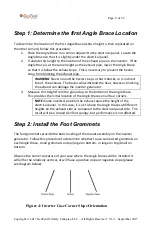

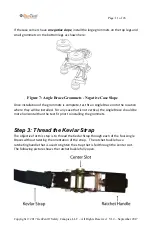
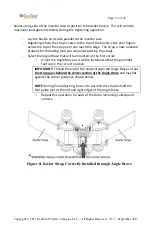
Page: 1 of 26
Copyright © 2017 GenTent® Safety Canopies, LLC – All Rights Reserved V1.2 – September 2017
GenTent
®
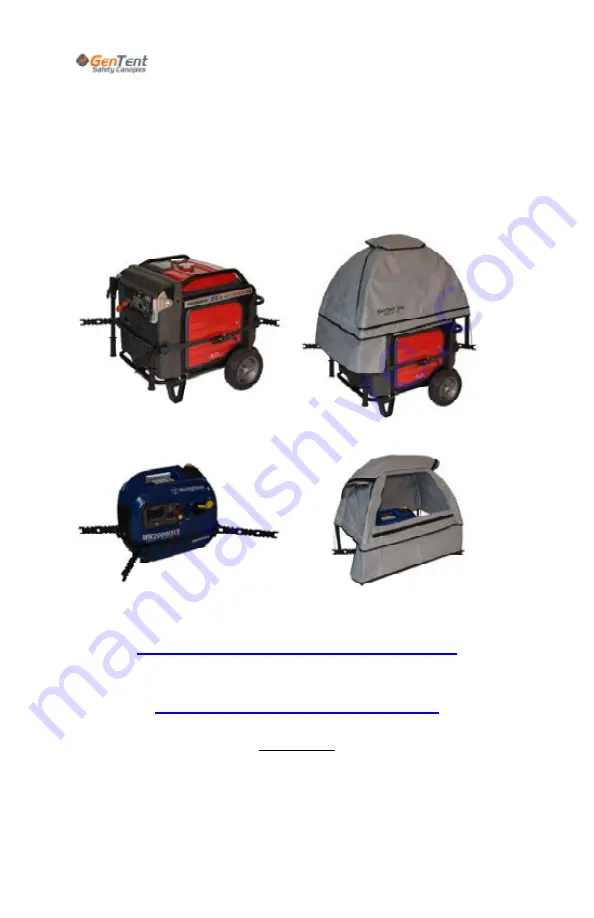
XKi/XKu
Product Installation and Safety Manual
Free Installation Videos
www.GenTent.Com/Installation
Read this Manual in Color Online
www.GenTent.Com/Manual
THANK YOU
Congratulations on your purchase of the GenTent® XKi, the first ever wet
weather safety canopy specifically engineered for inverter and fully encased
generators. We are proud to provide this high quality product.


