levelsmart
™
Wireless Autofill
levelsmart
™
Wireless Autofill
Follow us on
Plumb the valve into the designated water fill line, or “T”
it into the pool return plumbing after the filter and pump
equipment from a nearby water source. You can use a water
spigot, or “T” from a nearby irrigation line or similar. Add a
pressure regulator if desired.
Fill the pool to the desired
water level.
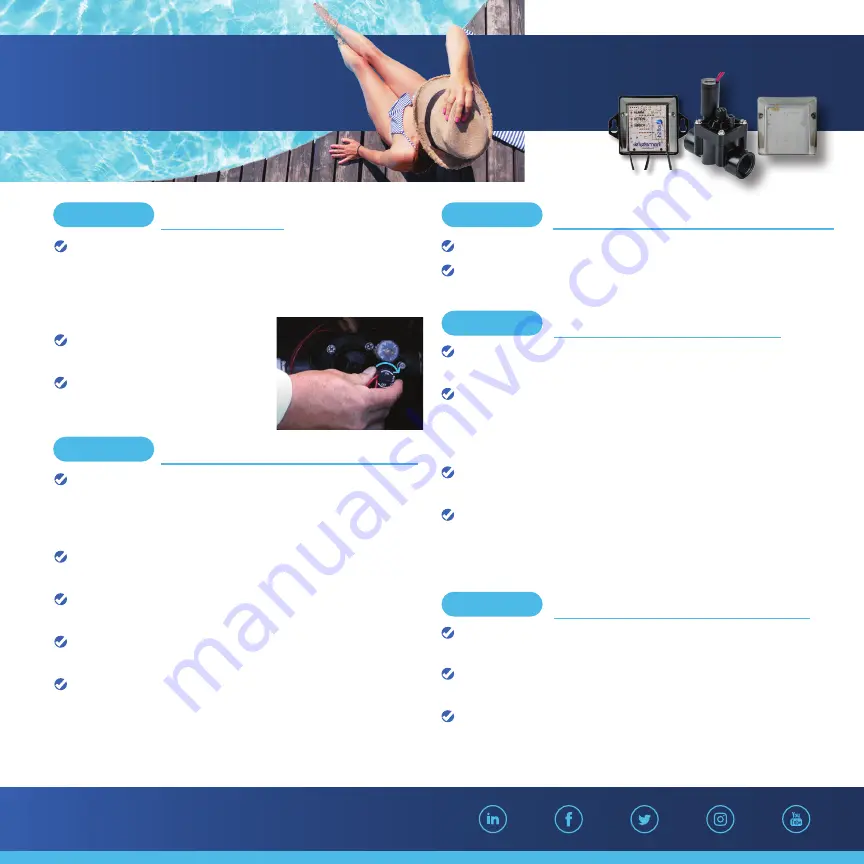
Make sure the valve solenoid
is in the “OFF” position (see right).
For best results, mount the Valve Controller in a protected
area out of direct sunlight and rain exposure. This component
is weather-proof rated, but is always better tucked away from
the elements if possible.
Mount the valve controller using the mounting screws
provided in the accessory pack.
Use the wire nuts provided to connect the Valve Controller
wires to the valve wires.
Connect the Valve Controller to the power transformer with
the two pin plug, then plug into power source.
All 3 LED lights will repeatedly flash in sequence from the
bottom to the top. This indicates that the unit is in pairing
mode. Move on to the next step while this is taking place.
Connect all antennas and tighten them.
Place antenna tip in desired mounting position off the ground
and 8-12 inches away from any metal.
Make sure Valve Controller is flashing in a sequence
indicating it is in pairing mode.
Take sensor to pool and remove magnet above the mounting
location. Leave on coping and watch the pairing process
take place at Valve Controller. The yellow ‘ACTION’ light will
flash for about 2.5 minutes.
Once Pairing is successful, a solid green LED will be seen on
the sensor.
If pairing is not successful, place the Valve Controller into
pairing mode by unplugging and plugging it back in. Then,
place the magnet on the sensor for at least 16 second and
remove. Once removed, repeat step 4.
Clean/scrub the area where the Water Level Sensor is to be
mounted.
Mount the water level sensor where the desired water is
about 0.5 - 1.5-inches up on the sensor.
Knead the epoxy thoroughly and spread on the dry back
suface of the sensor. Firmly press the sensor against the
mounting surface for at least 90 seconds, being sure that the
sensor is sitting 0.5 - 1.5-inches into the desired water level.
INSTALL THE VALVE
STEP 1
INSTALL & CONNECT VALVE CONTROLLER
STEP 2
CONNECT ANTENNAS TO VALVE CONTROLLER
STEP 3
PAIR SENSOR & VALVE CONTROLLER
STEP 4
ADHERE SENSOR AND MOUNT ANTENNA
STEP 5
Valve Controller
Valve
Level Sensor
ROTATE
QUICK START GUIDE
FOR LEVELSMART INSTALLATION