background image


Falcon 4010   
User Manual 

Summary of Contents for Falcon 4010

Page 1: ...Falcon 4010 User Manual ...
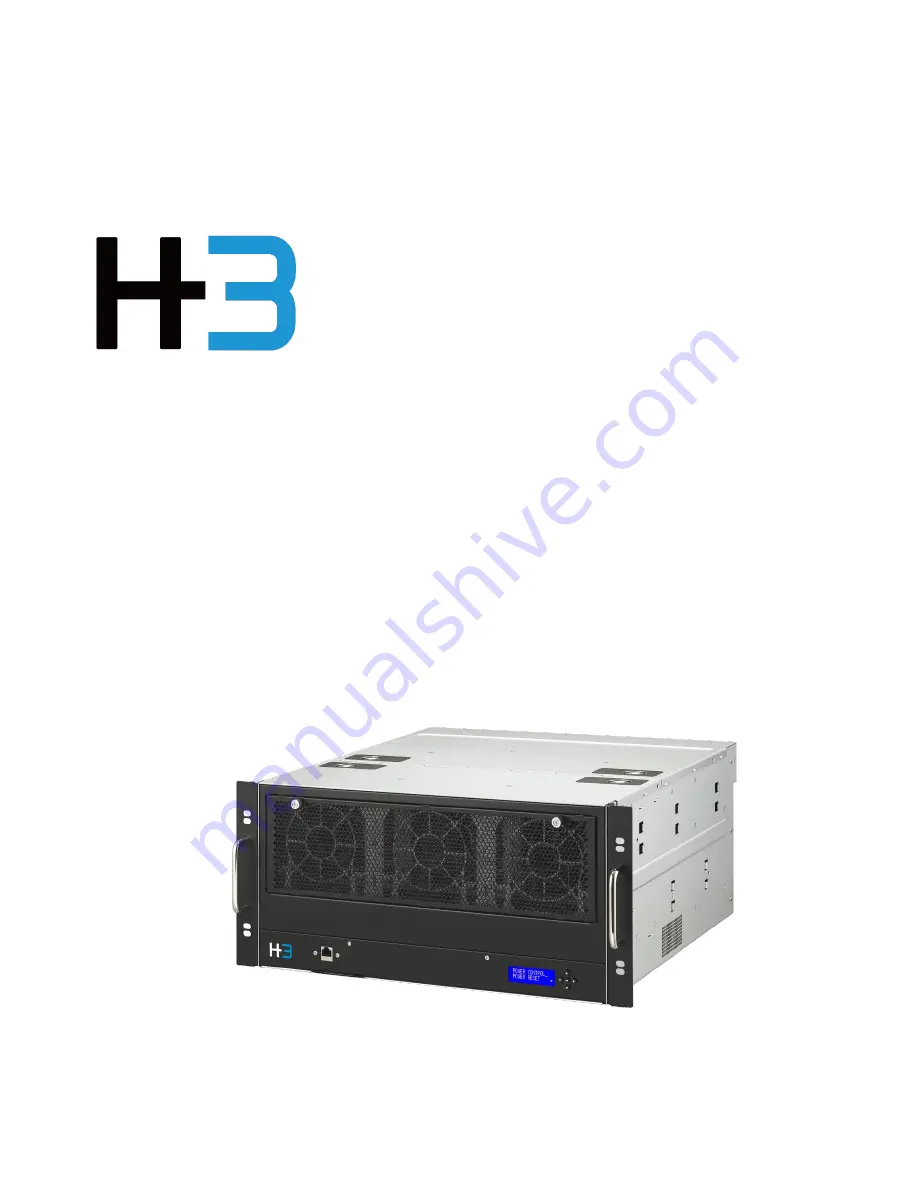
Page 2: ...I Introduction P 7 Hardware Installation Quick Installation Guide LCD Operation P 34 License Key Activation P 31 Operation Safety P 45 PCIe Port Configuration P 16 Rest to Default P 44 Service Parts P 33 Specifications P 5 System modes P 6 Trouble Shooting P 46 ...

Page 3: ...ion and Initial Settings 6 6 System Modes 6 6 1 Standard Mode 6 6 2 Advanced Mode 6 7 Graphical User Interface 7 7 1 Log in 7 7 2 Functions 7 7 2 1 Overview 8 7 2 2 Resource Management 12 7 2 3 Port Configuration 16 7 2 4 Monitor 18 7 2 5 System Health 20 7 2 6 Chassis 23 7 2 7 Maintenance 24 7 2 8 Event Logs 26 7 2 9 Setting 27 8 Parts Replacement 33 8 1 Fans 33 8 2 Power Supply Units 33 9 LCD 34...

Page 4: ...3 Power reset 36 9 2 4 System 36 9 2 5 Slot 37 9 2 6 Devices 38 9 2 7 Hosts 39 9 2 8 Health 40 9 2 9 Temperature 41 9 2 10 Network 41 9 2 11 Password Feature coming Soon 43 9 2 12 Reset to default 44 10 Operation Safety 45 11 Trouble Shooting 46 Symptoms or Errors 46 Solution 46 ...

Page 5: ... Features GPU composability Device surprise add and remove GPU peer to peer PCIe port configuration Real time GPU cluster topology System performance monitoring Role based authentication and access control 2 Package Contents Falcon 4010 GPU Expansion Chassis 1 Main chassis 1 GPU drawer 2 PSU 2 Fan 6 Power cord PSU 2 Mini SAS HD external cable 8 Host bus adapter set 2 HBA 2 Full height bracket 2 Ha...

Page 6: ...i SAS HD external Cable Connector SFF 8644 to SFF 8644 PCIe PCIe 4 0 x4 each Length 2 meters Each PCIe slot supports up to 300 watts 75W from slot 225W from the 8pin PCIe power 4 Requirements 4 1 Host Server Minimum of one vacant PCIe x16 PCIe 3 0 or higher slot for HBA installation 4 2 Host OS BIOs Standard Mode No limitations Advanced Mode Ubuntu 16 04 LTS 18 04 LTS 20 04 LTS Windows build 1903 ...

Page 7: ... allocated devices to hosts dynamically You could activate the Advanced mode with a premium license key Please contact sales h3platform com for purchase 6 1 Standard Mode System monitor Power control from GUI Download system performance data from GUI Firmware update User management Limited to single host per GPU drawer Does not support device dynamic allocation and host port bifurcation 6 2 Advanc...

Page 8: ... 7 1 Log in 7 2 Functions Every time you access GUI you will be asked to log in Please enter your username and password The drop down menu is at the top left of the page Please find details of each function in the relative section ...

Page 9: ...NVMe and NIC features can be accessed with premium license activated Used indicates the number of devices that are currently assigned to hosts e g Used 8 of 10 There are 10 devices installed in Falcon 4010 8 of them are assigned to the host s The overview page sorts out the basic performance data of the Falcon 4010 system in charts and graphs ...

Page 10: ...of a specific GPU displayed in bar graph 4 Device number displayed as Drawer Slot E g 1 1 indicated GPU on drawer 1 slot 1 5 Display period The graph will display the utilization rate of the GPUs in the past hours 1 12 24 or 72 hours options available 6 Download Download the GPU utilization data up to the past 72 hours PCIe Throughput MB s The PCIe Throughput graph shows the throughput of each dev...

Page 11: ... Egress and Sum 8 Display period The graph will display the PCIe throughput rates in the past hours 1 12 24 72 hours options available 9 Download Download the PCIe throughput data up to past 72 hours PCIe Link Health The PCIe Link Health chart shows the link health condition of every PCIe port in use 1 Chart title PCIe Link Health 2 Health indication Green indicates healthy Bad TLP 0 Bad DLP 0 Red...

Page 12: ...hut down automatically when the system detects any device temperature 85 C for over 10 seconds The System Profile chart displays basic system information of the chassis being operated Model chassis model name Serial number the serial number of the chassis Mac address mac address of the chassis Firmware current BMC firmware version System up time time since the system is powered on Last Login The l...

Page 13: ...topology mode or the list mode 2 Allocate This button is used when allocating resource to the hosts See Device Allocation section for details 3 Drawer 1 PCIe ports PCIe ports of drawer 1 are in green background 4 Drawer 2 PCIe ports PCIe ports of drawer 2 are in blue background 5 Legends Help users to clarify the components in the topology mode 6 Refresh Click to refresh the topology display 7 Sys...

Page 14: ...mation of a PCIe slot in use the PCIe slots that are empty will not be listed 1 Slot This column shows all the PCIe slots with device installed 2 Assigned host This column shows the hosts that the devices are currently assigned to 3 Device name This column shows the device name 4 Type This column shows the device type GPU NVMe SSD or NIC 5 UUID Serial number This column shows the UUID and serial n...

Page 15: ... mode Go to Resource Management page Use Topology mode 1 Select the target host 2 Check the box beside the vacant device 3 Click Allocate to assign the device to the host If multiple PCIe devices should be provisioned to one connected host users can also select multiple devices at one time then allocate to one connected host The confirmation message will pop up to ask users for confirmation Click ...

Page 16: ...next to the target device You can only deallocate one device at a time with this method The confirmation message will pop up to ask users for confirmation Click Yes to confirm Click OK to finish the provisioning processes After you have assigned the device to a host the link icon and the color tag should disappear The check box should appear e g ...

Page 17: ...ports of drawer 2 are in blue background 4 Legends Help users to clarify the components in the topology mode 5 System mode Display the current system mode of the drawers 6 Port label aid Click the icon the chassis diagram with port labels will pop up for aid Configure Ports This feature is only enabled in Advanced mode Go to Port Configuration page There are 4 configurable ports 1 H1 2 H1 1 H2 and...

Page 18: ... confirmation message will pop up to ask users for confirmation Click Yes to confirm Click OK to finish the configuration processes After you finished the configuration your new configuration will be displayed and the text should turn Black e g Please reboot Falcon 4010 or the drawer for the new configuration to take effect Red text indicates that the configuration is not applied yet ...

Page 19: ...ports PCIe ports of drawer 2 are in blue background 4 Legends Help users to clarify the components in the topology mode 5 System mode Display the current system mode of the drawers 6 Port label aid Click the icon the chassis diagram with port labels will pop up for aid Traffic When select Traffic the traffic information will show up on the right side of every white box port 1 Egress Traffic PCIe s...

Page 20: ...alled on the PCIe port 2 Maximum link speed The maximum link speed of the PCIe port Note Max link speed should always be Gen4 x16 the current link speed is depending on the device installed Error When select Error the PCIe error count will show up on the right side of every white box port Display format Bad DLLP Bad TLP Port RX Error Recovery Diag Error e g 0 0 0 2 indicates that there are two Rec...

Page 21: ...rawer 2 device temperature graph see Device temperature graph section for details 3 Chassis temperature graph see Chassis temperature graph section for details 4 Power consumption graph see Power consumption graph section for details 5 Fan speed graph see Fan speed graph section for details 6 Port label aid Click the icon the chassis diagram with port labels will pop up for aid Select Top view for...

Page 22: ...oint on the graph the temperature of all devices at the specific time will be shown in the black menu Chassis temperature graph 1 Temperature Temperature scale in degree Celsius 2 Time Time scale in hours 3 Devices List of chassis component each given a color tag e g Drawer 2 PCIe switch is given a blue tag 4 Temperature curve Temperature curves of all devices in the drawer colors are correspondin...

Page 23: ... of all components at the specific time will be shown in the black menu Note The gray area represents the overall power consumption sum of all devices Fan speed graph 1 Fan speed fan speed scale in RPM 2 Time Time scale in hours 3 Devices List of fans each given a color tag e g Fan 1 2 is given a blue tag 4 Temperature curve Temperature curves of all devices in the drawer colors are corresponding ...

Page 24: ...on 4010 UID 2 Drawer 1 power select operations to drawer 1 3 Drawer 2 power select operations to drawer 2 4 Apply the selected operations will start process after clicking Apply Note The light blue text shows the current power status of the component After clicking Apply the confirmation message will pop up Click Yes to proceed click Close when the process end ...

Page 25: ...re information 4 Upload Install see Firmware update section for details Firmware update You will have to download the latest firmware files from H3 Platform official website https www h3platform com knowledge base document Go to Knowledge Base Download Product type Composable GPU Chassis Model type Falcon 4010 Download item Firmware Download the firmware file to your device i e your PC continue ne...

Page 26: ...op up click Yes to proceed When the update completes the notification message will pop up click Close to end Now reboot Falcon 4010 the new firmware will be installed Note The system will automatically detect which firmware file is uploaded BMC PCIe switch 1 or PCIe switch 2 Firmware for PCIe switch 1 and 2 are not the same ...

Page 27: ...al logs new old ID number ascending 3 Search bar type in to search for specific log s 4 Download logs Click to download all logs csv format 5 Refresh logs Click to refresh the logs displayed 6 Select page go to next or previous pages of logs Note The logs in bold text are unread logs The security logs refer to all account activities related logs log in outs wrong passwords create accounts remove a...

Page 28: ...ent Time setting Find your time setting information or modify time settings from the Time Settings page 1 Time zone Set modify your time zone 2 Synchronize with NTP server Sync system time with a NTP server or modify sync targets 1 Type in the NTP server IP address 2 Click Sync Now 3 Manual setting Set modify system time manually 1 Set a Date 2 Set a Time 3 Click Apply to update any time setting c...

Page 29: ...must fill in the IP address Subnet Mask and Default Gateway fields for this option 2 DNS settings Obtain DNS server address automatically Use the following DNS server address Users must fill in the DNS Server address for this option 3 Apply Click Apply to update any network setting changes Note After you modify the network settings you will have to click apply for the new setting to take effect ...

Page 30: ...unts Click the edit icon to change password for the account Change password 1 Fill in the new password 2 Confirm the new password 3 Click Yes to proceed After you change the password the notification message will pop up click close 4 Create new accounts Click the icon to create new accounts 1 Select user role 2 Fill in the username 3 Fill in the password 4 Confirm the password 5 Click Yes to creat...

Page 31: ...nd Authorities Administrator User_Admin User Guest Read PCIe Resource O O O O Read Chassis Info O O O O Read System Logs O O O X Manage PCIe Resource O O O X Change Password O O O X Read System Settings O O X X Read Maintenance Info O O X X Read Security Logs O O X X User Account Management O O X X Modify System Setting O X X X Maintenance Operation O X X X Delete ...

Page 32: ...og Send a test log to the ELK server to check the link 3 Apply Click Apply to update any ELK server settings Note After you modify the ELK configuration you will have to click apply for the new setting to take effect License management Find your license information activate your premium license key or switch system modes from the License Management page Software License Details 1 License informati...

Page 33: ...notification message will pop up click close to end Mode switch Please make sure you have powered off the connected server before switching modes 1 Select the desired mode switch operation 2 Click Apply The confirmation message will pop up click Yes to proceed After you activate the license key the notification message will pop up click close to end ...

Page 34: ...installation are not Warranted see Hardware specification for details Remove the top front cover to replace fans The fans can be hot plugged User Simply remove the fan that is out of order Fan number reference 8 2 Power Supply Units Please use the suitable power supply units for replacement damages caused by incompatible power supply units are not warranted Power supply unit reference 1 Lift the h...

Page 35: ... Operation 1 The functions List of functions accessible from the LCD module 2 The cursor Indicating that you are on the specific function selected press button to enter the sub menu 3 The scroll bar Indicating that there are more functions at the same level press and to see them ...

Page 36: ...35 9 2 Menus 9 2 1 Main menu Press button to enter the menu selection Use the and button to scroll up and down the list ...

Page 37: ... No to cancel 9 2 3 Power reset Users can run drawer power cycles power reset will turn off then turn on the drawers different from the power control function 1 Select a drawer press to proceed 2 Select Yes to confirm select No to cancel 9 2 4 System Users can view system information from System S N Serial number FW BMC firmware version ...

Page 38: ... to every host ports Device port from 1 1 1 4 and 2 1 2 4 Host Port from 1 H1 1 H2 and 2 H1 2 H2 Device port info display format drawer slot PCIe generation x Lanes Status AVL Device available ATT Device is attached to a host MTY No device installed Host port info display format drawer host of host machines attached ...

Page 39: ... ports with devices installed will show Device port from 1 1 1 4 and 2 1 2 4 Tx PCIe switch to device traffic Rx Device to PCIe switch traffic ERR error counts Bad DLLP Bad TLP Port RX Error Recovery Diag Error E g Device 1 1 is a NVIDIA A100 GPU PCIe gen4 x16 current temperature is 49 C no error count ...

Page 40: ...urther information such as which device is allocated to the host Host port display format Drawer Host Port Link speed Link Status Attached device display format Drawer Device slot E g Host 1 H1 0 has the link speed of PCIe Gen4 x16 lanes linked and the attached devices are drawer 1 device 1 2 and 3 device 1 1 1 2 1 3 ...

Page 41: ...tus and fan speeds PSU 1 4 Fan 1 1 1 3 2 1 2 3 Chassis rear view Chassis top view PSU information display format PSU status GOOD PSU is working well EMPTY The PSU socket is empty Fan information display format Fan RPM Press to see more fans ...

Page 42: ...ius of the two Atlas PCIe switches and all devices SW1 Atlas 1 PCIe switch for drawer 1 SW2 Atlas 2 PCIe switch for drawer 2 Device 1 1 1 4 and 2 1 2 4 E g Empty device slot will show 0 C 9 2 10 Network Users can see all the network settings and modify IP address ...

Page 43: ...only Subnet mask read only Gateway read only DNS read only Network setting Users can modify IP address from the Network Setting menu Select Static and key in the static IP Select DHCP to generate IP address automatically ...

Page 44: ... the new password Verify new password Press and to select digits The selected digit will flash Press or to change the numbers for the selected digit When all the digits are set press to OK and press to proceed Note Only numbers 0 9 available if setting password with this method Set your password from the GUI to include alphabets in the password ...

Page 45: ...lect Yes and the system will start resetting Action finished will show when the reset is completed After reset the IP address network gateway and GUI log in account will become default Default IP address 169 254 100 100 Default gateway 0 0 0 0 Log in username admin Log in password admin ...

Page 46: ...ning the top back cover Especially when installing replacing devices for the low profile slots Please power off the drawers before you draw them out of the chassis Go to GUI Chassis see P 23 or use LCD power control function see P 36 Power off the drawer to be drawn out ...

Page 47: ...High Size to 512G or higher Specific example SuperMicro Server 1 Temporarily remove the connection of GPU expansion chassis unplug connected cable 2 Go to the BIOS Advanced a Advanced PCIe PCI PnP configuration Above 4G Decoding to Enabled b Advanced PCIe PCI PnP Configuration MMIOHBase to 56T c Advanced PCIe PCI PnP Configuration MMIO High Size to 512G or higher 3 Connect the GPU expansion chassi...

Page 48: ...w 4 GB to Disabled b Set Memory Mapped I O above 4 GB to Enabled c Set Memory Mapped I O Size to 512 G or higher 4 Connect the GPU expansion chassis to the server and see if the server boots properly Please visit H3 platform FAQ https www h3platform com knowledge base faq or contact H3 Platform if you have any question ...

Page 49: ... of intellectual property or other rights of any third party or of H3 Platform indemnity and all others The reader is advised that third parties may have intellectual property rights that may be relevant to this document and the technologies discussed herein and is advised to seek the advice of competent legal counsel without obligation of H3 Platform H3 Platform retains the right to make changes ...

Reviews: