

Summary of Contents for HL37B - 37" LCD TV
Page 45: ......
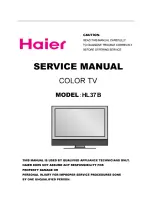
The Haier HL37B - 37" LCD TV is a high-quality television with stunning visuals. Make the most out of your TV experience by easily accessing the Owner's Manual, available for free download at 88.208.23.73:8080. Learn all about the features and settings to enhance your entertainment without any hassle.
Page 45: ......