
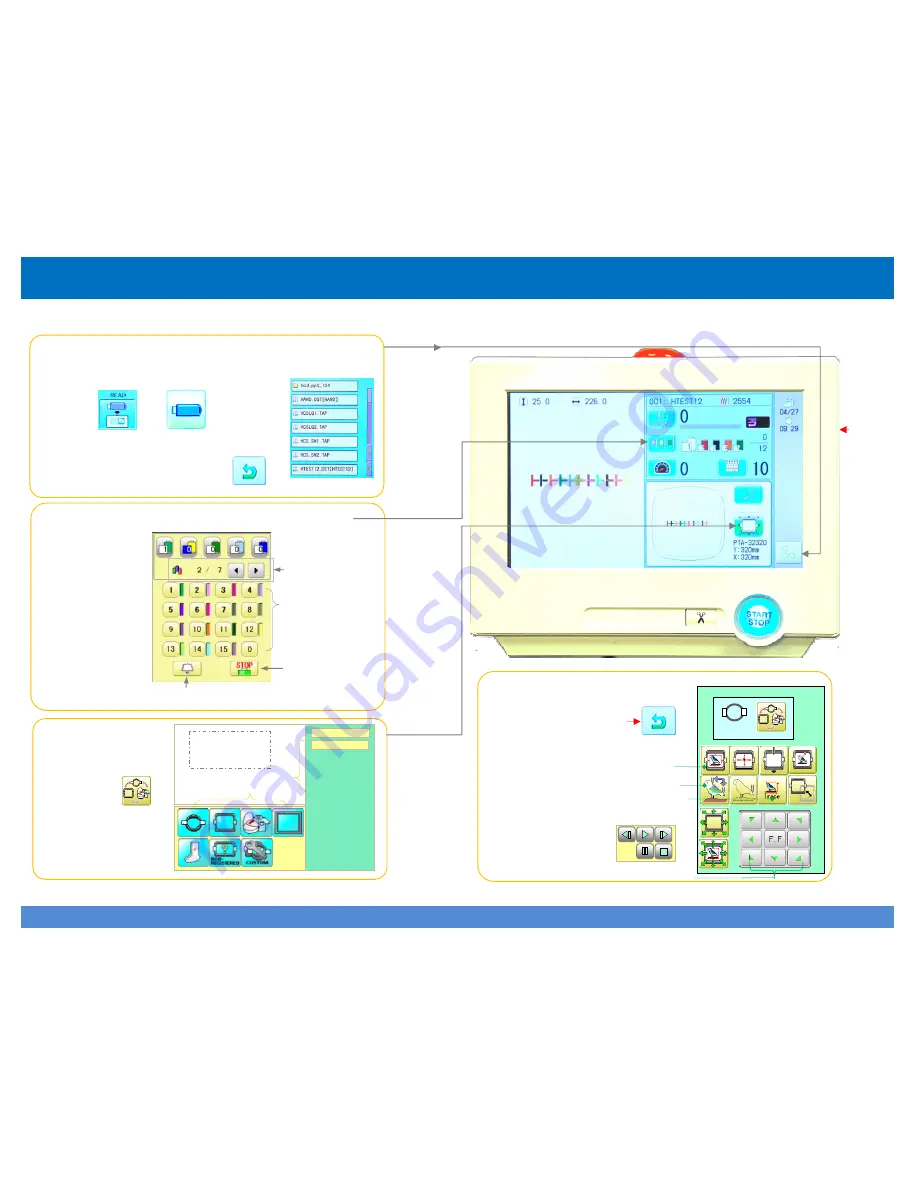
1. Read in a Design from a USB flash drive.
From the
Drive screen, press the menu icon as shown by the arrow.
Insert a USB flash drive into the machine,
and press then .
A list of design appears as shown, right.
Select a design to load and press
to return to Drive mode.
2. Choose design thread colors.
Press the Needle
button on the
Drive screen as
shown. The
screen shown on
the right appears.
Set design colors
by following these
directions.
3. Choose a hoop.
Press the Frame
button in the Drive
screen, then ,
which makes
the screen on the
right appear. Choose
a hoop then go to
step 4.
4. Adjust/check design position
& fit.
After choosing a
hoop, press this button
to return to the screen
shown on the right.
The highlighted
buttons perform
the functions
indicated.
Follow
the
4
steps
on
this
card
to
set
up
a
design.
The
next
card
#2
will
then
take
you
through
sewing.
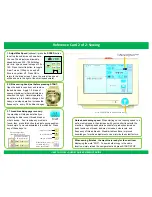
HAPPY
HCH
‐
701
Journey
Reference
Card
1
of
2:
Design
Setup
HAPPY
HCH
‐
701
JOURNEY
QUICK
REFERENCE
GUIDE
USB flash
drive port
is on this
side behind
the control
panel.
Choose a
design
from the
list.
Arrows select
which section of
the design.
Choose needle
number/ color
Assign a Stop to
selected section
(i.e. appliqué)
Assign a frame out to selected section
Happy machine at the drive (sewing) screen
PTA
32320
320mmx320mm
PTA
32320
320mmx320mm
Design & hoop
outline displayed
here
Select hoop from this list
Select hoop type here
PTA-150
Move design to center
of sewing field
Sewing position to origin
Trace mode, calls up these
buttons to let you start, stop,
pause and step through the
trace.
Move hoop or design position.


