
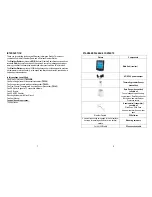


HONEYWELL
WEATHER INFORMATION STATION
TN924W
USER MANUAL
2
Table of Contents
INTRODUCTION 3
INSTALLATION 5
BEFORE YOU BEGIN
6
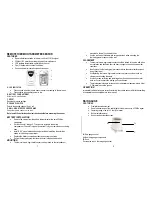
REMOTE THERMO HYGROMETER SENSOR
7
RAIN GAUGE
8
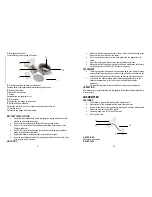
ANEMOMETER 10
MAIN UNIT
12
WEATHER RADIO
19
CUSTOMIZING YOUR WEATHER RADIO
19
WEATHER STATION
25
CUSTOMIZING YOUR WEATHER STATION
28
BACKLIGHT 28
CONNECTING WEATHER STATION TO A PERSONAL COMPUTER
28
USING DIFFERENT WEATHER STATION WINDOWS
28
WEATHER and PRESSURE WINDOWS
29
TIME WINDOW
32
SUNRISE/SUNSET WINDOW
36
TEMPERATURE AND HUMIDITY WINDOW
38
RAIN WINDOW
41
WIND WINDOW
42
MAINTANANCE 44
TROUBLESHOOTING 45
PRECAUTIONS 46
APPENDIX 1 – CITY CODES
47
APPENDIX 2 – NWR ALERT MESSAGES
50
SPECIFICATIONS 52
FCC STATEMENT
55
DECLARATION OF CONFORMITY
55
STANDARD WARRANTY INFORMATION
56


