


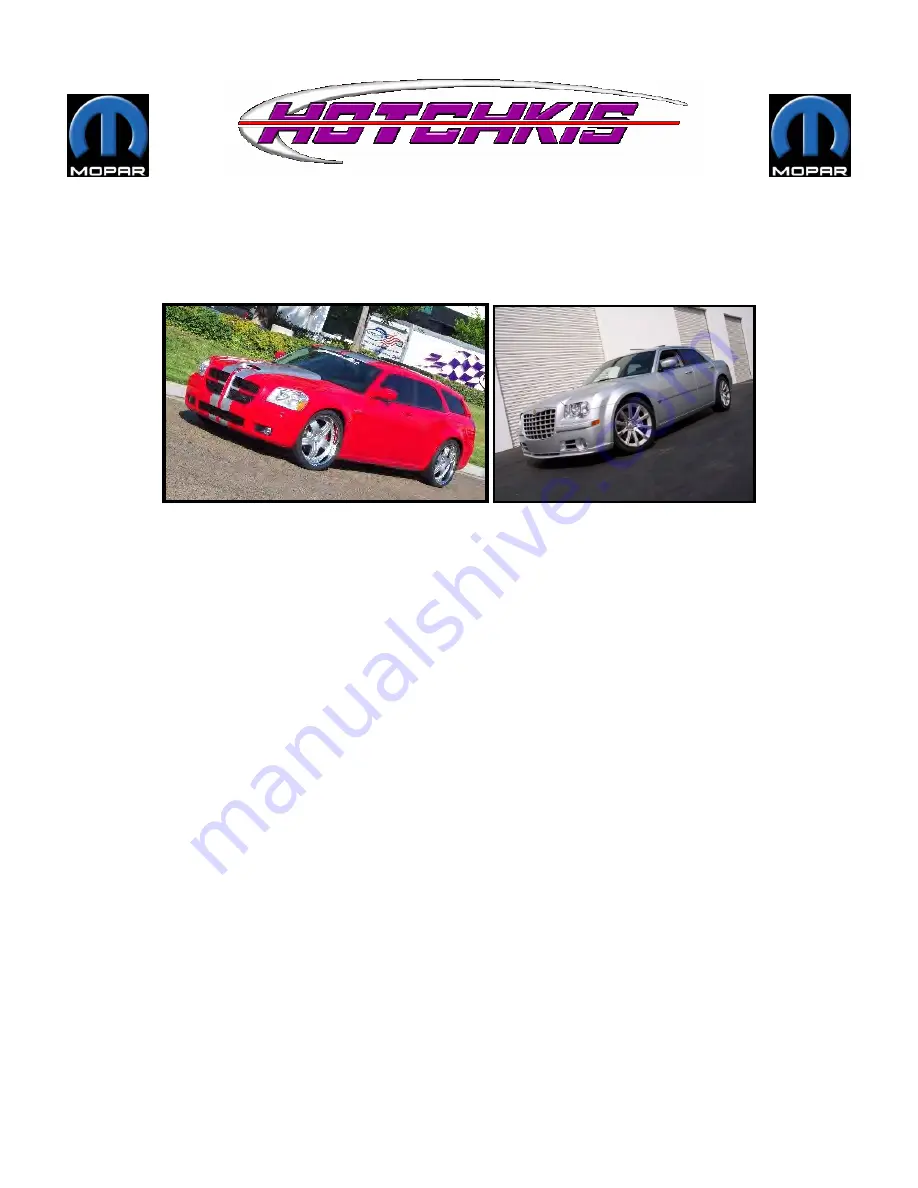
Anti-roll bar set 22101
05 Chrysler/Dodge
Magnum , Charger , 300C , SRT-8
Thank you for your purchase from our new line of Chrysler parts.
Please call us at (877) 4NO-ROLL if you have any questions
regarding the service or installation of your Hotchkis Performance products.
Warning: This installation should be performed by a trained professional. The installation requires
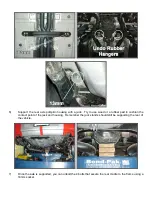
lowering of the rear cradle from the vehicle for swaybar removal and reinstallation.
Tools Required for this Installation
- Hydraulic jack, jack stands, torque wrench (4 post lift or alignment rack preferable)
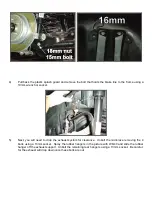
- The following sockets or wrenches: 10mm, 13mm, 15mm, 16mm, 18mm, 21mm
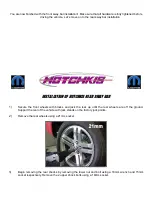
INSTALLATION OF HOTCHKIS FRONT SWAY BAR
1)
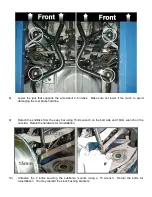
Secure the rear wheels with blocks and jack the front up. Support the front of the vehicle with jack
stands on the frame. Observe the stock sway bar orientation and position for reference.
Note: If you are using a 4 post lift or alignment rack, you do not have to jack the front up.
2)
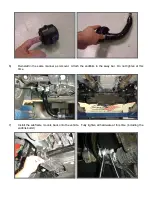
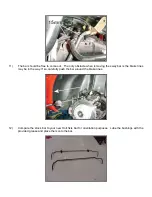
Remove the heat shields that cover the subframe mounts using a 10mm wrench or socket.


