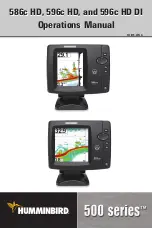
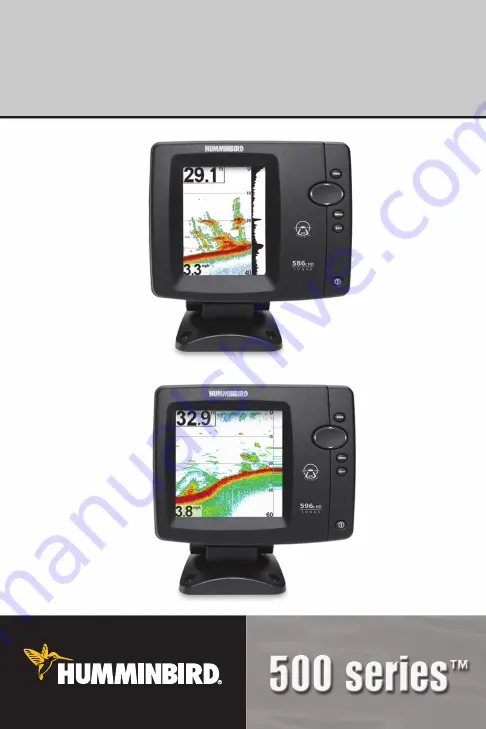
Humminbird 586C HD, Operation Manual
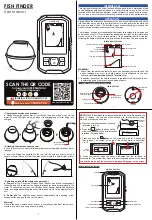
The Humminbird 586C HD is a high-definition fishfinder that offers unparalleled clarity and precision for avid anglers. To fully optimize your fishing experience, make sure to download the comprehensive Operation Manual, available for free on our website, 88.208.23.73:8080. Unlock the full potential of your fishfinder today.
Share
Download


Reviews:
No comments