


Summary of Contents for Huskylock S25
Page 1: ...KEEPING THE WORLD SEWING User s Guide ...
Page 4: ......
Page 30: ...28 ...
Page 44: ...42 ...
Page 49: ...6 MACHINE MAINTENANCE 47 ...
Page 50: ...48 ...
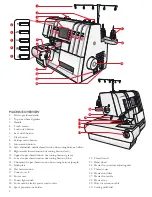
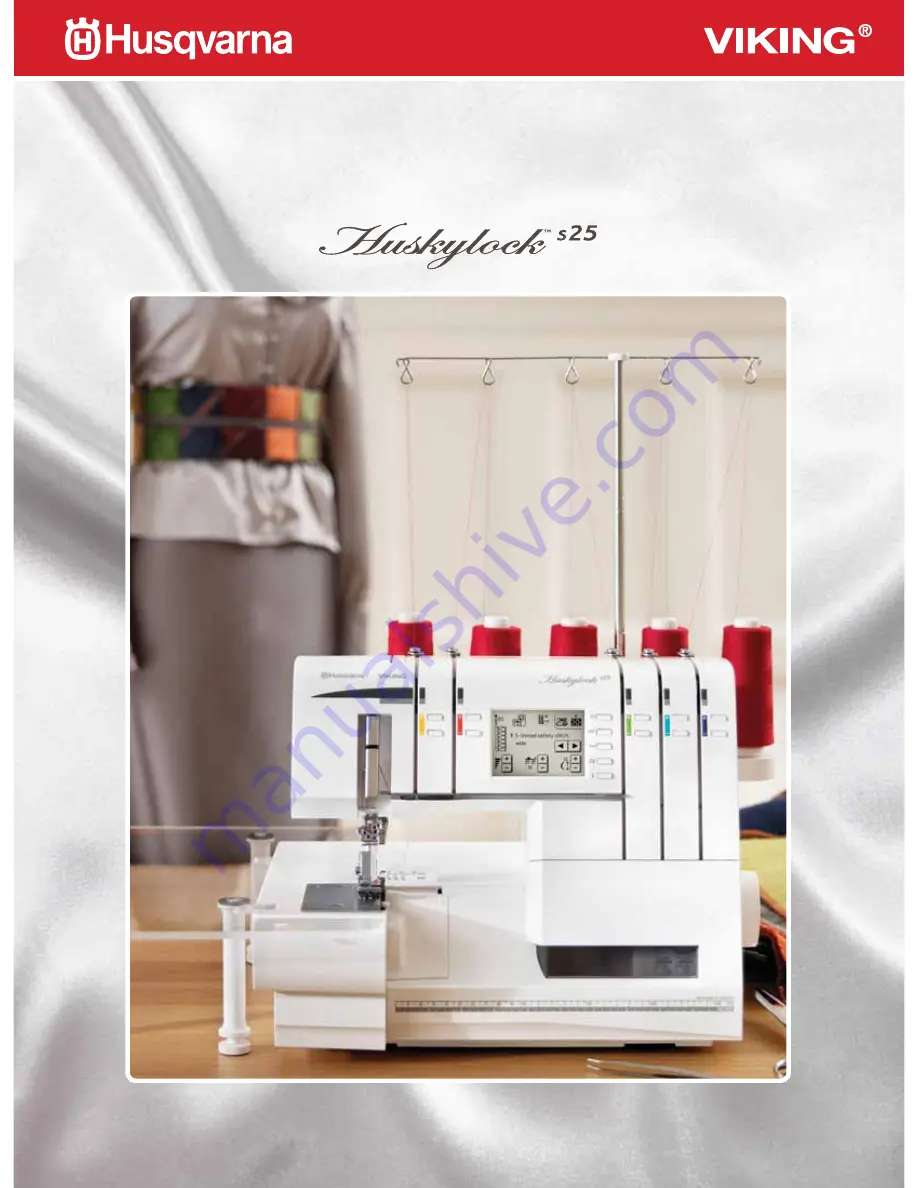
The Husqvarna Viking Huskylock S25 is a highly versatile and user-friendly overlock machine designed to bring your sewing projects to perfection. With its sleek design and advanced features, this machine produces professional stitches effortlessly. Download the free user manual from 88.208.23.73:8080 and unlock the full potential of your sewing machine.
Page 1: ...KEEPING THE WORLD SEWING User s Guide ...
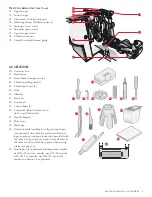
Page 4: ......
Page 30: ...28 ...
Page 44: ...42 ...
Page 49: ...6 MACHINE MAINTENANCE 47 ...
Page 50: ...48 ...


