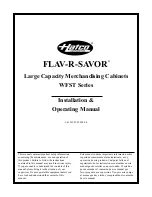
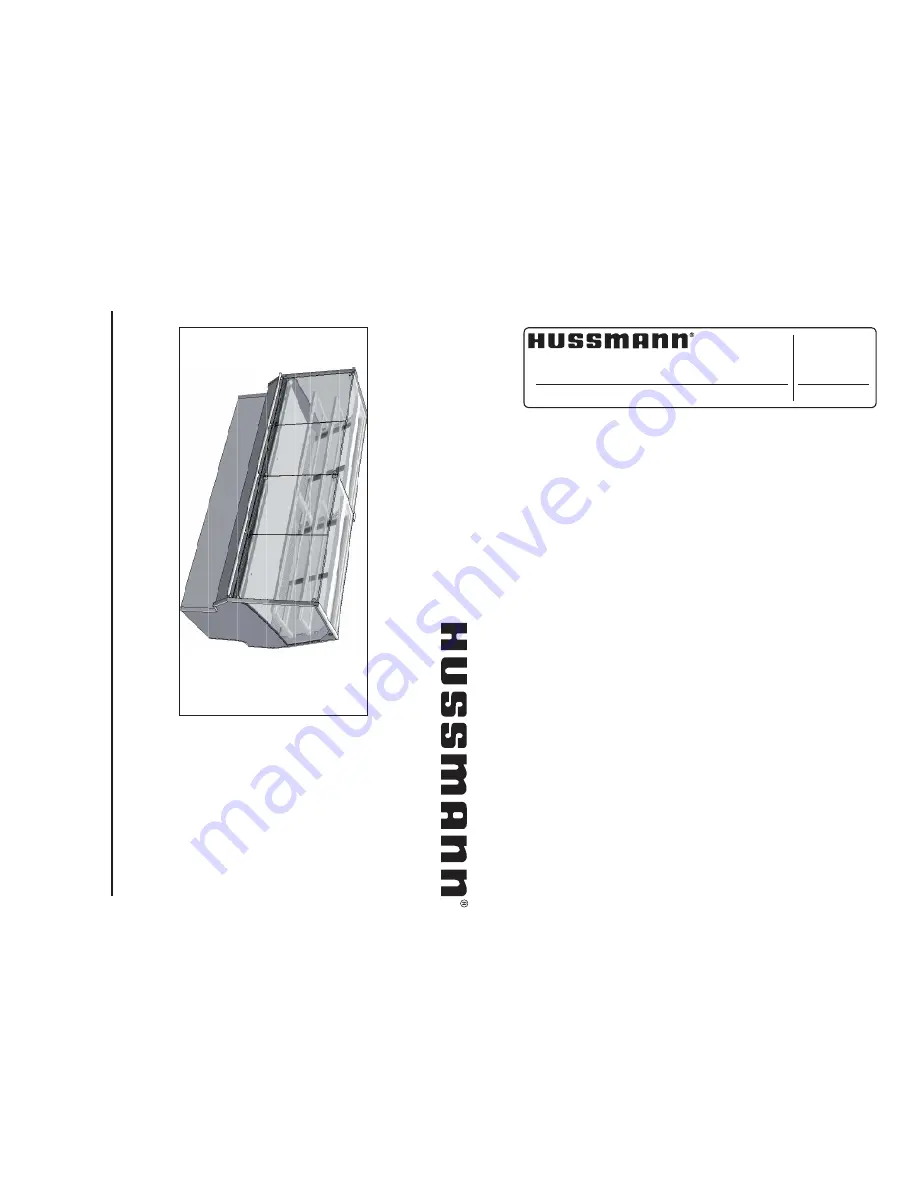
background image

Q3-DV

DELI SER

VICE CASE, VERTICAL

 GLASS

INST

ALLA

TION & OPERA

TION GUIDE

/CHINO

Q3-DV

DELI SERVICE CASE, VERTICAL GLASS

REV. 

12

17

Installation 

& Operation 

Manual

Summary of Contents for Q3-DV

Page 1: ...Q3 DV DELI SERVICE CASE VERTICAL GLASS INSTALLATION OPERATION GUIDE CHINO Q3 DV DELI SERVICE CASE VERTICAL GLASS REV 1217 Installation Operation Manual...

Page 2: ...rtaining to warranty or parts ordering must include the serial number of each piece of equipment involved in order to provide the customer with the correct parts CHINO A publication of HUSSMANN Chino...

Page 3: ...et bolt to adjoining case Exterior Loading These models have not been structurally designed to support external loading Do not walk on their tops This could cause serious personal injury and damage to...

Page 4: ...ver top of case Glass breakage may occur if precautions are disregarded Broken glass can cause lacerations cuts and puncture wounds which may result in severed arteries or tendons amputations eye inju...

Page 5: ...ent refer encing Not actual case Receiving Case Upon receiving your new Hussmann Case all equip ment should be thoroughly examined for shipping damage before and during unloading This equipment has be...

Page 6: ...cont d 5 The Q3 DV merchandiser can be raised at one end underneath the deck with a forklift or J Bar if forklift is not accesible to allow the placement of rollers or dollies 6 Evenly support the en...

Page 7: ...t The Illustration below demonstrates perfect place ment of a dollie per 1 side for both base legs of the merchandiser Move the xture as close as possible to its perma Installation cont d nent locatio...

Page 8: ...top of the case Ensure to level case from front to back and side to side Level 4 ft 1220mm Level Adjustment Use shims at each corner of the case to level out any discrepancies in order to optimize ca...

Page 9: ...BE LEVELED FROM FRONT TO BACK AND SIDE TO SIDE PRIOR TO JOINING A LEVEL CASE IS NECESSARY TO INSURE PROPER OPERATION WATER DRAINAGE GLASS ALIGNMENT AND OPERATION OF THE HING ES SUPPORTING THE GLASS LE...

Page 10: ...set off this point All cases in the entire lineup must be brought up to the highest level of the case sitting at the highest point in the lineup 1 Do not use bolts to pull cases together It is the co...

Page 11: ...to the rst case so glass front bumper and top are ush Installation cont d STEP 6 To compress butyl at joint use two Jurgenson wood clamps Make sure case is level from front to back and side to side on...

Page 12: ...Step 2 Unscrew and remove access covers Step 3 Loosen top and bottom hinge vertical ad justment screws Step 4 Place level on the top of case as shown Level 2 Step 5 Using a 1 2 open ended wrench turn...

Page 13: ...heck leveling for all cases Do not move lineup during adjustment LEFT RIGHT IN OUT UP DOWN UPPER LOWER HINGE ACCESS HINGE ASSEMBLY GLASS NOT SHOW HINGE ASSEMBLY GLASS NOT SHOW TURNING THE SCREWDRIVER...

Page 14: ...els To begin Bottom panel assembly place panel A along side the base of the case and lower panel on to support hooks along the bottom of the base See illustration below for details A Detail A Resting...

Page 15: ...el Step 3 Starting on one end while inserting the bumper push it up against the end cap to prevent the bumper from shrinking after installation when it gets cold Step 4 As you insert the bumper into t...

Page 16: ...or silicone before installing Over cut the flexible vinyl and compression fit Adding the additional materials will compensate for stretching which occurs during installation Boston 2000 Eco Series 1 A...

Page 17: ...that vinyl legs are positioned within the base grooves Roll vinyl top over full length of base then tap with rubber mallet to ensure vinyl is securely locked into the base 2b Rigid Top Snap the Rigid...

Page 18: ...ustomer order Check the serial plate on the case for information Piping The refrigerant line outlets are located under the case Locate rst the electrical box the outlets are then on the same side of t...

Page 19: ...19 Spec Sheet 01 01 01 01 2 343 5 5 5 4 6 2 44 2 44 2...

Page 20: ...her external appliances BEFORE SERVICING ALWAYS DISCONNECT ELECTRICAL POWER AT THE MAIN DISCONNECT WHEN SERVICING OR REPLACING ANY ELECTRICAL COMPONENT This includes but not limited to Fans Heaters Th...

Page 21: ...ust be controlled to maximize life of the product Hussmann cases were not designed to heat up or cool down product but rather to maintain an item s proper temperature for maximum shelf life To achieve...

Page 22: ...esuming operation Cleaning Glass and Mirrors Only use a soft cloth and water for cleaning any glass or mirrored components Be sure to rinse and or dry completely Never use hot water on cold glass surf...

Page 23: ...Abrasion means those things that will scratch the steels surface Steel Pads wire Brushes and Scrapers are prime examples 2 Water Water comes out of our tap in varying degrees of hardness Depending on...

Page 24: ...ays practical softening hard water can do much to reduce deposits There are certain lters that can be installed to remove distasteful and corrosive elements Salts in a properly maintained water soften...

Page 25: ...W 120V MCA 0 53A MOP 15A 120 VAC 60 Hz LED DRIVER BUNDLE ORANGE BLK 14 WHT 14 L1 N RED BLUE BUNDLE BROWN 120 VAC 60 Hz M MCA 0 55A MOP 15A L1 N BLACK 14 WHITE 14 AIR SWEEP FAN 1 0404551 15W 20A 120VAC...

Page 26: ...VES CANOPY LIGHT CIRCUIT 0 44A 48W 120V MCA 0 53A MOP 15A 4 L E D LIGHT 120 VAC 60 Hz LED DRIVER BUNDLE ORANGE BLK 14 WHT 14 L1 N RED BLUE BUNDLE BROWN 120 VAC 60 Hz M MCA 0 55A MOP 15A L1 N BLACK 14...

Page 27: ...14 WHT 14 L1 N RED BLUE RED BLUE BUNDLE BROWN 120 VAC 60 Hz M M M M MCA 1 1A MOP 15A L1 N BLACK 14 WHITE 14 AIR SWEEP FAN 2 0404551 15W 20A 120VAC EVAP FAN MOTOR 4 0477653 4W 12A 120VAC M M L AIR SWE...

Page 28: ...VAC 60 Hz M M M M MCA 1 4A MOP 15A L1 N BLACK 14 WHITE 14 AIR SWEEP FAN 3 0404551 15W 20A 120VAC EVAP FAN MOTOR 4 0477653 4W 12A 120VAC M M L AIR SWEEP HEATER 375W 3 13A 120 VAC 125 01 1301 SWITCH 12...

Page 29: ...60 Hz M M M M MCA 1 7A MOP 15A L1 N BLACK 14 WHITE 14 AIR SWEEP FAN 3 0404551 15W 20A 120VAC EVAP FAN MOTOR 6 0477653 4W 12A 120VAC M M L AIR SWEEP HEATER 450W 3 91A 115 VAC 125 01 1300 SWITCH 125 01...

Page 30: ...L HOLES A GROMMET MUST BE USED A SHEET 1 OF 1 CIRCUIT 1 L1 LOADING 1 5 120V 120 VAC 60 Hz L LIGHT SWITCH TIPPETTE 125 01 0311 LIGHT SWITCH TIPPETTE 125 01 0311 LIGHT SWITCH TIPPETTE 125 01 0311 BUNDLE...

Page 31: ...27 2W 120V MCA 0 31A MOP 15A 2 L E D LIGHT 120 VAC 60 Hz LED DRIVER BUNDLE ORANGE BLK 14 WHT 14 L1 N RED BLUE BUNDLE BROWN 120 VAC 60 Hz M MCA 0 55A MOP 15A L1 N BLACK 14 WHITE 14 AIR SWEEP FAN 1 0404...

Page 32: ...25W 120V MCA 0 29A MOP 15A 2 L E D LIGHT 120 VAC 60 Hz LED DRIVER BUNDLE ORANGE BLK 14 WHT 14 L1 N RED BLUE BUNDLE BROWN 120 VAC 60 Hz M MCA 0 55A MOP 15A L1 N BLACK 14 WHITE 14 AIR SWEEP FAN 1 04045...

Page 33: ...sure debris is not blocking the intake section Coil close offs are not installed Inspect coil to make sure these parts are on the case Condensing coil or evaporator coil is clogged or dirty Clean coi...

Page 34: ...a quali ed service technician Coil is freezing over Return air is blocked make sure debris is not blocking the intake section Coil close offs are not installed Inspect coil to make sure these parts a...

Page 35: ...____________________________________________ _______________ __________________________________________________________________________________________________ _______________ ________________________...

Reviews: