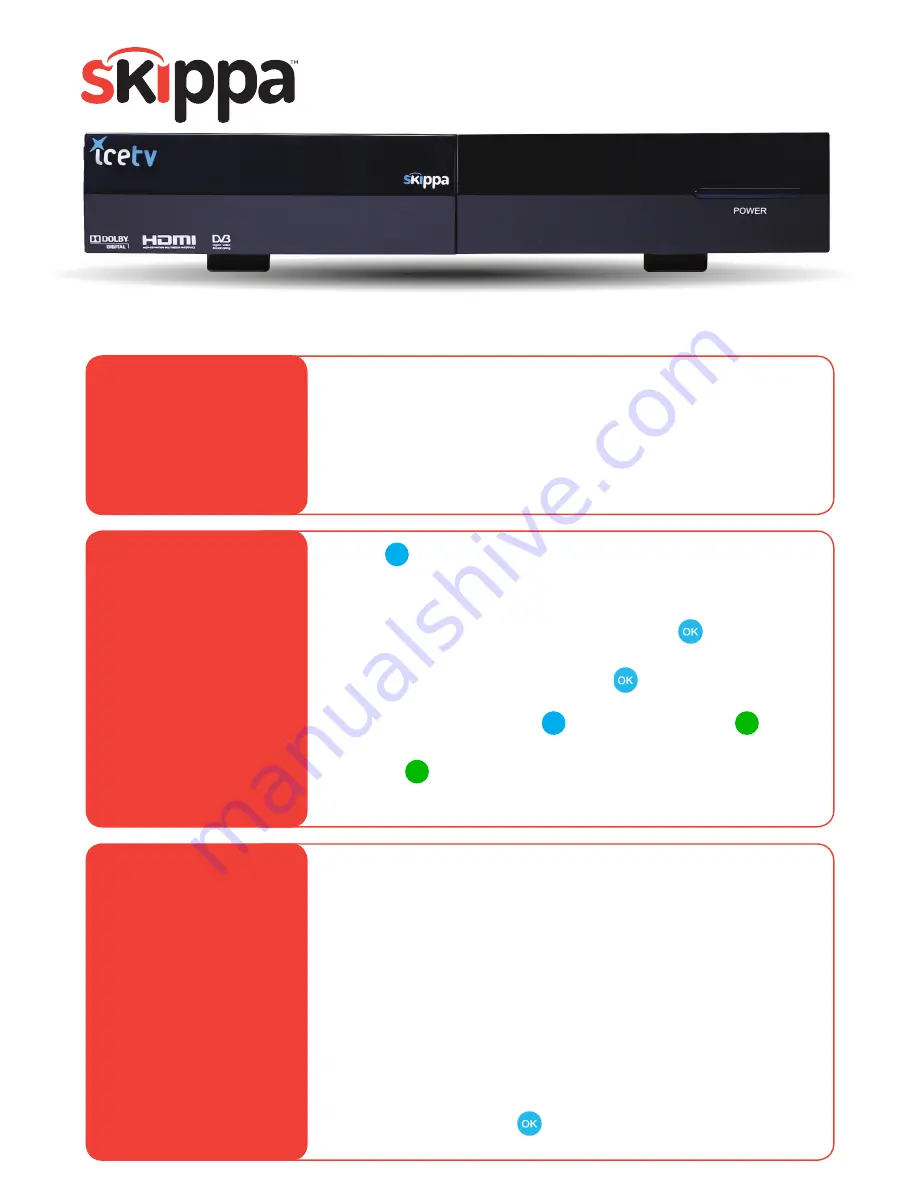
- Connect the
HDMI cable
from your SKIPPA to your TV.
- Connect the
antenna cable
.
- Connect the
power cable
and turn on SKIPPA. Turn on your
TV and select input source.
- Connect to your network via either an
ethernet cable
or the
built-in
WIFI
. If using an
ethernet cable
,
skip Step 2.
- Skippa requires an
IceTV account
. If you don’t already have
an account, you can create one by selecting
NEW USER
,
and creating a password. If you have an account, or are
using the free IceTV app, choose
EXISTING
USER
.
- Enter your
EMAIL ADDRESS
in the field provided.
- Enter your
PASSWORD
in the field provided.
- Press
CONTINUE
to proceed.
- For
NEW USERS
, select your
REGION
e.g. NSW - Sydney.
- Give your SKIPPA a name (e.g. Lounge) or simply leave the
default name, and press
CONTINUE
.
Press
to configure your WIFI network:
- Set network mode to
WIFI
.
- Make sure
AUTOMATIC CONFIGURATION
is selected.
- Highlight
CHOOSE NETWORK
and press to select your
WIFI network.
- Highlight
PASSWORD
and
press
to open the on-screen
keyboard.
Enter your WIFI password
.
You can switch to
SYMBOLS
by
pressing
. Once finished
press
to SAVE
your password.
-
Press
to connect to your WIFI network.
Setting up your new SKIPPA
TM
is a simple 3 step process:
Step 1.
Connect your
SKIPPA
™
Step 3.
Log into
IceTV on your
SKIPPA
™
Step 2.
Connect to
your WIFI
Quick Setup Guide
A status message will confirm the internet is available.
Press Exit
.
Congratulations!
Press
to finish the SKIPPA Setup.


