

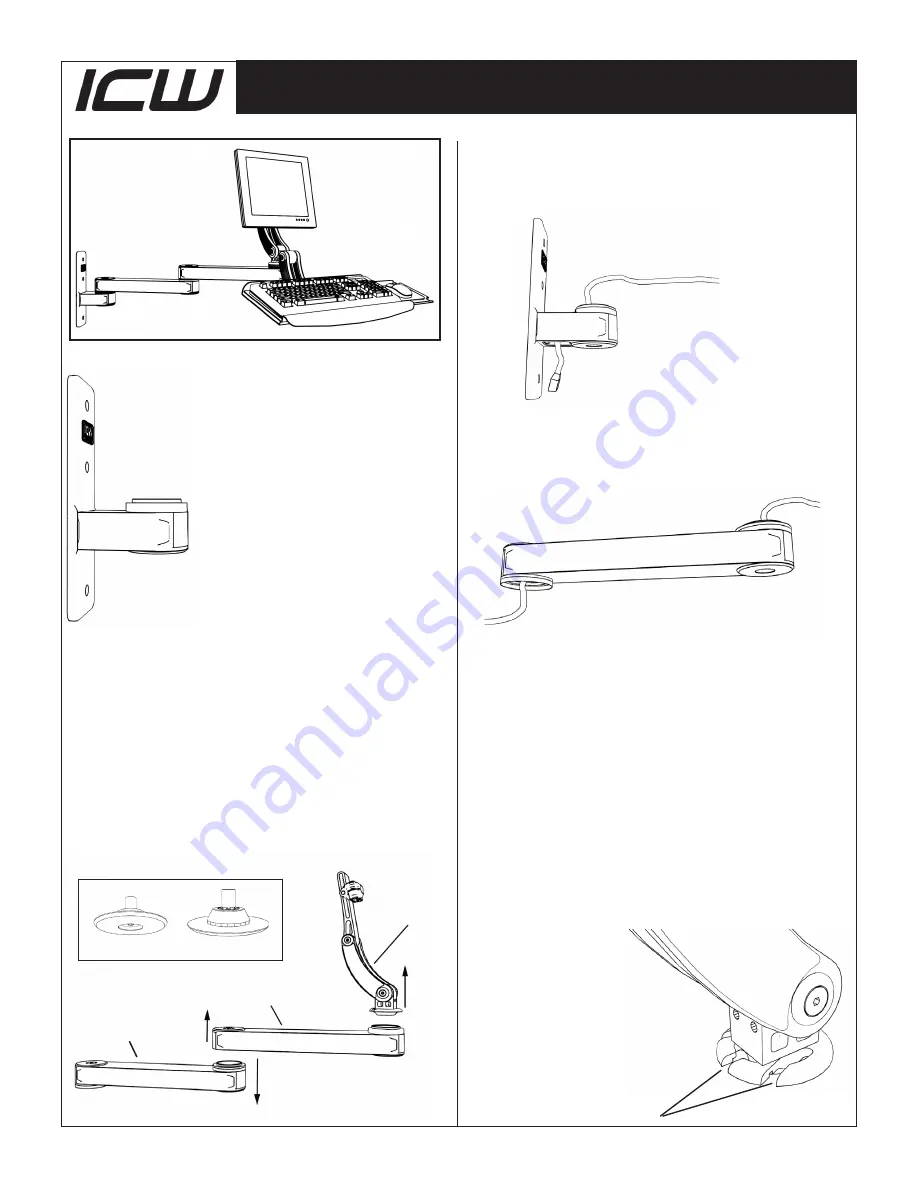
T2 Wall Mount Installation
Wall mount
1
Locate a stud in the wall you
intend to mount your arm
on. Mark the top hole, drill 11/64
pilot hole and insert a provided
#14 screw and tighten slightly.
Using a level, mark the two lower
holes and drill pilot holes, insert
the last two #14 screws and,
with the mount level, tighten all
screws securely.
Note:
ICW supplies #14 wood screws. If install-
ing into metal studs you will need to replace with
proper metal stud fasteners. All hardware used to
secure wall mount must have a properly counter-
sunk head.
Back arm
Front arm
Monitor mount
Do not disassemble these bearing packs.
2
Remove the arm assembly from the box and,
using the provided 5mm hex key, separate the
two arms and detach the monitor mount. Keep track
of all parts.
3
Feed your computer monitor cords and any
other cords down through the opening in the
wall mount – passing through the bearing.
4
Feed all cords up through the back arm and
bolt back arm to the wall mount. Feed all
cords from the back arm through the front arm and
bolt front arm to the back arm. Cords should pass
through the center of the bearing.
Note: When running your cords through the
arm, keep them all to one side of the bolts at the
arm joints.
Note: When measuring for the length of the
cords, be sure to allow enough extra cord to ac-
commodate the tilt and rotation of the monitor.
5
Pass the cords through the slots in the monitor
mount baseplate and re-attach the monitor
mount to the front arm.
Slots


