
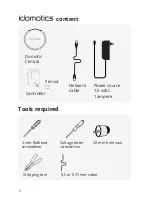


Summary of Contents for Starter Kit
Page 1: ...QUICK INSTALLATION GUIDE...
Page 2: ......
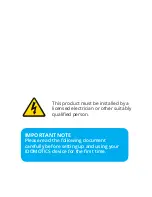
The Tiiwee Starter Kit comes complete with a comprehensive User Manual to ensure a seamless setup experience. This manual is available for free download from our 88.208.23.73:8080, offering step-by-step instructions and insightful tips to maximize your kit's potential. Get started today and enjoy the convenience and security of your Tiiwee system effortlessly.
Page 1: ...QUICK INSTALLATION GUIDE...
Page 2: ......