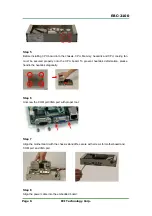
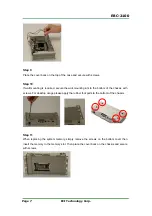
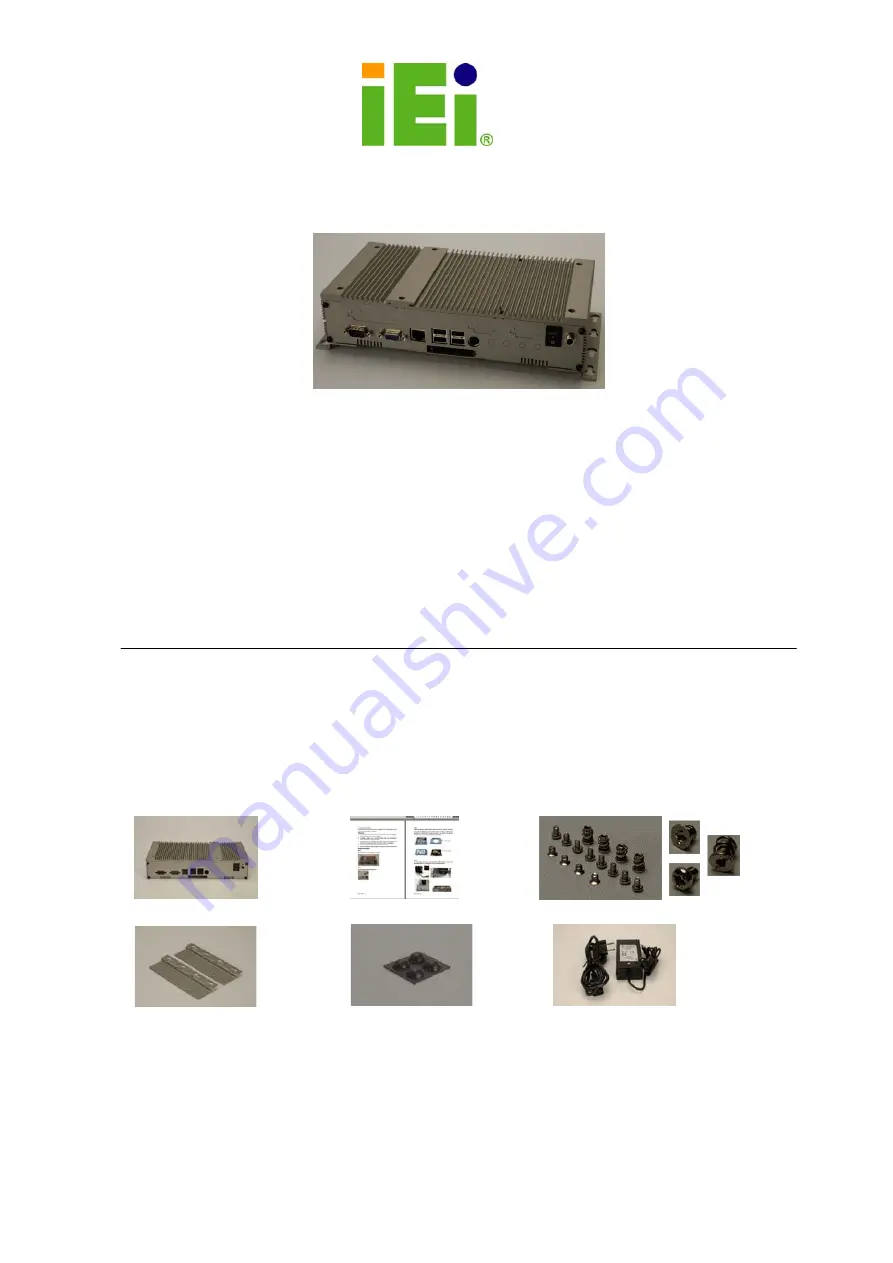
background image


IEI Technology Corp.


EBC-2100 


EPIC-NANO Series Embedded Board Chassis 


Quick Installation Guide 


Version 1.1   January 19, 2006 


Packing Content 


A. 

Chassis x 1 pcs

                                B. QIG                                                        C. Screws                                                     


D.

Wall Mounting Kits

           E. Rubber Foot Pad             F.

 Power Adapter with Power Cord


Summary of Contents for EPIC-NANO Series

Page 1: ...EBC 2100 EPIC NANO Series Embedded Board Chassis Quick Installation Guide Version 1 1 January 19 2006 Packing Content A Chassis x 1 pcs B QIG C Screws D Wall Mounting Kits E Rubber Foot Pad F Power Adapter with Power Cord ...

Page 2: ... Power Jack x 1 Internal Drive Bay 2 5 HDD Color Pantone Gray 7C Expansion Slots Support PC 104 or PC 104 module space Operating 3G acceleration peak to peak 11ms Shock Non Operating 10G acceleration peak to peak 11ms Operating 10 57Hz 0 006 double amplitude displacement 57 500Hz 1 0G acceleration peak to peak Vibration Non operating 5 17Hz 0 1 double amplitude displacement 17 640Hz 1 5G accelerat...

Page 3: ...IDE cable for 2 5 HDD A 1 A 2 A 3 Recommendation of System cooling Components recommended must have Board Model Code CPU Board Companion Heatsink Heatsink 34000 000060 RS System fan 19100 000027 RS NANO 7240 400 R10 ULV Intel Celeron 400MHz NANO 7270G R11 Socket 479 base Pentium M Celeron M CPU up to 1 8GHz 1 NANO 7270 600 R11 NANO 7270 600Z R11 ULV Intel Celeron M 600MHz 1 Operation Temperature 0...

Page 4: ...ssis 2 If possible always wear a grounded wrist strap when installing or fixing a component inside the chassis 3 Hold electronic circuit boards EPIC NANO board by the edges only Do not touch the components on the board unless it is necessary 4 Use the correct screws and never overly tighten them 5 Keep the whole set original package in case the unit has to be returned Step 1 Remove eight screws fr...

Page 5: ...DD cable to the hard drive and assemble the HDD bracket with HDD back into the chassis The connector of the hard drive should be at the opposite side of the power switch after installation Step 4 An optional 40mm cooling fan can accommodate in EBC 2100 The arrow sign on the cooling fan indicates the direction of airflow and it should point outside the chassis HDD bracket Power switch ...

Page 6: ... be secured properly onto the CPU board To prevent heatsink deformation please handle the heatsink diagonally Step 6 Unscrew the COM port VGA port with proper tool Step 7 Align the motherboard with the chassis standoffs secure with screws for motherboard and COM port and VGA port Step 8 Align the power cable into the embedded board ...

Page 7: ...ed secure the wall mounting kits to the bottom of the chassis with screws For desktop usage please apply the rubber foot pads to the bottom of the chassis Step 11 When replacing the system memory simply remove the screws on the bottom cover then insert the memory to the memory slot Then place the cover back on the chassis and secure with screws ...

Page 8: ...echnology Corp Page 8 Contact Information IEI Technology Corp TEL 886 2 86916798 FAX 886 2 66160029 Email sales iei com tw Website http www ieiworld com Address No 29 Jhongsing Rd Sijhih City Taipei County 221 Taiwan ...

Reviews: