Model: iSF-26
CHARGE
BEFORE
USE
Bluetooth Karaoke
with Party Lights
ENG
iSF26.5ONLINEIB-ENG-100923-E
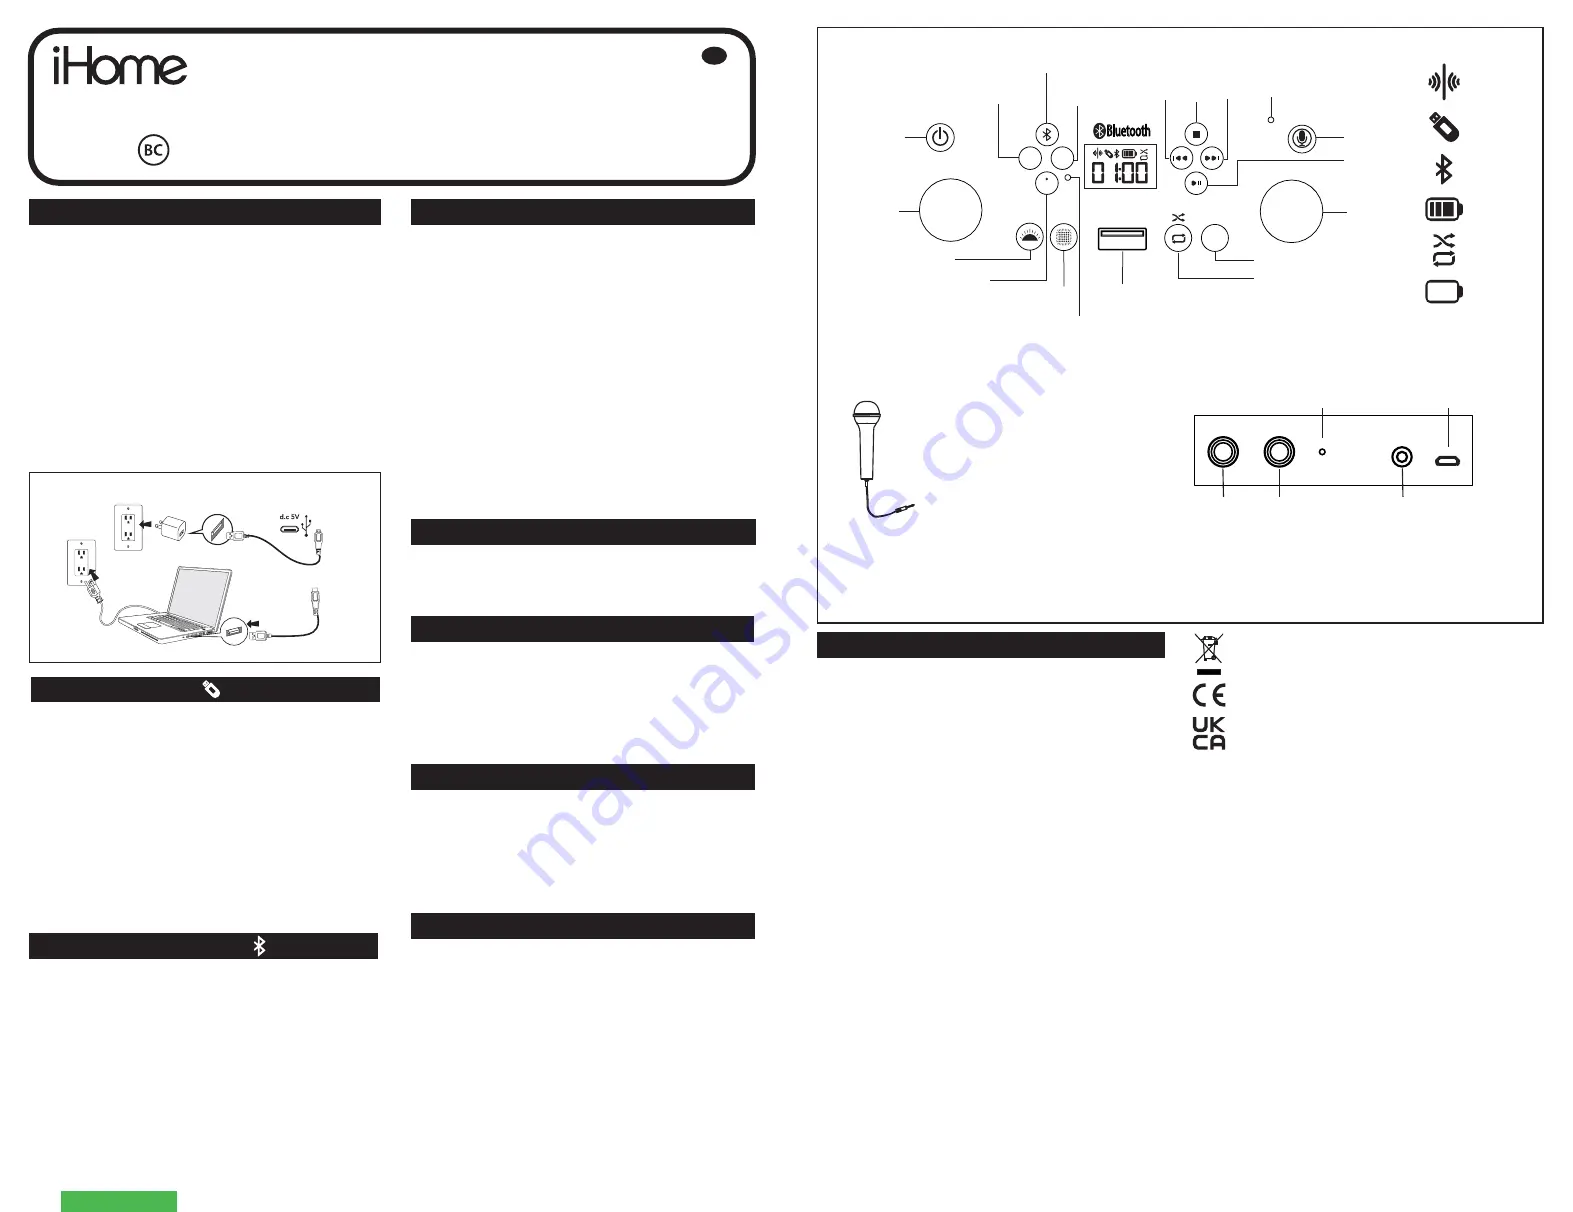
Getting Started
Computer USB port
Charge via USB AC adaptor, computer USB port, or other powered USB port
Computer connected
to working outlet
OR
USB Adaptor
(not included)
• For questions or comments regarding this or other eKids products.
Also visit our website:
www.ekids.com
If problems persist, please do not attempt to repair unit; see warranty
for factory service.
If the unit does not respond:
• Make sure unit is completely charged.
• Use the extended wire of a paperclip or other thin tool to press in
the Reset Button.
• To re-pair your device, press the Bluetooth Pairing Button on the
front of the unit.
Note:
The rechargeable battery can be replaced only by eKids
Consumer Repair Department.
Questions or Comments
Troubleshooting
FCC Information
• It is important to keep the unit as dry and clean as possible. You
may clean the cabinet with a cloth or sponge moistened with mild
soap and water. Do not attempt to use strong cleansers or solvents,
as they may cause damage.
• Battery chargers used with the unit are to be regularly examined for
damage to the cord, plug, enclosure and other parts, and in the
event of such damage, they must not be used until the damage has
been repaired.
Maintenance
This device complies with Part 15 of the FCC rules.
Operation is subject to the following two conditions:
(1) this device may not cause harmful interference,
and (2) this device must accept any interference
received, including interference that may cause undesired operation.
This equipment complies with FCC radiation exposure limits set forth
for an uncontrolled environment .
NOTE:
This equipment has been tested and found to comply with the
limits for a Class B digital device, pursuant to Part 15 of the FCC rules.
These limits are designed to provide reasonable protection against harmful
interference in a residential installation. This equipment generates, uses,
and can radiate radio frequency energy and, if not installed and used in
accordance with the instructions, may cause harmful interference to radio
communications. However, there is no guarantee that interference will
not occur in a particular installation. If this equipment does cause harmful
interference to radio or television reception, which can be determined by
turning the equipment off and on, the user is encouraged to try to correct
the interference by one or more of the following measures:
• Reorient or relocate the receiving antenna.
• Increase the separation between the equipment and receiver.
• Connect the equipment into an outlet on a circuit different from
that to which the receiver is connected.
• Consult the dealer or an experienced radio/TV technician for help.
This equipment should be installed and operated with minimum distance
20cm between the radiator & your body.
WARNING:
Changes or modifications to this unit not expressly approved
by the party responsible for compliance could void the user's authority
to operate the equipment.
CAN ICES-3 (B)/NMB-3(B)
RF Exposure
This equipment complies with FCC radiation exposure limits set forth
for an uncontrolled environment.
This transmitter must not be co-located or operating in conjunction with
any other antenna or transmitter.
FCC ID: EMO26A
IC: 986B-26A
HVIN:iSF-26a
There are two ways to listen to music with this unit:
• In USB Mode you can connect a flash drive to the unit and listen to
your stored songs. You may need to format your flash drive on your
PC (for example, ExFAT format) before use.
• In Bluetooth Mode you can stream music from your smartphone or
other Bluetooth device.
Note:
After 15 minutes of no audio activity, the unit will time out.
Press the Power ON/OFF button to resume audio function.
Charging The Unit
1. Connect the included micro USB cord to the micro USB charging
port on the back of the unit.
2. Connect the standard USB plug end of the cord to a power USB port
on a computer or other USB charging device.
For first time use, charge unit for about 5 hours.
Note:
The Battery Low Icon will appear on the display when it is time to
charge the unit. The Battery Full icon will appear when charging is
complete.
Use the Mode Button to set the unit to USB Mode.
• Connect a USB flash drive to the USB port on the front of the unit.
(USB Mode is compatible with .mp3 and .wav files only.)
• Press the Power Button to turn the unit ON.
• When a USB drive is detected, the number of files on the USB drive
will appear on the LCD display.
• Press Play, then press the “10+/” Button to advance
through 10 files at a time on the USB drive. Press and hold the
“10+/” Button to start at file #1 and use the Forward and
Reverse buttons to navigate tracks one at a time.
Repeat/Shuffle Button (Works only in USB Mode):
• Press the Repeat Button to repeat the current track.
• Press again to repeat all tracks within the current folder.
• Press a third time to repeat all songs on the flash drive.
• Press a fourth time to Shuffle all tracks on the flash drive.
• Press a fifth time to turn Repeat/Shuffle OFF.
Record your performance and save it to a USB flash drive!
Recording Audio:
• To start, use the Mode Button to set the unit to Bluetooth Mode.
• Plug a USB flash drive into the USB port on the front of the unit.
• Make sure the microphone is connected to the unit and the
Microphone ON/OFF Switch is turned ON.
• Select a song from your audio device, and press Play.
• Press the Record Button. The Recording Indicator will glow to
confirm the unit is recording audio. Sing into the microphone to
record your voice over the music.
• When you finish your performance, press the Record Button to
stop recording. The audio will be saved to your USB flash drive.
Listening to Recordings:
• Use the Mode Button to set the unit to USB Mode.
• Use the Forward, Reverse, 10+/ Buttons to navigate
through files on your connected USB flash drive, then press Play
to listen!
Sharing Recordings:
• Remove the USB flash drive from the unit and connect to a
computer to share your performances!
Using USB Mode
Use the Mode Button to set the unit to Bluetooth Mode.
• Turn on your Bluetooth device and make it “discoverable” by
turning on Bluetooth mode (check in Options or Settings).
• “Karaoke 26” should appear in your device’s Bluetooth menu. If
“Not Connected” or a similar message appears, select “Karaoke
26” to connect it.
• The Bluetooth indicator will glow solid once connected. Put your
Bluetooth device in play mode to begin streaming music.
• Use the “Forward” “Reverse” and “Play/Pause” buttons on the unit
to navigate tracks.
• Pairing automatically occurs in Bluetooth mode. If no device is
connected within 3 minutes, pairing mode will time out. Press and
hold the Bluetooth Pairing button to re-pair a device.
DISPLAY ICONS
Echo ON
USB
Mode
Bluetooth
Mode
Battery
Full
Shuffle ON
Battery Low
Voice Control:
When the unit is in Bluetooth mode, you can access Siri or Google Assistant using voice commands.
To use this feature:
• With the unit in BT mode, press and hold the
Voice Control Button
for 2 seconds to activate Siri/Google via your paired smartphone.
• Once you hear a confirmation tone, speak into the
Voice Control Microphone
(next to
Voice Control Button
) to make your voice
commands.
Power
ON/OFF
USB Port
Recording
Indicator
MODE
USB
10+/
ECHO
REC
MAS
TER VOLUME
MIC VOLUME
Bluetooth
Bluetooth
Pairing
Echo
Mode
Record
Mode
Microphone
Volume
Top Projection
Light Show
Front Speaker
Light Show
Repeat / Shuffle
10+/
Navigate Tracks in USB Mode
Master
Volume
Play /
Pause
Reverse Stop Forward
Voice Control
Microphone
Voice
Control
Press to select
USB Mode or
Bluetooth Mode
Echo Mode
Press the Echo Button for cool vocal effects! Press repeatedly to cycle
through 8 different echo modes as you sing through the microphone.
Note:
Echo Mode is disabled while recording mode is active. Echo
Mode will automatically resume once recording is stopped.
For best performance, use a high speed 3.1 USB drive
(not included) when recording audio from this unit.
Note: Using a lower speed USB drive may cause skipping or
poor performance of the Bluetooth audio stream.
Sometimes skipping in recorded music may occur,
depending on the online streaming speed of your phone.
BACK OF UNIT
FRONT OF UNIT
USING THE MICROPHONE
• Connect the microphone to the Mic Jack
1 or 2 on the back of the unit.
• Slide the Microphone ON/OFF switch to
the ON position.
• Control mic volume using the rotary dial
on the front of the unit.
• When not in use, store the microphone in
the clips on each side of the unit.
Recording to the USB Drive
Using Bluetooth Mode
MIN
MAX
MIN
MAX
USB Charging Port
Mic Jack 1 Mic Jack 2
Line Out
Reset
MIC 1
MIC 2
LINE OUT
LINE IN
RESET
DC 5V
Repeat ON
This product bears the selective sorting symbol for waste
electrical and electronic equipment (WEEE).
This means that this product must be handled pursuant to
European Directive 2012/19/EU in order to be recycled or
dismantled to minimize its impact on the environment.
For further information, please contact your local or regional
authorities.
Electronic products not included in the selective sorting process
are potentially dangerous for the environment and human
health due to the presence of hazardous substances.
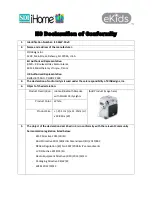
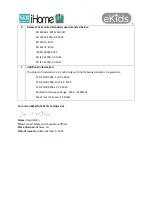
We, eKids, hereby declare that this radio equipment device complies
with the essential requirements of the RED Directive 2014/53/EU.
Frequency Range: 2402 – 2480MHz
Max. Transmit Power: 2.43dBm
EU Authorized Representative: BMD – 3 Boulevard des Bretonnieres,
49124 St Barthelemy d’Anjou, France
PO Box 2228
BELFAST, BT5 9GD
contact@support.ekids.com


