


Thank you for purchasing this product.
After reading this manual, please keep it in a place where you can refer to it easily.
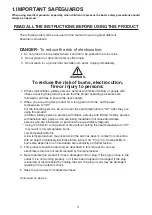
BE SURE TO FOLLOW THE SAFETY PRECAUTIONS.
Failure to follow the safety precautions may result in serious accidents in some circumstances.
Each of these items are extremely important for safety, and should be strictly observed.
In the event that an accident occurs as a result of improper usage, INAX
will assume no responsibility for damages.
©2017 AS America Inc.
SPALET is a trademark of AS America, Inc.
INAX is a registered trademark of Lixil Corporation
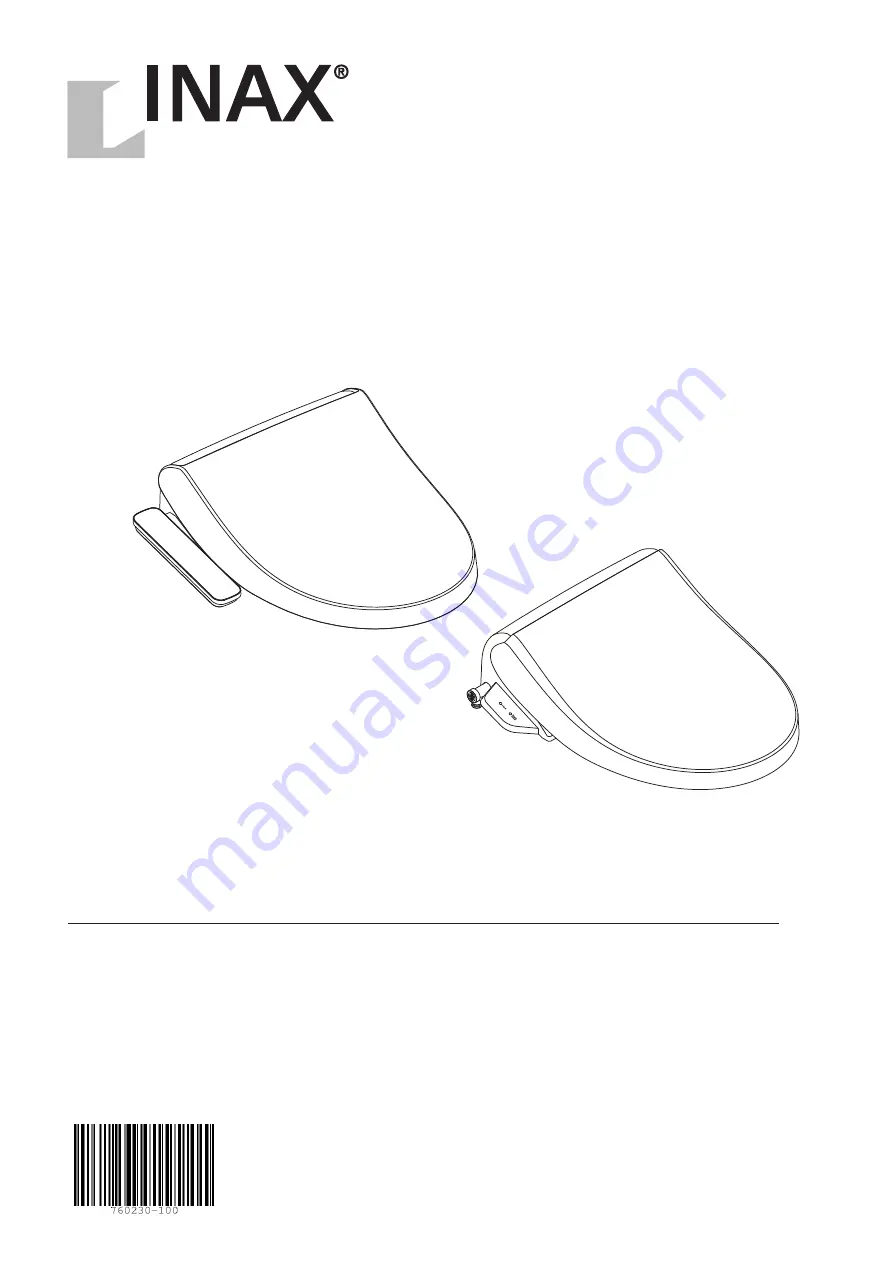
INSTALLATION & USER'S MANUAL
Advanced Clean
SpaLet
™
760230-100
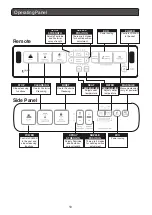
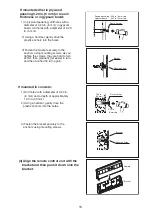
Side Panel
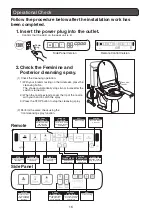
Remote Panel