background image

Before using your new product, please read these instructions to prevent any damage.

USER GUIDE

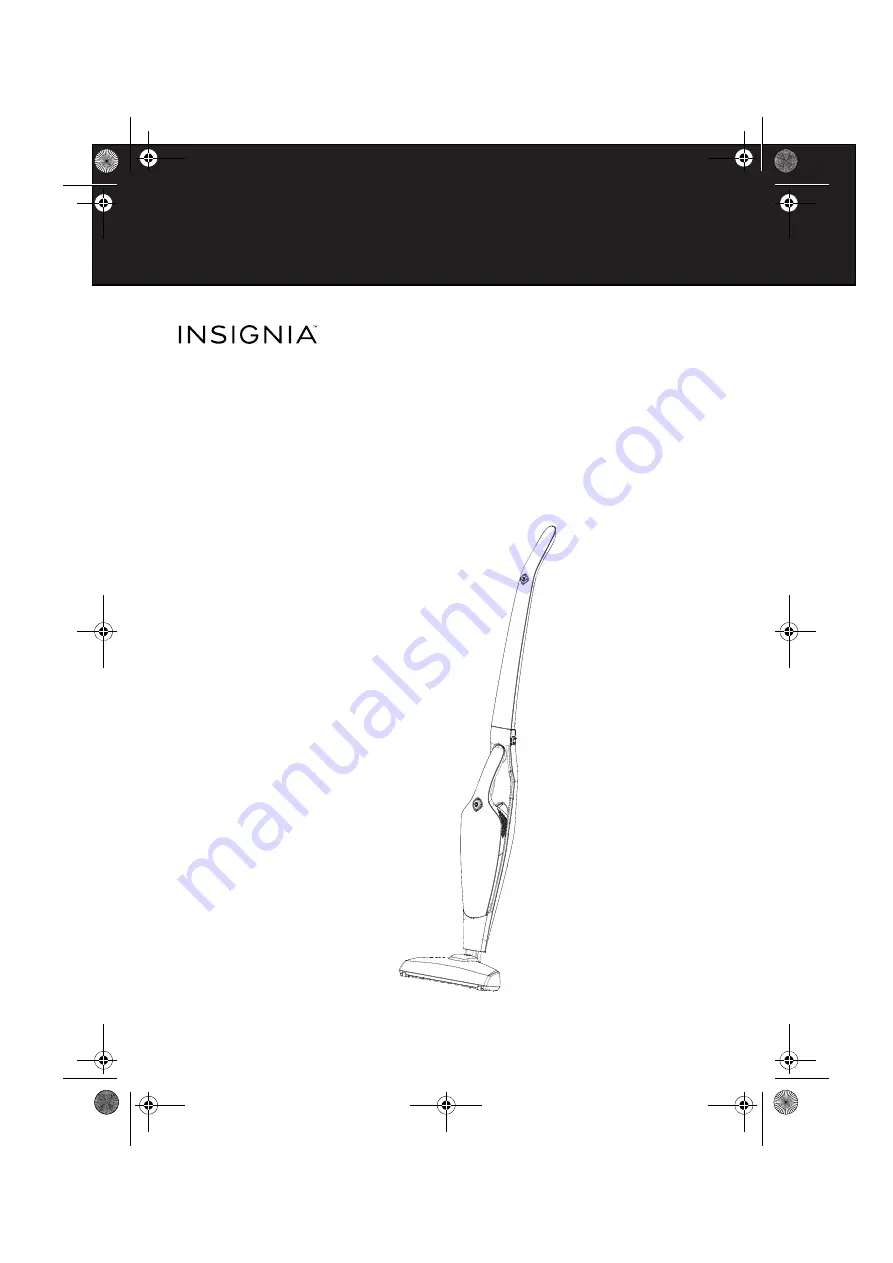
2-in-1 Cordless Stick 
Vacuum Cleaner

NS-VCS14SL7/NS-VCS14WH7

NS-VCS14SL7_16-0042_MAN_V1_ENG.fm  Page 1  Thursday, April 28, 2016  7:58 AM

Summary of Contents for NS-VCS14SL7

Page 1: ... your new product please read these instructions to prevent any damage USER GUIDE 2 in 1 Cordless Stick Vacuum Cleaner NS VCS14SL7 NS VCS14WH7 NS VCS14SL7_16 0042_MAN_V1_ENG fm Page 1 Thursday April 28 2016 7 58 AM ...

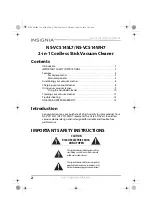
Page 2: ...uction Congratulations on your purchase of a high quality Insignia product Your NS VCS14SL7 NS VCS14WH7 represents the state of the art in cordless vacuum cleaner design and is designed for reliable and trouble free performance IMPORTANT SAFETY INSTRUCTIONS CAUTION RISK OF ELECTRIC SHOCK DO NOT OPEN This symbol indicatesthat dangerousvoltage constitutinga risk of electric shock is present within y...

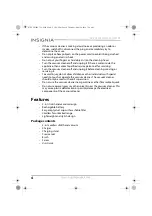
Page 3: ...t lint hair and anything that may reduce air flow e Keep hair loose clothing fingers and all parts of body away from openings and moving parts f Use extra care when cleaning on stairs g Do not use to pick up flammable or combustible liquids such as gasoline or use in areas where they may be present h Do not pick up anything that is burning or smoking such as cigarettes matches or hot ashes i Do no...

Page 4: ...ervicing it To avoid injury do not allow children or other individuals with special needs to touch or operate the vacuum cleaner The vacuum cleaner should only be used with adult supervision Do not use the vacuum cleaner near gasoline or other flammable liquids Do not use aerosol sprays or other solvents near the vacuum cleaner This may cause plastic deformation or possibly damage the electrical c...

Page 5: ...niaproducts com Main components Vacuum power button Handheld release buttons Charger Crevice tool Chargingstand Handheld power button Cloth bag Filter Dust cup Combination brush NS VCS14SL7_16 0042_MAN_V1_ENG fm Page 5 Thursday April 28 2016 7 58 AM ...

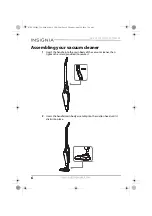
Page 6: ... cleaner 1 Insert the handle into the main body of the vacuum cleaner then tighten the screw provided to secure it 2 Insert the handle main body assembly into the suction head until it clicks into place NS VCS14SL7_16 0042_MAN_V1_ENG fm Page 6 Thursday April 28 2016 7 58 AM ...

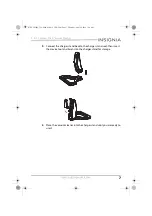
Page 7: ... the charger stand back to the charger stand seat then insert the crevice tool and brush into the charger stand for storage 4 Place the vacuum cleaner into the charger stand until you are ready to use it NS VCS14SL7_16 0042_MAN_V1_ENG fm Page 7 Thursday April 28 2016 7 58 AM ...

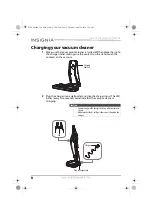
Page 8: ... contacts on the vacuum 2 Plug the charger into a wall outlet and into the charger stand The LED blinks every two seconds to indicate that the vacuum cleaner is charging Caution Youmustonlyusethe chargerthatcamewith your vacuum cleaner Make sure thatthe AC voltage is the same as shown on the charger Charging contacts Plugin chargercord Charger LED NS VCS14SL7_16 0042_MAN_V1_ENG fm Page 8 Thursday ...

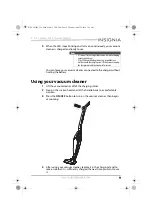
Page 9: ... the handle back to a comfortable position 3 Press the ON OFF button to turn on the vacuum cleaner then begin vacuuming 4 After using your vacuum cleaner replace it in the charging stand to make sure that it is sufficiently charged the next time you want to use it Notes Itisnormalforthechargertobecomewarmwhencharging your vacuum cleaner If the LED begins blinkingtwice every second there is a malfu...

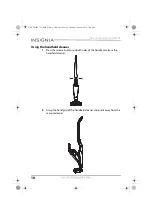
Page 10: ...handheld cleaner 1 Press the release buttons on both sides of the handle to release the handheld cleaner 2 Grasp the hand grip of the handheld cleaner and pull it away from the vacuum cleaner NS VCS14SL7_16 0042_MAN_V1_ENG fm Page 10 Thursday April 28 2016 7 58 AM ...

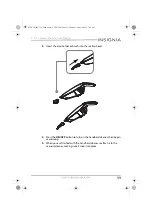
Page 11: ...brush into the suction head 4 Press the ON OFF button to turn on the handheld cleaner then begin vacuuming 5 When you are finished with the handheld cleaner reattach it to the vacuum cleaner making sure it snaps into place NS VCS14SL7_16 0042_MAN_V1_ENG fm Page 11 Thursday April 28 2016 7 58 AM ...

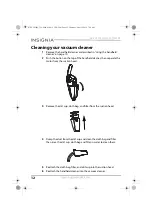
Page 12: ...e the motor from the suction head 3 Remove the dirt cup cloth bag and filter from the suction head 4 Dump the dust from the dirt cup and clean the cloth bag and filter then rinse the dirt cup cloth bag and filter in water to clean them 5 Reattach the cloth bag filter and dirt cup into the suction head 6 Reattach the handheld cleaner into the vacuum cleaner NS VCS14SL7_16 0042_MAN_V1_ENG fm Page 12...

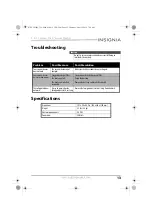
Page 13: ...leaner has nosuction power Cloggeddust bag or filter Clean and wash the dust bag and filter The dust cup is full Empty the dust cup The dust cup is installed incorrectly Remove the dust cup andreinstall it correctly The rolling brush does notwork Itmay be jammed with a foreign object cloth or string Remove the foreign object cloth or string from the brush Dimensions 10 1x 9 0 x 44 9 in 256x 220 x ...

Page 14: ... Insignia Product during the Warranty Period Warranty coverage terminates if you sell or otherwise transfer the Product How to obtain warranty service If you purchased the Product at a Best Buy retail store location please take your original receipt and the Product to any Best Buy store Make sure that you place the Product in its original packaging or packaging that provides the same amount of pro...

Page 15: ...ANTY IS YOUR EXCLUSIVE REMEDY FOR BREACH OF WARRANTY INSIGNIA SHALL NOT BE LIABLE FOR ANY INCIDENTAL OR CONSEQUENTIAL DAMAGES FOR THE BREACH OF ANY EXPRESS OR IMPLIED WARRANTY ON THIS PRODUCT INCLUDING BUT NOT LIMITED TO LOST DATA LOSS OF USE OF YOUR PRODUCT LOST BUSINESS OR LOST PROFITS INSIGNIA PRODUCTS MAKES NO OTHER EXPRESS WARRANTIES WITH RESPECT TO THE PRODUCT ALL EXPRESS AND IMPLIED WARRANT...

Page 16: ... 800 926 3000 Mexico INSIGNIA is a trademark of Best Buyandits affiliated companies Distributed by Best Buy Purchasing LLC 2016 Best Buy All rights reserved Made in China V1 ENGLISH 16 0042 NS VCS14SL7_16 0042_MAN_V1_ENG fm Page 16 Thursday April 28 2016 7 58 AM ...

Reviews: