background image


USER MANUAL 

– EN 

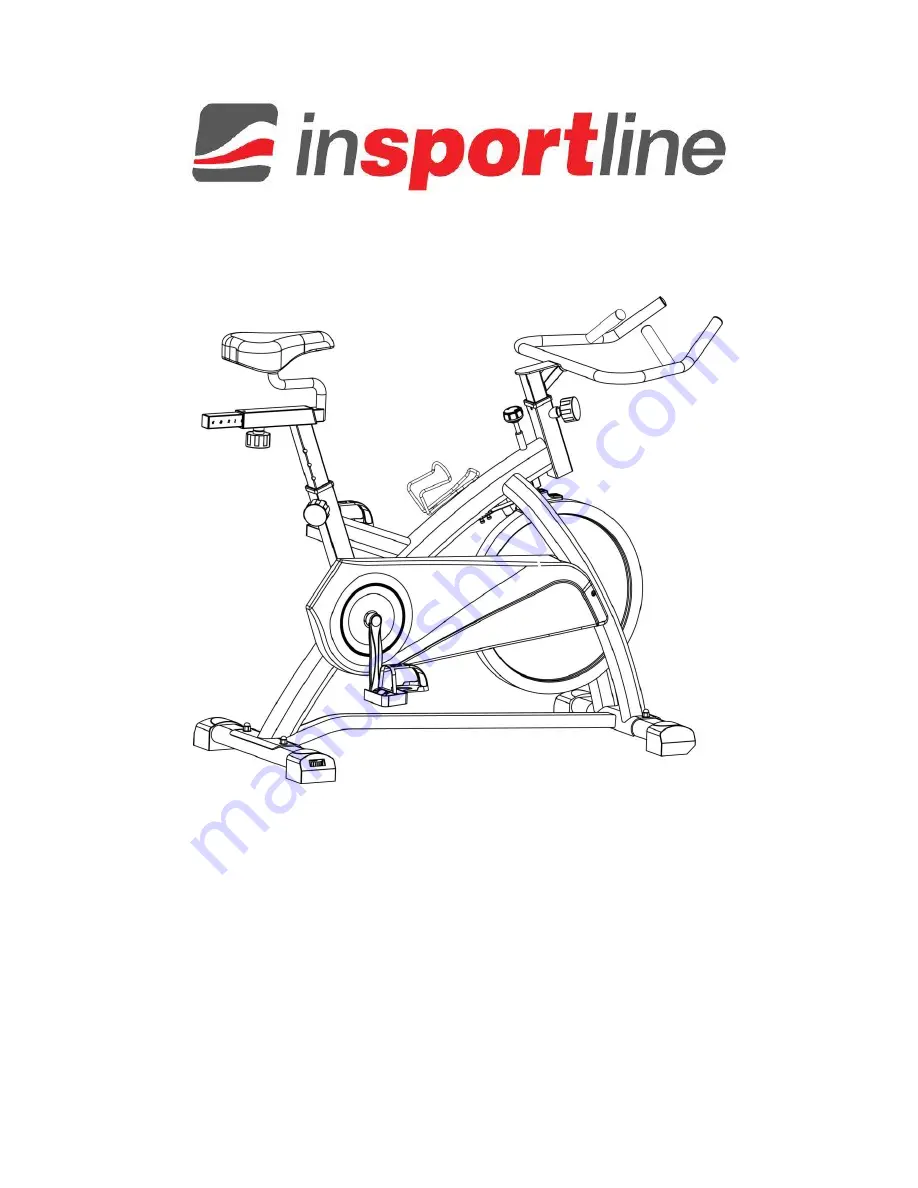
IN 4422 Spinning Bike inSPORTline Jota


Summary of Contents for IN 4222 Jota

Page 1: ...USER MANUAL EN IN 4422 Spinning Bike inSPORTline Jota ...

Page 2: ...2 CONTENTS IMPORTANT SAFETY INFORMATION 3 EXPLODED VIEW ASSEMBLY DRAWING 4 PARTS LIST 5 ASSEMBLY INSTRUCTIONS 7 TERMS AND CONDITIONS OF WARRANTY WARRANTY CLAIMS 9 ...

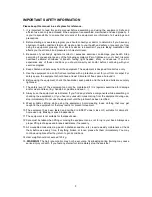
Page 3: ...uipment should have at least 0 6 meter of free space all around it 6 Before using the equipment check the handlebar seat pedals and the nuts and bolts are securely tightened 7 The safety level of the equipment can only be maintained if it is regularly examined for damage and or wear and tear E g handle bar pedals and seat 8 Always use the equipment as indicated If you find any defective components...

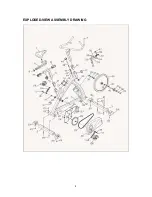
Page 4: ...4 EXPLODED VIEW ASSEMBLY DRAWING ...

Page 5: ...Washer Φ4 2 14 Screw M4 15 2 15 Pedal Right Light 1 16 Crank Right Light 165L 1 17 Crank cover 2 18 Nut M10 P1 25 2 19 Circlip 1 20 Bearing 6004Z 2 21 Domed nut M8 4 22 Washer Φ8 1 5T 4 23 Rear stabilizer pad 40 80MM 2 24 Screw Φ14 Φ10 5 10 4 25 Carriage bolt M8 1 5T 4 26 Screw ST4 2 19 5 27 Inner chain cover ABS 1 28 Big sprocket wheel 52 1 29 Chain 1 30 Outer chain cover ABS 1 31 Front stabilize...

Page 6: ...cer M10 1 46 Spring 1 47 Fix pad 1 48 Tension control pole 1 49 Brake top 1 50 Tube plug PP 1 51 Bolt M5 30 2 52 Latex washer Black 1 53 Brake Bracket Steel 1 54 Bolt M5 30 2 55 Domed nut M5 2 56 Washer Φ5 2 57 Brake seat ABS 1 58 Eva pad 1 59 Bottle bracket 1 No 22 Washer Φ8 No 21 Domed nut M8 No 25 Carriage bolt M8 1 5T No 15 L R Pedal No 11 Adjusting knob M16 Spanner ...

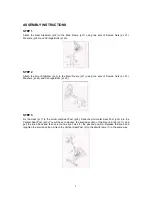
Page 7: ...d Nuts pt 21 Washers pt 22 and Carriage Bolts pt 25 STEP 3 Fix the Seat pt 7 to the Horizontal Seat Post pt 6 Slide the Horizontal Seat Post pt 6 into the Vertical Seat Post pt 5 You will have to slacken the knurled section of the Round Knob pt 11 and pull the knob back and then select and align holes for the desired position Release the knob and retighten the knurled portion Attach the Vertical S...

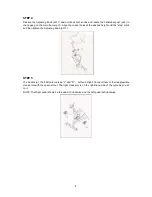
Page 8: ...e desired height until the stop mark and then tighten the Adjusting Knob pt 11 STEP 5 The Pedals pt 15L 15R are marked L and R Left and Right Connect them to their appropriate crank arms with the spanner tool The right crank arm is on the right hand side of the cycle as you sit on it NOTE The Right pedal should be threaded on clockwise and the Left pedal anticlockwise ...

Page 9: ...s Warranty Period The Seller provides the Buyer a 24 months Warranty for Goods Quality unless otherwise specified in the Certificate of Warranty Invoice Bill of Delivery or other documents related to the Goods The legal warranty period provided to the Consumer is not affected By the Warranty for Goods Quality the Seller guarantees that the delivered Goods shall be for a certain period of time suit...

Page 10: ...is paragraph The Seller shall settle the Warranty Claim within 30 days after the delivery of the defective Goods unless a longer period has been agreed upon The day when the repaired or exchanged Goods is handed over to the Buyer is considered to be the day of the Warranty Claim settlement When the Seller is not able to settle the Warranty Claim within the agreed period due to the specific nature ...

Reviews: