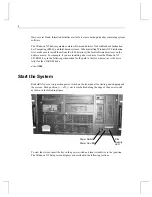
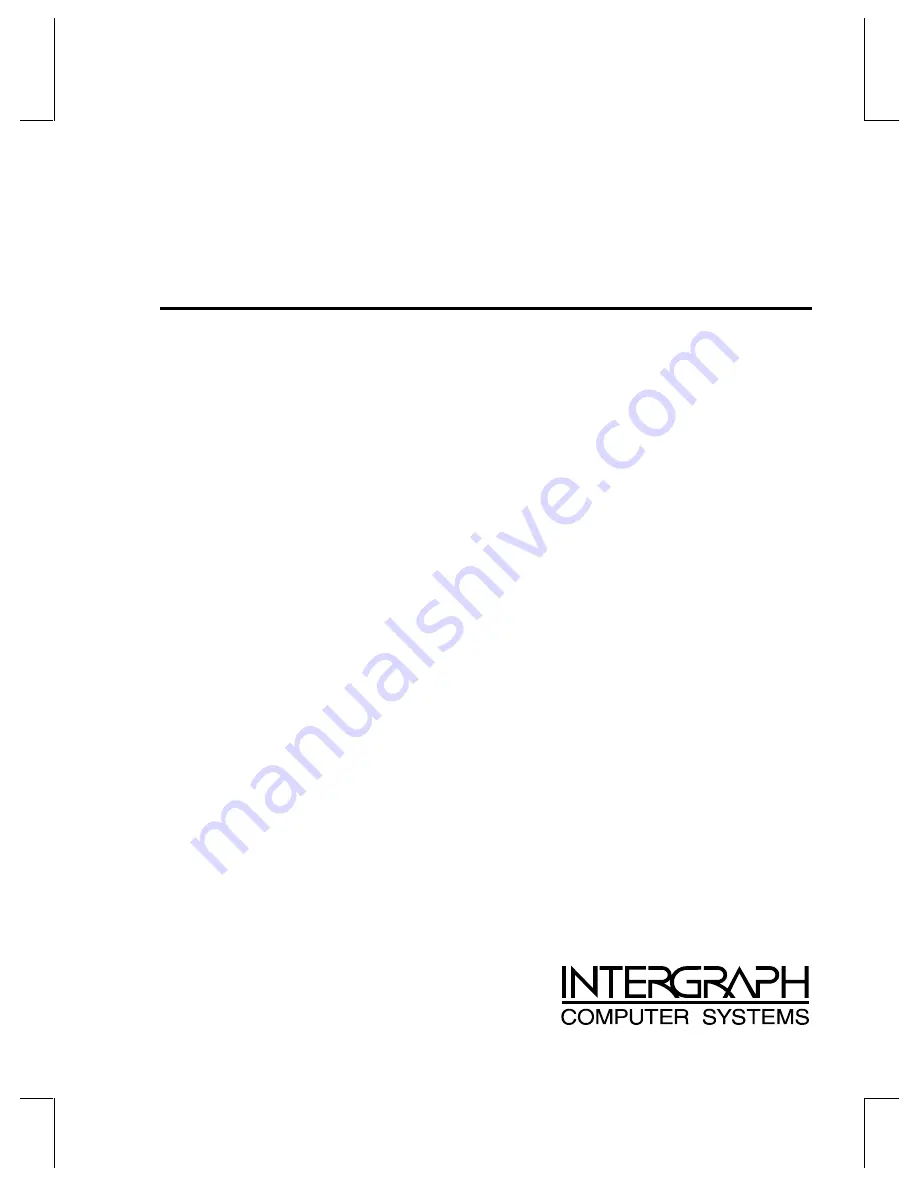
Intergraph StudioZ RenderRAX, System Setup
The Intergraph StudioZ RenderRAX product offers a comprehensive manual for easy System Setup. Users can download the manual for free from 88.208.23.73:8080, making installation and setup a breeze. Get your hands on the detailed user guide to maximize the capabilities of this powerful rendering software.
Share
Download


Reviews:
No comments
Related manuals for StudioZ RenderRAX
Dolphin 6510
Brand: Honeywell Pages: 74
Vostro 24-5460
Brand: Dell Pages: 48
Inspiron 13 7000 Series
Brand: Dell Pages: 36
Inspiron 13 7000 Series
Brand: Dell Pages: 99
Inspiron 13 7000 Series
Brand: Dell Pages: 27
GLZ6
Brand: Intergraph Pages: 44

StudioZ
Brand: Intergraph Pages: 66
RAX HD
Brand: Intergraph Pages: 68
StudioZ RenderRAX II
Brand: Intergraph Pages: 6
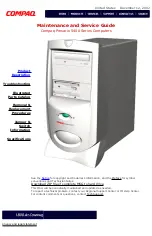
Presario 5400 Series
Brand: Compaq Pages: 83
RAX Systems
Brand: Intergraph Pages: 68


