background image

Instruction for iPhone

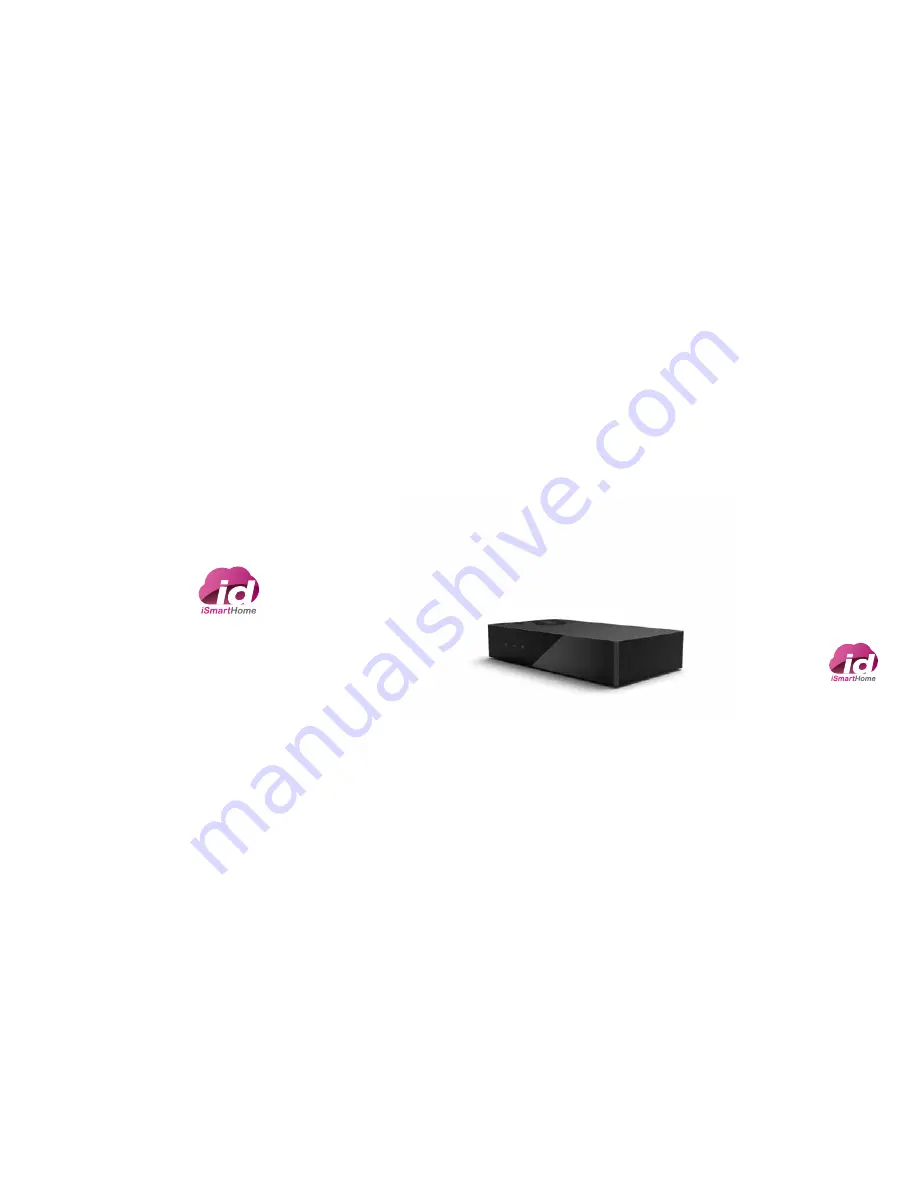
id Smart Box

868MHz wireless smart home system

868MHz wireless smart home system

Summary of Contents for id smart box

Page 1: ...Instruction for iPhone id Smart Box 868MHz wireless smart home system 868MHz wireless smart home system ...

Page 2: ...MART BOX PORTABLE EMITTER SETUP ID SMART BOX UPDATE 11 19 25 27 13 15 16 03 05 10 CENTRAL CONTROL FUNCTION 25 OPERATION MANUAL CONTENTS ID SMART BOX CONTROL ADD DEVICE DEVICE ROOM CHANGING OPERATION ID SMART BOX INTRODUCTION ID SMART BOX STRUCTURE SETTING FUNCTION RENAME DEVICE SETTING FUNCTION 31 FOUR FUNCTIONS INTRODUCTION ID SMART BOX FOUR FUNCTIONS INTRODUCTION CENTRAL CONTROL FUNCTION NOTE SE...

Page 3: ...izontal or wall mounted There should be no metal objects shielding surrounding the Smart Box Other objects should be at least 15cm away from the Smart Box The Smart Box should be installed away from humid environments to avoid unneces sary influence on the Smart Box A wireless router should be connected to the installation position of the Smart Box to enable access of intelligent terminals e g iPh...

Page 4: ...ble Open idSmartHome app Enter admin in user name Smart Box and 123456 in password modification of user name and password is detailed in Page 06 of this manual The user may save the user name and password If auto login Smart Box is checked the user may automatically log in by clicking the icon on the desktop The device ID may be automatically obtained upon successful login to facilitate remote con...

Page 5: ...ice ADD DEVICE SMART BOX 05 SMART BOX 06 Click Room Set Click Add Click And Select Room Icon Name The Room E G Master Bedroom Guest Bedroom Add The Room Successfully Add Room Select Setting Button Click 433 Add Click room1 Add 433MHz device Click Device Set Select Setting Button Judgment Of 433mhz Device Communication Mode On Nameplate Of The Device Packing Is 433mhz ...

Page 6: ...tton Of The Emitter Within 10s Till The Hint Of Code Learning Success Displays The Emitter Has Been Matched With The Motor To Be Added After The Hint Of Code Learning Success Displays Press Open close stop Button Respec tively To Test The Button If The Corresponding Motor May Execute Open close stop Action Properly The Learning Is Successful Press Button Pop And click ok The Device Is Successfully...

Page 7: ... Device Set Select Setting button Save ADD DEVICE Click 868 Add Enter device name ROOM1 Add 868MHz device Device Set Select Setting button Connect The Power Supply Of 868mhz Device Click The Finish Button Within 10s After Hearing The Continuous Beep Sound One Beep Sound Indicates That The Device Is Added And The Adding Action Is Successful Judgment of 868MHz device Communication mode on nameplate ...

Page 8: ...ss and hold the code learning button on 868MHz remote Add smart scene remote Before this operation all required scenes should be added Please refer to P27 for scene adding methods Click Click Click Select any one of the undefined channels Click Dashed icon to enter scene selection interface OK ...

Page 9: ...ble ID SMART BOX UPDATE SMART BOX 13 SMART BOX 14 Remote update of Smart Box software The Working Indicator In The Middle Blinks Click Update Click OK Click About Select Setting Button Return Log in Interface Update Is Successful Update ...

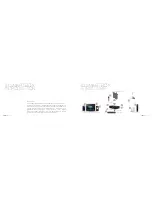
Page 10: ...ved by App software without affecting the normal operation of the original remotes In addition extended control may also be made on devices such as various wireless lights and electric apparatuses ID SMART BOX INTRODUCTION Wi Fi router ID SMART BOX STRUCTURE SMART BOX 15 SMART BOX 16 Motorized blinds and curtains Wireless remote Light Smart remote Network Cable id Smart Box id Smart Box iPad iPhon...

Page 11: ...SETTING INTRODUCTION The Setting Function Enables Setup On User Account host Ip server Time room Set device Set scene Set emitter about SMART BOX 17 SMART BOX 18 ...

Page 12: ...e Set scene Set emitter about SETTING FUNCTION SMART BOX 19 SMART BOX 20 Add Account Click to enter User Account interface click edit button and then add button enter Add Account interface input user name and password click OK only super manager can creat new account Click to delete the user Click cancel button to return the User Account interface Add Edit Cnncel ...

Page 13: ...ded After editing click OK button to return Setting interface Wait for 10s before making other operations OK Smart Box IP Configuration Server Time Click to enter Time Modification interface Make modifica tion and then click save button Note Time format is the same as that of iPhone The 24h time system may be set on iPhone OK ...

Page 14: ...n quick installation guide part of this manual for details P06 Room Set SETTING FUNCTION Applicable in case of newly added device set please refer to id System Quick Installation Guide or the instruction manual of the device to be added for details P06 Device Set ...

Page 15: ...ers click save button to return edit device interface Click back to return the Device set interface The device is successfully renamed Save SMART BOX 25 SMART BOX 26 Click on the home page to enter Setting interface Click device setting icon to enter device setting interface Click the room where the device is located Click before the device Click delete Random deletion of device is not recommended...

Page 16: ...SMART BOX 27 SMART BOX 28 About Current software version SETTING FUNCTION ...

Page 17: ...s for major functions Central control function scene control function timer control function and remote control function In addition it supports user defined editing function which enables convenient and flexible operation of the user SMART BOX 29 SMART BOX 30 ...

Page 18: ... nine to five lifestyle like you a more regular life is demanded The Timer Control Function of Smart Home System can handle many trivial things for you for example timed wakeup timed congee cooking timed opening of AC timed opening of floor heating etc For example At 7 a m the background music of the automatic control function plays the soft music wakes you up from the sweet dream the motorized bl...

Page 19: ...es For example On a weekend morning you throw yourself into the sofa What are you planning to do Close the blinds Make a cup of coffee Or turn on the wall lamps Now you don t need to seek for your remotes everywhere any more Take your iPad or smart phone open Smart Home System and find the device you want easily Control the appliance in your home in any manner you want and make your life easier ...

Page 20: ...ller blinds percentage based control available depending on motor type Click or button for open close or stop operation Motorized curtains Press and drag the curtain slowly leftwards or rightwards to control the open close state of the curtain percentage based control available depending on motor type Click or button for open close or stop operation ...

Page 21: ...ased control available depending on motor type Click or button for open close or stop operation Angle adjustment Slid to adjust the angle of the venetian blinds Window Opener Click device icon to control the open close state of the window opener percentage based control available depending on motor type Click or button for open close or stop operation ...

Page 22: ...39 SMART BOX 40 Light Click to turn on off the lights Drag the slider at the bottom of the device icon to dim on percentage basis When the lighting is 0 the light is off When the intensity is 100 the light is the brightest Dimming function is only available with dimming module installed CENTRAL CONTROL FUNCTION ...

Page 23: ...ferent areas For example after you wake up in the morning you just need to press the scene switch for Wake up Mode Smart Home System will automatically open the shade curtains and window opener of the bedroom turn off the AC system of the bedroom and turn on the light and exhaust fan of the bathroom Five places to go after wakeup are simplified to be one button to touch making your life much easie...

Page 24: ...on to enter Add Scene Interface Click and select picture for name the scene Click save button to enter edit scene interface New Scene Creating Add Edit Save SCENE CONTROL FUNCTION Click Add button to enter Add Device interface Find the device to be added in the corresponding room Click device icon to enter Device State Setting interface Add ...

Page 25: ... Scene editing is made under the scene configuration of the Setting Menu on the home page Launch SCENE CONTROL FUNCTION Choose a state to be the executed state in the scene set the state of the device as the state for example click open then the device is opened when the scene is activated Click and the scene is successfully added OK ...

Page 26: ... to enter Scene Set interface Click the scene Click to remove the added device from the scene Remove all devices in the scene and then click OK button to enter Scene set interface Click edit button Click and to remove the scene then click back button to successfully complete the deletion Edit Back OK ...

Page 27: ...ackground music of the automatic control function plays the soft music wakes you up from the sweet dream the motorized blinds open gently the lights and exhaust fan in the bathroom open the lights in the coatroom turn on after you get yourself washed the congee is ready in perfect temperature After enjoying your breakfast you leave home at 8 a m and the Smart Home System automatically turns off th...

Page 28: ...edit the time click OK and return to Add Timer interface Add OK Edit Click icon on the home page Click to enter Repet interface select repetition time within the scope from Monday to Sunday Single choice or multiple choice click OK button to save the current settings click cancel to abandon current settings If no repetition cycle is selection the timer will be valid only for the current day OK Bac...

Page 29: ...utton save current setting and return the Timer Editing interface Click Back button and the timer adding is successful Click to turn on off the timer The state of indicates that the timer is on Save OK Back Timer Control Function Click icon on the home page to enter Timer interface Note Please ensure that the timer of the Smart Box is correct Please refer to P22 for viewing of Smart Box time ...

Page 30: ...SMART BOX 55 SMART BOX 56 TIMER CONTROL FUNCTION Timer Control Function Click to turn on off the timer click edit button to edit the timer Edit ...

Page 31: ...uddenly pops into your mind that you forgot to turn off one electrical appliance when you re already out Just connect the Internet with iPad or mobile phone and enter Smart Home System then disconnect all power supplies except the power for refrigerator On a hot summer day after inviting some friends to get together in your home you may turn on the AC system in your home by iPad or mobile phone 20...

Page 32: ...evice ID will be saved in the Device ID field after being generated automatically Log in directly in case of remote login When remote login of other hosts is needed login can be conducted after inputting device ID of host which shall be provided with remote login Note Router connected with the Smart Box must be accessible via Extranet and the mobile phone or iPad must also be accessible to the Ext...

Page 33: ...s are most frequently used by you you may add them into your Favorites to quickly call such operations For example if you re used to viewing news on the phone before sleeping you may add Sleep Mode to the Favorites Then you may directly click Sleep Mode when you re about to rest which is quick and convenient SMART BOX 61 SMART BOX 62 ...

Page 34: ...cating successful addition Select the icon on the home page click to enter the Favor ites interface Favorites On the Favorites interface the devices and scenes added into the Favorites may be operated or cancelled Remove favorite Enter the Favorites interface and click the edit button Click to remove the added scene or device from the Favorites Click return button after the removal Favorites Edit ...

Page 35: ...k when operated How to do aginst the frequent dropping after log in The network must have restrained the access of the ID box you shall reset the network for the permission of the access After the scene is created some delive mis operated during execution Enter the scene set interface to check if the preset status of execution is correct The timer is not activated on time Check if the physical tim...

Page 36: ...ns shall be stored in place with good ventilation dry and clean The stacks shall not exceeds 10 layers Keep the temp within 10 40 degrees About transportation The carton can be transported by varied transportation in the case to be protected from rain snow and heavy crash About after service Users are not allowed to diassemble the item against failure It shall be delivered to the maintain erea or ...

Reviews: