

April 28th, 2016
Printed in Canada
Instruction Manual
490, rue de l'Argon
Québec, CANADA G2N 2C9
Tél.: 418-849-8095 Fax : 418-849-0077
www.jaroby.com
Certified and tested according to
CAN
/ULC S627-00
UL 1482-2011
2020 U.S. Environmental
Protection Agency's crib wood
emission standard
Product # 10-000
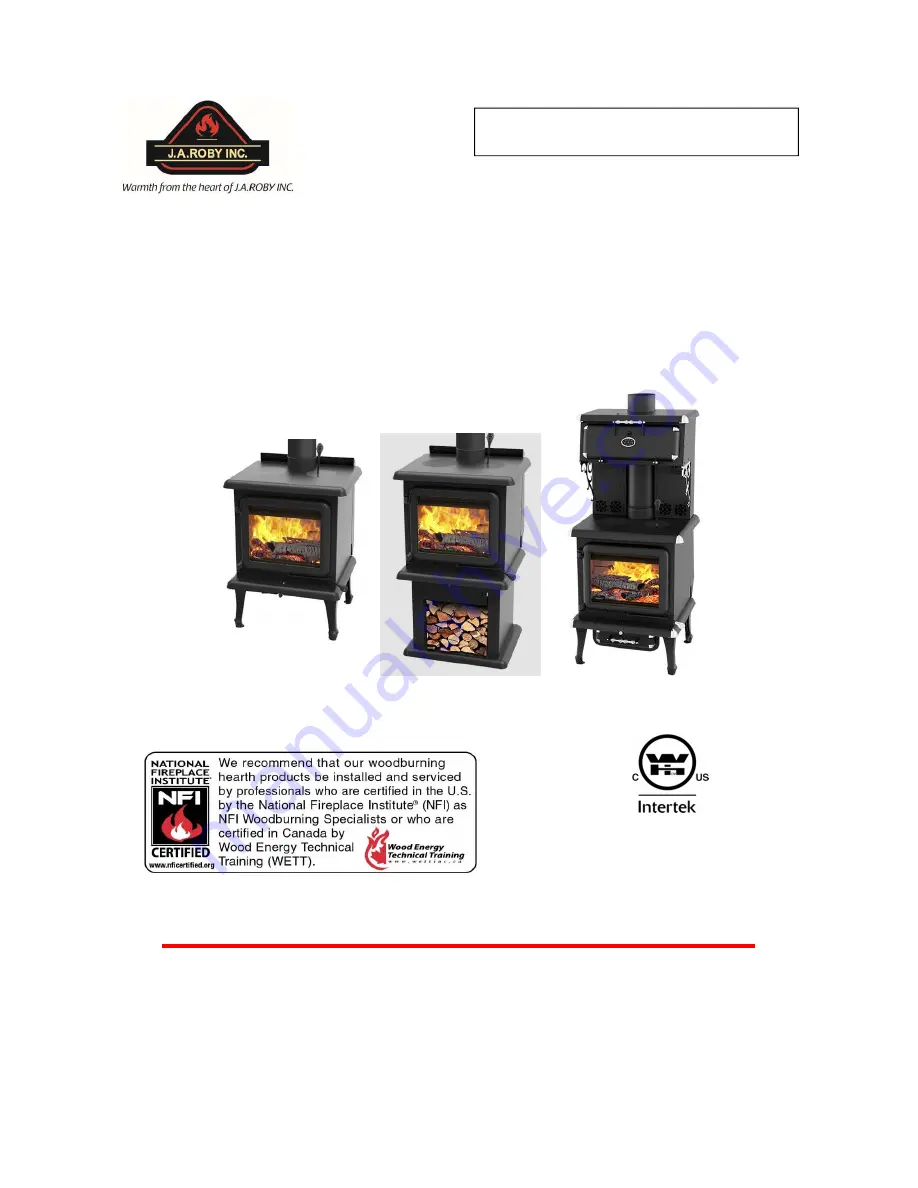
STORE SERIES
SIRIUS – ANTARES - RIGEL
PLEASE READ CAREFULLY AND KEEP
THIS MANUAL FOR FUTURE REFERENCE
Summary of Contents for SIRIUS
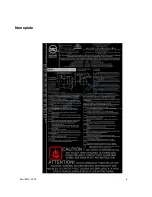
Page 4: ...April 28th 2016 4 Nameplate...
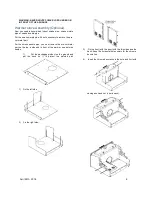
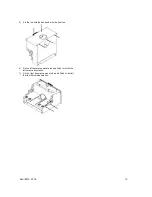
Page 26: ...April 28th 2016 26 Appendix 1 Door assembly Square Door...
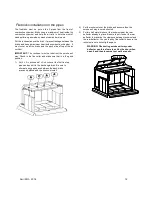
Page 27: ...April 28th 2016 27 Arc Door...
Page 28: ...April 28th 2016 28 Appendix 2 Fans electric wiring diagram Therm O disk Box parts description...
Page 30: ...April 28th 2016 30 Appendix 4 Bricks dimension and quantity...


