


Installation Data
Installation Man u al
ePump
TM
Variable
Speed Pump
User Interface
WARNING
FOR YOUR SAFETY - This product must be installed and serviced by a pro fes sion al pool/spa service
technician. The procedures in this manual must be followed ex act ly. Failure to follow warning notices
and instructions may result in property damage, serious injury, or death. Improper installation and/or
operation will void the warranty.
H031
1300A
2
3
4
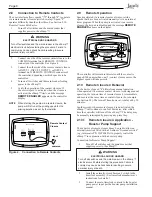
PRESS PRESET OR MENU
12:00AM PUMP IS OFF
ePUMP
Summary of Contents for ePump
Page 2: ......


